
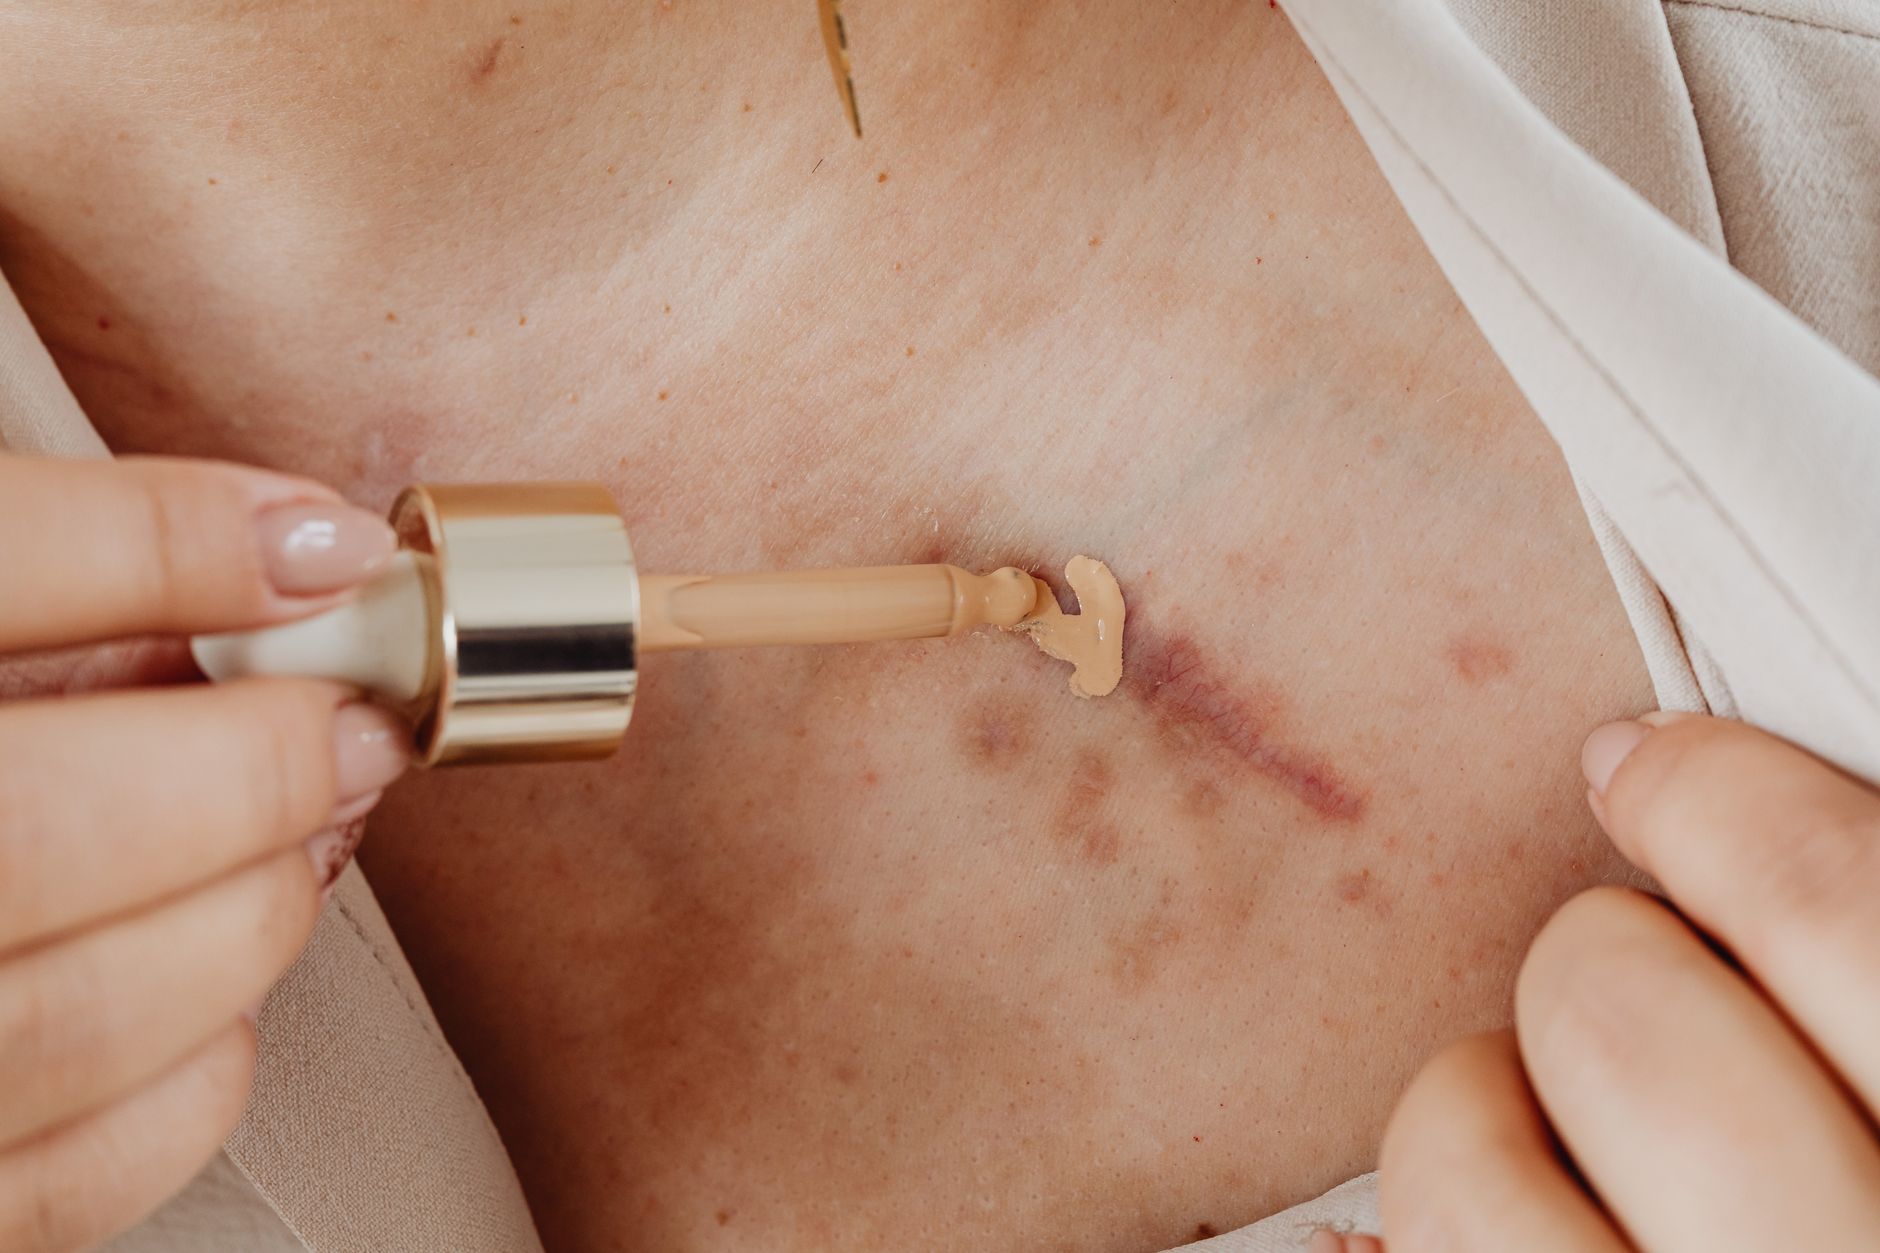
Hickeys can be a source of embarrassment, and sometimes you need a quick and effective way to hide them. Whether it’s for a job interview, a family gathering, or an unexpected encounter with someone special, knowing how to cover a hickey can save the day. This guide will provide practical advice, product recommendations, and a step-by-step tutorial for concealing those love bites.
Covering a hickey effectively is all about choosing the right makeup products and application techniques. With a few essential tools and some strategic layering, you can have that area looking discreet in no time. Let’s embark on this beauty journey to ensure you feel confident and ready for whatever life throws your way!
How to Cover a Hickey?
To cover a hickey, you will need a few key makeup products and tools, as well as some techniques for proper application. By using color correctors, concealers, and setting sprays, along with blending techniques, you can effectively disguise a hickey. Follow the steps outlined in this article to achieve a flawless finish.
Understanding the Nature of Hickeys
Before diving into how to cover a hickey, it’s important to understand what it is. A hickey, also known as a love bite, is caused by the suction of the skin that results in broken capillaries and bruising. This leads to a visible mark that can range in color from dark purple to light yellow, depending on how old it is. Knowing this can help you choose the right colors and products for effective coverage.
Choosing the Right Products
When it comes to concealing a hickey, selecting the right products is crucial. Here are the essential makeup categories to consider:
- Color Corrector
- Concealer
- Setting Powder
- Setting Spray
Color Corrector
A color corrector can neutralize the redness and darkness of a hickey, making it easier to conceal. For a dark or purple hickey, a peach or orange corrector is ideal, while a green corrector works well to counteract any redness.
Concealer
Choose a creamy, full-coverage concealer that has good pigmentation. The concealer should be one shade lighter than your natural skin tone for blending purposes.
Setting Powder
Applying a translucent setting powder will help set your concealer and prevent it from smudging throughout the day. Look for a lightweight formula that won’t cake up.
Setting Spray
A setting spray locks everything in place, ensuring that your hard work stays flawless. A mattifying spray is a good option if you have oily skin, while a hydrating spray suits drier skin.
Tools You’ll Need
To apply the products efficiently, gather the following tools:
- Small makeup sponge
- Makeup brush
- Clean towel or tissue
Step-by-Step Guide to Cover a Hickey
Now that you have your products and tools, follow this step-by-step guide to cover a hickey effectively:
- Clean the Area: Start by cleansing the area around the hickey to remove any oils or dirt. This helps the makeup adhere better.
- Apply Color Corrector: Using your finger or a small brush, gently apply a small amount of the color corrector to the hickey. Blend the edges well for a seamless transition.
- Conceal: Next, use your full-coverage concealer. Apply it directly over the color-corrected area with a small makeup sponge, tapping gently to blend. Build up the coverage as needed, making sure to blend outwards.
- Set with Powder: Lightly dust translucent setting powder over the area to set the concealer. Use a fluffy brush to avoid disturbing the coverage.
- Finish with Setting Spray: Allow the makeup to settle for a moment and then spritz a setting spray over the area to lock everything in place. This will help prevent moving or smudging throughout the day.
Tips for a Natural Finish
To achieve a natural and unnoticeable finish, keep these tips in mind:
- Blend well: Ensure that edges of the concealer and corrector are well blended into your natural skin tone.
- Less is more: Start with a small amount of product and build up as necessary. Too much product can be easily noticeable.
- Use the right lighting: Apply makeup in natural lighting for the best results to see how it looks in different light conditions.
- Choose the right shade: Always match your concealer to your skin tone, especially in regular areas, to ensure a seamless blend.
Common Mistakes to Avoid
While covering a hickey can be straightforward, there are common pitfalls many fall into. Here are mistakes to avoid:
- Using only foundation: Foundation alone may not provide sufficient coverage and can wear off easily, leading to visible breaches.
- Skipping the setting spray: Setting spray keeps the makeup intact. Don’t skip this step for long-lasting results.
- Not blending: Visible lines or harsh edges can make the hickey look even more apparent. Always blend well.
- Choosing the wrong color corrector: If you use the wrong color corrector, it can create a mismatched effect rather than camouflaging the bruise.
What to Do if You Can’t Cover Your Hickey
Sometimes, despite your best efforts, covering a hickey may not fully work. Here are additional tips to help when concealing isn’t sufficient:
- Wear clothing strategically: Collars, scarves or high necklines can help conceal a hickey if makeup isn’t working.
- Consider your hairstyle: If the hickey is on your neck, wearing your hair down or in a loose updo can help hide it.
- Embrace the hickey: Sometimes, owning it and carrying it with confidence can make all the difference.
Fast Remedies to Minimize Appearance
If you don’t have time for makeup or want a quick remedy to minimize the appearance of a hickey, consider these options:
- Cold Compress: Apply a cold pack to the area for 10–20 minutes to reduce swelling and inflammation.
- Arnica Cream: This herbal remedy may help reduce bruising and promote healing; apply it gently to the hickey.
- Warm Compress: After 48 hours, a warm compress can increase blood flow and help the healing process.
Conclusion
Covering a hickey is manageable with the right products, techniques, and a bit of creativity. By using color correctors, concealers, and setting sprays, you can conceal unwanted marks and feel confident in any situation. Remember to blend effectively, avoid common mistakes, and embrace alternate strategies if makeup isn’t an option. With this knowledge, you have the power to tackle hickeys head-on.
If you’re looking for more beauty guidance, check out our articles on how to get rid of a hickey and how to get rid of razor bumps on the pubic area overnight for additional tips!