
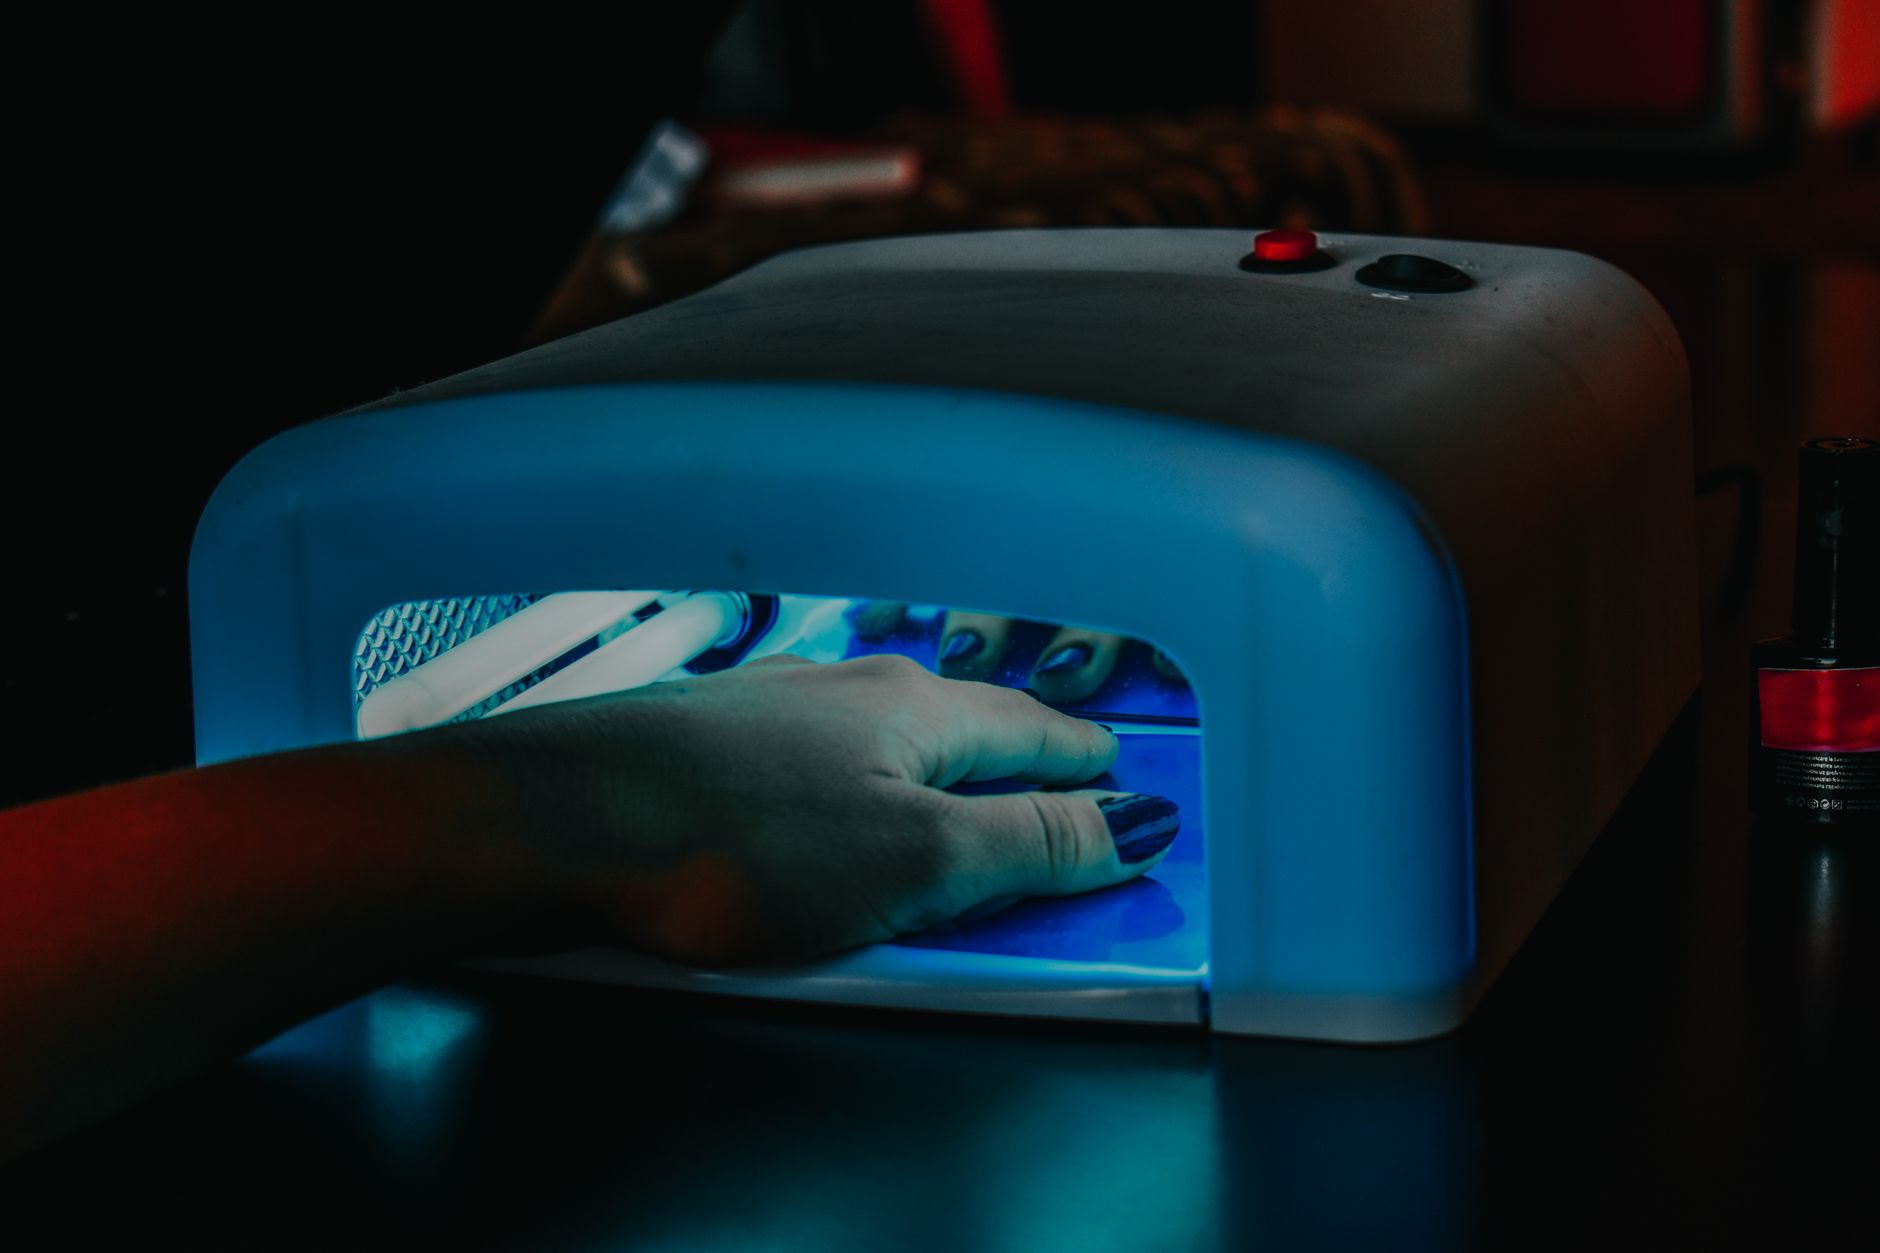
Gel-X nails have gained immense popularity for their sleek, long-lasting finish. However, regardless of how stunning they look, knowing how to remove them properly is crucial for maintaining nail health. This guide provides a detailed, step-by-step process for safe Gel-X nail removal and tips for healthier nails afterward.
Skipping professional removal can lead to damage, so it’s essential to use the right techniques and tools. Let’s explore the best methods for removing Gel-X nails safely.
How to Remove Gel-X Nails?
To effectively remove Gel-X nails, the first step is to gather your supplies and follow the proper techniques. This ensures a safe and efficient process that minimizes nail damage and promotes nail health.
Supplies Needed for Gel-X Nail Removal
Gathering the right tools and products is crucial for effective Gel-X nail removal. Here’s a list of essential supplies you will need for the process:
- File (preferably a coarse grit)
- Acetone (pure acetone is the most effective)
- Cotton balls or pads
- Aluminum foil or nail clips
- Nail buffer
- Cuticle oil or nourishing nail cream
- Optional: Gloves (to protect your skin from acetone)
The Step-by-Step Process for Removing Gel-X Nails
Now that you have your supplies ready, follow these detailed steps to remove your Gel-X nails effectively:
-
Prepare Your Work Area
Make sure you are in a well-lit and comfortable area. Lay down some paper towels or a protective sheet to catch any filings or acetone spills.
-
File the Gel-X Nails
Using the coarse grit file, gently file the top layer of your Gel-X nails. This may sound intimidating, but it helps in breaking the seal of the gel coat, allowing acetone to penetrate better. Focus on making only a few strokes to avoid over-filing your natural nails.
-
Soak Cotton Balls in Acetone
Soak cotton balls or pads in acetone. Ensure they are saturated but not dripping. This helps in effectively breaking down the gel material.
-
Apply Cotton Balls to Nails
Press the soaked cotton onto each nail and wrap it securely with aluminum foil. This traps heat, which helps the acetone penetrate and dissolve the gel. If you’re using nail clips instead of foil, simply clip them onto the cotton ball and your nail.
-
Wait for 10-15 Minutes
Allow the cotton balls to sit for 10 to 15 minutes. This timeframe allows the acetone to dissolve the gel effectively. You can often tell that the gel is ready to be removed when you see it bubbling or lifting at the edges.
-
Check and Remove
After the waiting period, gently check one nail by pulling off the foil or clip. If the gel doesn’t slide off effortlessly, re-wrap it and let it soak for another few minutes.
-
Gently Scrape Off the Gel
Once the gel has softened, take a wooden stick or cuticle pusher and gently push the remaining gel off your nail. Be careful not to scrape too hard, as this can damage your natural nail layer.
-
Buff and Shape Your Natural Nails
After you’ve removed all the gel, use a nail buffer to smooth the surface of your natural nails. Shape your nails as you desire, but avoid applying excessive pressure. This step enhances the overall appearance and prepares your nails for healthy growth.
-
Moisturize Your Nails and Cuticles
Finish the removal process by applying cuticle oil or nourishing nail cream, which hydrates and repairs any dryness. This is essential as acetone can be very drying to the skin and nails. Massage it into your nails and cuticles to promote further health.
Aftercare Tips for Healthy Nails
Once you’ve successfully removed your Gel-X nails, it’s crucial to implement aftercare to maintain healthy nails. Here are some recommendations:
- Keep nails moisturized regularly with cuticle oil to prevent dryness and brittleness.
- Give your nails a break before applying any new enhancements. Allow at least two weeks of rest.
- Consider using a nourishing nail treatment to strengthen your natural nails.
- Maintain a balanced diet rich in vitamins and minerals that support nail health, such as Biotin and Vitamin E.
- Avoid using your nails as tools to reduce the risk of breakage.
Common Mistakes to Avoid While Removing Gel-X Nails
To successfully remove your Gel-X nails, you should be aware of common mistakes people tend to make:
- Not filing the top layer enough: Make sure to file gently but thoroughly to allow acetone to penetrate effectively.
- Rushing the process: Allow acetone sufficient time to work on breaking down the gel—patience is key.
- Using too much force: Scraping off gel too aggressively can lead to damage.
- Skipping aftercare: Remember to nourish your nails post-removal to keep them healthy.
Alternative Removal Methods
While the method outlined above is the most popular, there are alternative methods for those looking for variations:
Soak-off Method
This method involves soaking your nails in a small bowl of acetone instead of wrapping them. This can be effective but takes longer and can be messier.
- Fill a bowl with acetone.
- Soak your fingertips in the bowl, ensuring the nails are fully submerged.
- After 20-30 minutes, use a cuticle pusher to gently scrape off the softened gel.
Dremel Method
For those experienced with nail tools, a Dremel can effectively remove Gel-X nails. It’s essential to use it carefully to avoid damage to the natural nail.
- Set a low speed on your Dremel tool.
- Carefully file down the gel layer without applying excessive pressure.
- After you have removed the bulk, use a buffer for finishing touches.
When to Seek Professional Help
While at-home removal is possible, there are circumstances where you may want to seek professional help:
- If you notice significant pain during removal.
- If your nails feel excessively weak or damaged.
- If there is any sign of infection or irritation.
Conclusion
Removing Gel-X nails doesn’t have to be a troublesome task. By following the right methods and tips, you can maintain your nails’ health and beauty. Remember to be gentle during the process and take good care of your natural nails afterward. With the proper care, your nails will remain strong and beautiful, ready for your next manicure adventure.
For those looking to refresh their nail care routine, explore our guide on how to remove gel nail polish for further tips and added insights into nail upkeep and health essentials.