
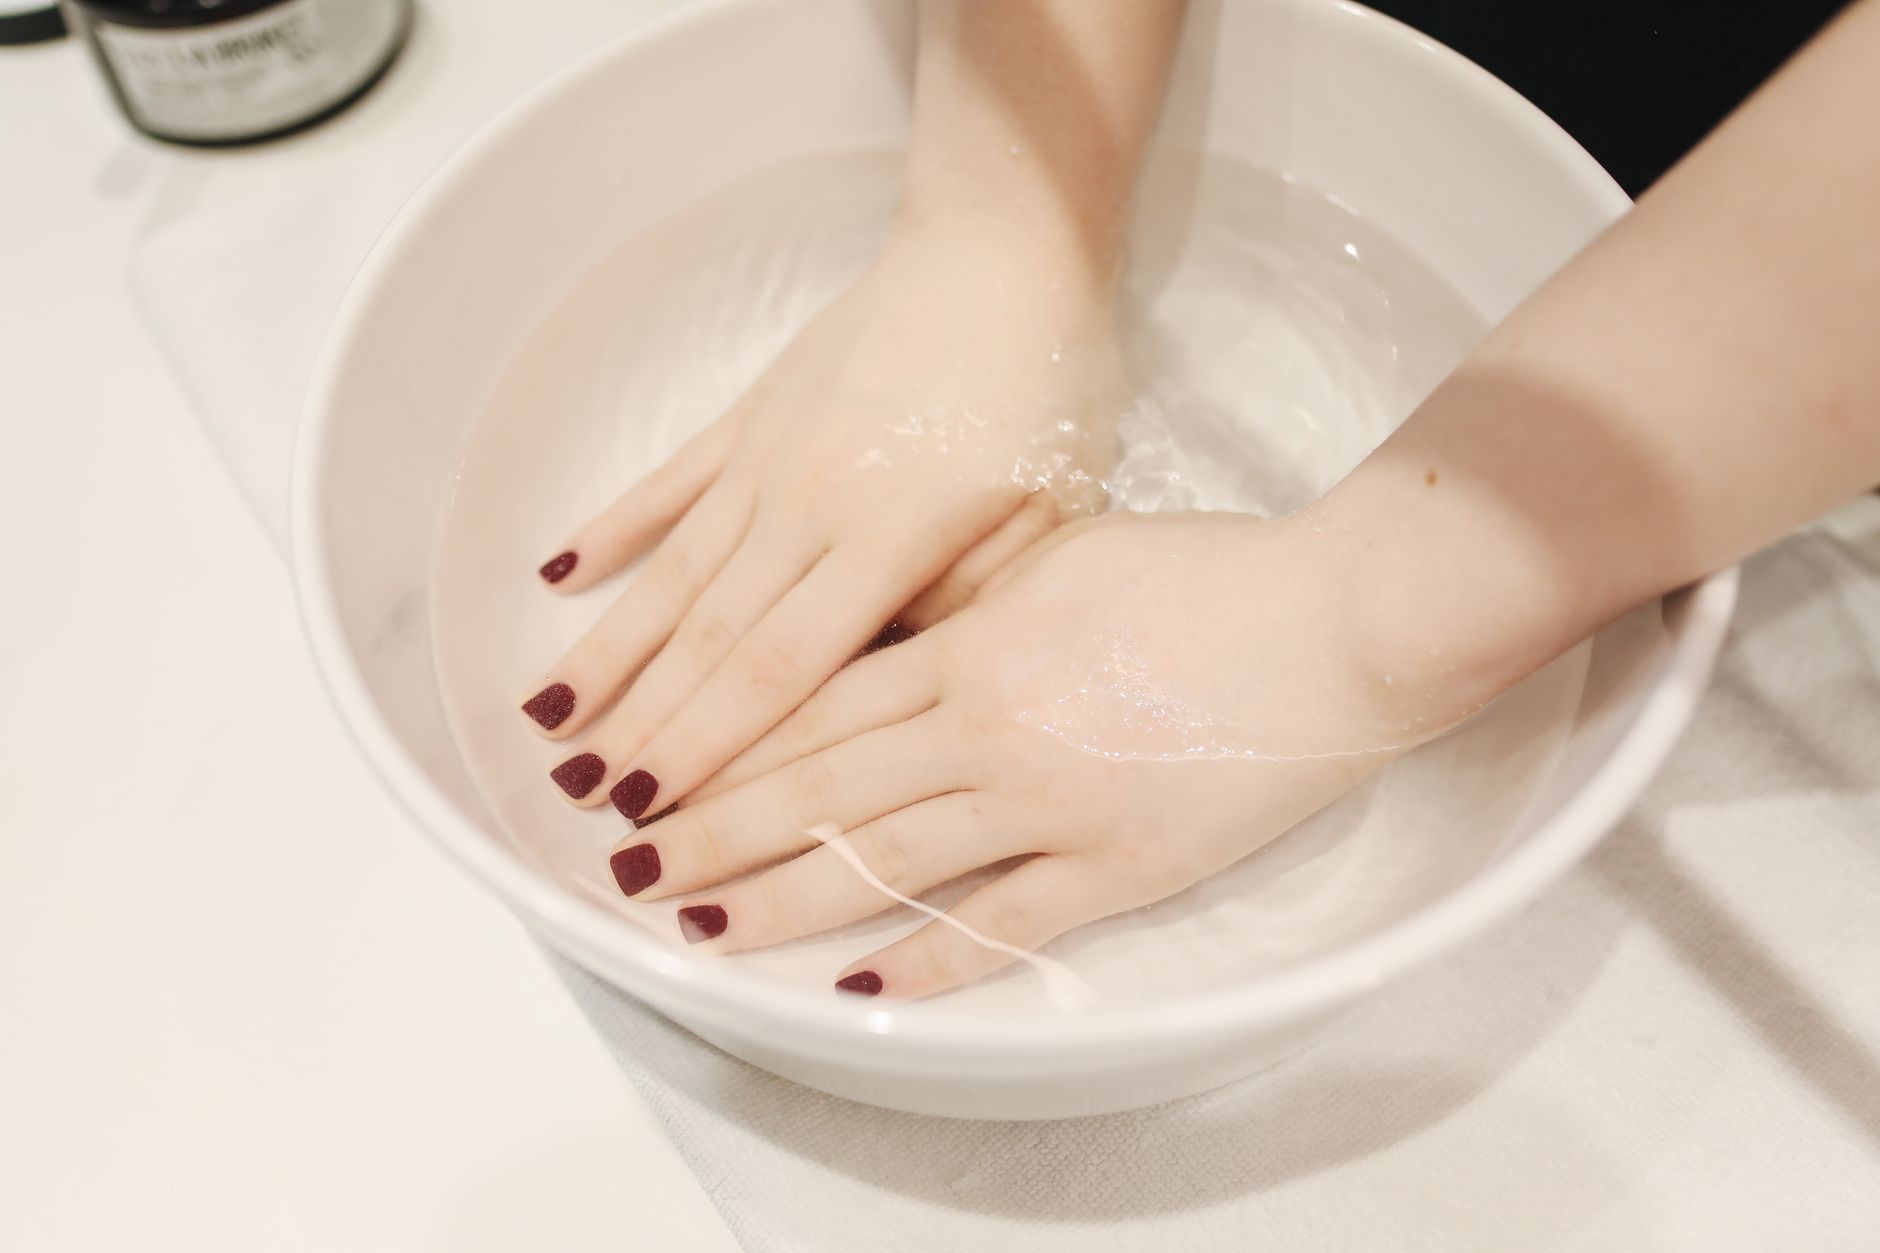
Gel nails have become a popular choice for long-lasting manicures, but removing them can be a bit challenging. If you find yourself needing to take off your gel nails, it’s essential to do it correctly to avoid damaging your natural nails. This detailed guide will cover gentle methods for removing gel nails safely and provide helpful aftercare tips.
The right approach to gel nail removal is crucial for maintaining the health of your nails. Whether you’re looking to switch up your nail style or simply need a break from gel products, understanding how to remove gel nails will enhance your nail care routine.
How to Remove Gel Nails?
To remove gel nails effectively, follow a step-by-step process that minimizes the risk of damage to your natural nails. Here are the primary methods for gel nail removal: soaking, filing, and using professional products. Each method can be done at home and requires some specific tools and patience.
Preparing for Removal
Before jumping into the removal process, it’s important to gather the necessary tools and materials. Here’s what you’ll need:
- Acetone or gel nail remover
- Cotton balls or pads
- Aluminum foil or nail clips
- File (preferably a coarse one)
- Cuticle pusher or orange stick
- Nourishing oil (such as cuticle oil)
- Buffing block
- Optional: a bowl for soaking
Method 1: Soaking Off Gel Nails
The most popular method for removing gel nails is the soaking technique. This method is relatively straightforward and is less likely to damage your natural nails if done correctly.
Step-by-Step Soaking Method
- Start by filing the top layer of your gel nails. Gently buff the surface to break the seal of the gel polish. This will help the acetone penetrate more effectively.
- Soak cotton balls in pure acetone or a dedicated gel remover. Make sure each cotton ball is saturated but not dripping.
- Place the soaked cotton ball on top of the nail and wrap it tightly with aluminum foil to hold it in place. You can alternatively use nail clips if you have them.
- Wait for about 10 to 15 minutes to allow the acetone to soften the gel polish. During this time, you can relax or pamper yourself.
- After the time is up, gently check one nail to see if the gel is lifting. It should start to peel away easily.
- If the gel is still stuck, rewrap the nail and soak for an additional 5 to 10 minutes.
- Once the gel nails lift easily, use a cuticle pusher or orange stick to gently slide off the remaining product. Avoid scraping your natural nail to prevent damage.
Common Mistakes to Avoid
- Rushing the process: Allow the acetone to do its work without forcing the gel off.
- Using regular nail polish remover: Ensure you use pure acetone or a gel-specific remover for effective results.
- Skipping the filing step: Filing the top layer helps the remover penetrate better, making the process faster.
Method 2: Filing Off Gel Nails
If you’re not comfortable using acetone, you can file off your gel nails. This technique requires more care and attention but can be effective with proper technique.
Step-by-Step Filing Method
- Use a coarse nail file to file the top layer of the gel polish. Be careful not to file too aggressively; focus on removing the gel layer without damaging the natural nail.
- Continue to file until you reach the base of the gel. This process may take some time, so be patient.
- Once the gel is mostly removed, switch to a finer file or buffing block to smooth out the surface of your natural nail.
- Moisturize your nails and cuticles afterward, as filing can dry them out.
Tips for Filing
- Work in a well-lit area to see what you are doing clearly.
- Take breaks, especially if your nails feel sensitive. Excessive filing can lead to damage.
- Keep nails hydrated during and after the process to minimize dryness.
Method 3: Professional Removal Products
Another option is to use specific product kits designed for gel nail removal. These can often be found in beauty supply stores or online. They may include sets of gel remover pads, clips, and other helpful tools.
Using Professional Products
- Follow the instructions on the product packaging as they can vary by brand.
- In most cases, you will still need to file the top layer of the gel polish before applying the professional removal product.
- Apply as directed, usually involving wrapping the nails with provided pads or clips.
- After the recommended time, gently remove the product and any remaining gel using a cuticle pusher.
Aftercare for Your Nails
Once you’ve successfully removed your gel nails, it’s essential to care for your natural nails to keep them healthy and strong. Here are some aftercare tips:
- Moisturize: Apply nourishing oil or a hydrating cuticle cream to your nails and cuticles. This helps restore moisture lost during the gel removal process.
- Give Your Nails a Break: It’s recommended to give your nails a break from polish or gels for at least a week to allow them to recover.
- Limit Water Exposure: Avoid prolonged exposure to water for a few days after removal, as this can weaken your nails.
- Maintain a Healthy Diet: Eating a balanced diet rich in vitamins and minerals can support nail health.
- Consider a Nail Strengthener: If your nails feel weak after removal, consider using a nail strengthener for added support.
Signs Your Nails Need Extra Care
After removing gel nails, watch for any signs that may indicate your nails need extra attention:
- Nail brittleness or splitting
- Discoloration or dullness
- Separation of the nail from the nail bed
If you experience any of these issues, take additional time off from polish and prioritizing hydration and nutrients. If problems persist, consider consulting a nail care professional or dermatologist for personalized advice.
Final Thoughts on Gel Nail Removal
Removing gel nails can seem daunting, but with the right tools and techniques, it can be done safely at home. Always prioritize your nail health by opting for gentle removal methods, avoiding aggressive peeling or scraping. Following up with aftercare ensures your nails remain strong and beautiful.
As you prepare for your next nail adventure, remember that patience is key. Whether you choose to remove gel nails via soaking, filing, or using professional products, following these guidelines will help you maintain the health of your natural nails.
Ready to explore other nail care techniques? Check out these helpful guides: How to Remove Gel Nail Polish and How to Remove Gel X Nails for more information on nail care and tips.