
A professional-looking blowout can transform your hair, giving it volume, shine, and a polished finish. While salon visits are great, the convenience and cost-effectiveness of achieving this style at home can’t be overlooked. In this guide, we’ll walk you through how to do a blowout at home, offering practical tips for beginners to get that salon-worthy look.
How to Do a Blowout at Home?
To do a blowout at home, you’ll need the right tools, products, and techniques. The basic steps include washing your hair, applying a heat protectant, drying it with a round brush, and finishing off with styling products. This method can help you achieve smooth, voluminous hair that lasts.
Essential Tools for Your Blowout
Before diving into the actual process, gather your tools. Having the right equipment will make the process smoother and more effective. Here’s what you’ll need:
- Hair Dryer: A blow dryer with a nozzle attachment is essential for directing airflow.
- Round Brush: Choose a brush that suits your hair length and thickness. A medium-sized brush is ideal for most hair types.
- Heat Protectant Spray: This protects your hair from damage caused by heat styling.
- Styling Mousse or Cream: Helps with volume and hold.
- Hair Clips: For sectioning your hair.
- Finishing Spray or Serum: To add shine and hold to your finished look.
Step-by-Step Guide for a Blowout at Home
1. Prepare Your Hair
- Wash Your Hair: Start with clean, wet hair. Use a hydrating shampoo and conditioner to give your hair a good base.
- Towel Dry: Gently blot your hair with a towel to remove excess water. Avoid rubbing, as this can create frizz.
2. Apply Hair Products
- Heat Protectant: Spray a generous amount of heat protectant throughout your damp hair.
- Styling Product: Apply a small amount of mousse or cream evenly, focusing on the roots for added volume.
3. Section Your Hair
- Divide Your Hair: Use hair clips to section your hair into manageable parts, usually into three or four sections depending on the thickness of your hair.
- Start at the Bottom: Begin with the sections at the nape of your neck and work your way up.
4. Blow Dry Each Section
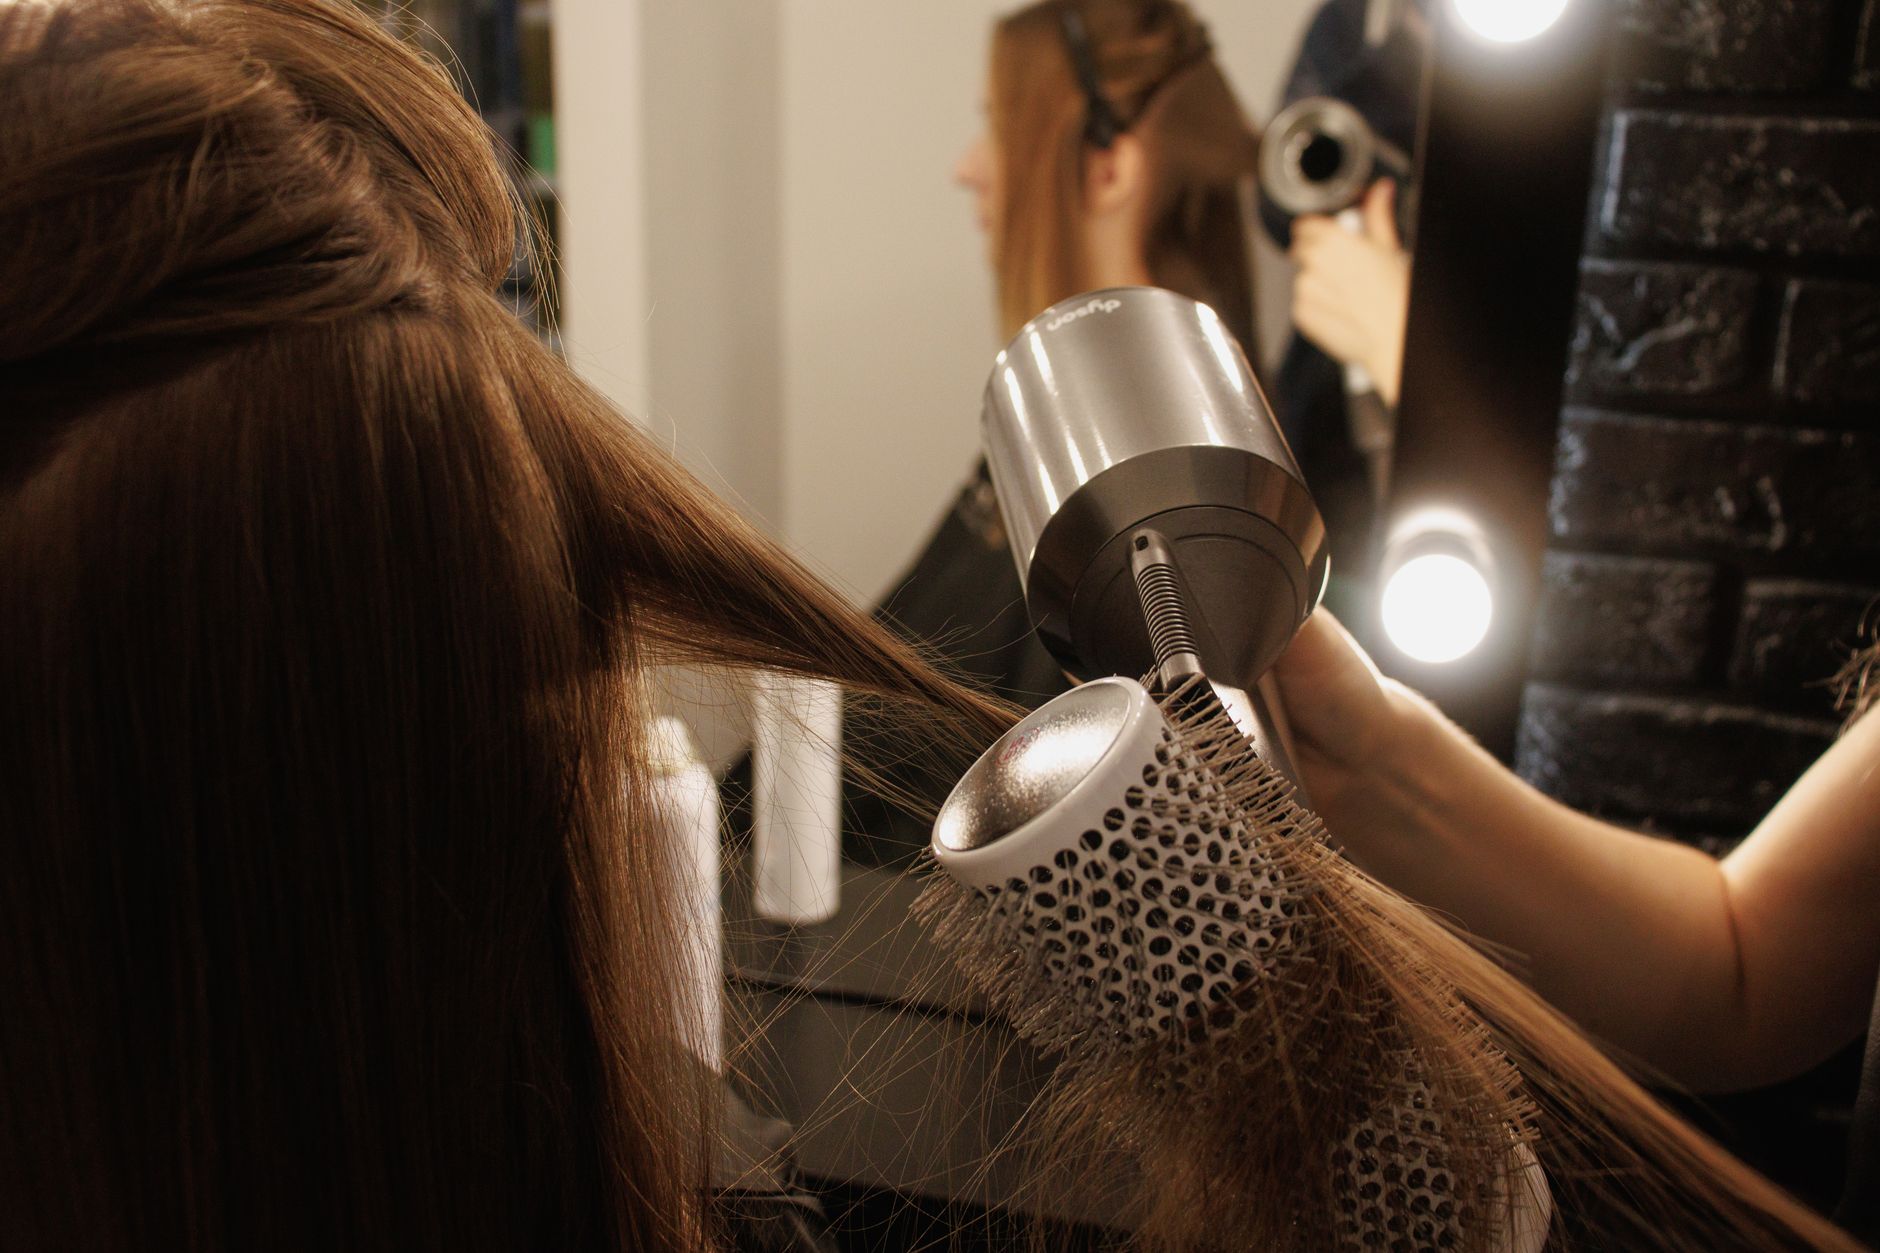
- Begin Drying: Take a round brush and place it underneath a small section of hair. Direct the blow dryer at the roots, moving the brush gradually down to the ends.
- Lift at the Roots: As you move the brush through your hair, lift upward at the roots for extra volume.
- Cold Shot: Once you reach the ends, switch your blow dryer to the cool setting and run it over the brush for a few seconds. This helps lock in the style.
- Repeat: Continue this process for each section of hair, making sure to dry completely for a smoother finish.
5. Finishing Touches
- Unclip Your Hair: Once all sections are dry, carefully remove the clips from your hair.
- Style Your Hair: You can add additional product, such as a shine serum or finishing spray, as desired.
6. Tips and Tricks for a Perfect Blowout
- Don’t Rush: Take your time to ensure each section is dry and styled to your liking.
- Use the Right Heat: Adjust the heat setting of your blow dryer according to your hair type. Fine hair may need lower heat, while thick hair usually can handle higher heat.
- Practice Makes Perfect: If you don’t get it right the first time, keep practicing!
Common Mistakes to Avoid
Even the most seasoned pros can make mistakes, so here are some common pitfalls to avoid:
- Using Too Much Product: Applying excessive amounts of products can weigh hair down and make it greasy.
- Skipping Heat Protectant: Always use a heat protectant to minimize heat damage.
- Drying Hair When It’s Soaking Wet: Ensure your hair is towel-dried adequately to avoid excess moisture that makes blow drying take longer.
Maintaining Your Blowout
Once you’ve achieved that fabulous blowout, you’ll want to keep it looking fresh. Here are tips for maintaining your blowout:
- Sleep Smart: To prolong your blowout, consider sleeping with your hair in a loose bun or braid, and using a silk pillowcase to reduce frizz.
- Avoid Moisture: Steer clear of humidity and water when possible, as this can ruin your blowout.
- Refresh with Dry Shampoo: If you notice your hair getting a little flat or greasy, a light spray of dry shampoo can help revive your look without a full wash.
How Long Does a Blowout Last?
The duration of your blowout can vary depending on your hair type, the products you used, and environmental conditions. Typically, a blowout can last anywhere from three days to a week. For tips on making your blowout last longer, check out this guide.
Hair Types and Blowout Considerations
Different hair types require different approaches. Here’s a quick breakdown of how to adapt your blowout technique:
- Straight Hair: Focus on adding volume and shine by using a larger round brush.
- Wavy Hair: For natural texture, use a medium round brush and focus on smoothing the ends while enhancing waves.
- Curly Hair: Start by blow-drying roots straight before using the round brush to style the ends for a smooth finish.
Final Thoughts
Doing a blowout at home can be both rewarding and cost-effective. Once you get the hang of it, you can enjoy stunning hair without the need for regular salon visits. Remember, practice is key, and with these tips, you’ll be able to achieve a soft, bouncy blowout that rivals any salon.
Ready to boost your haircare routine further? Explore related beauty guides on how to do a blowout at home and how long does a blowout last to continue your beauty journey.