
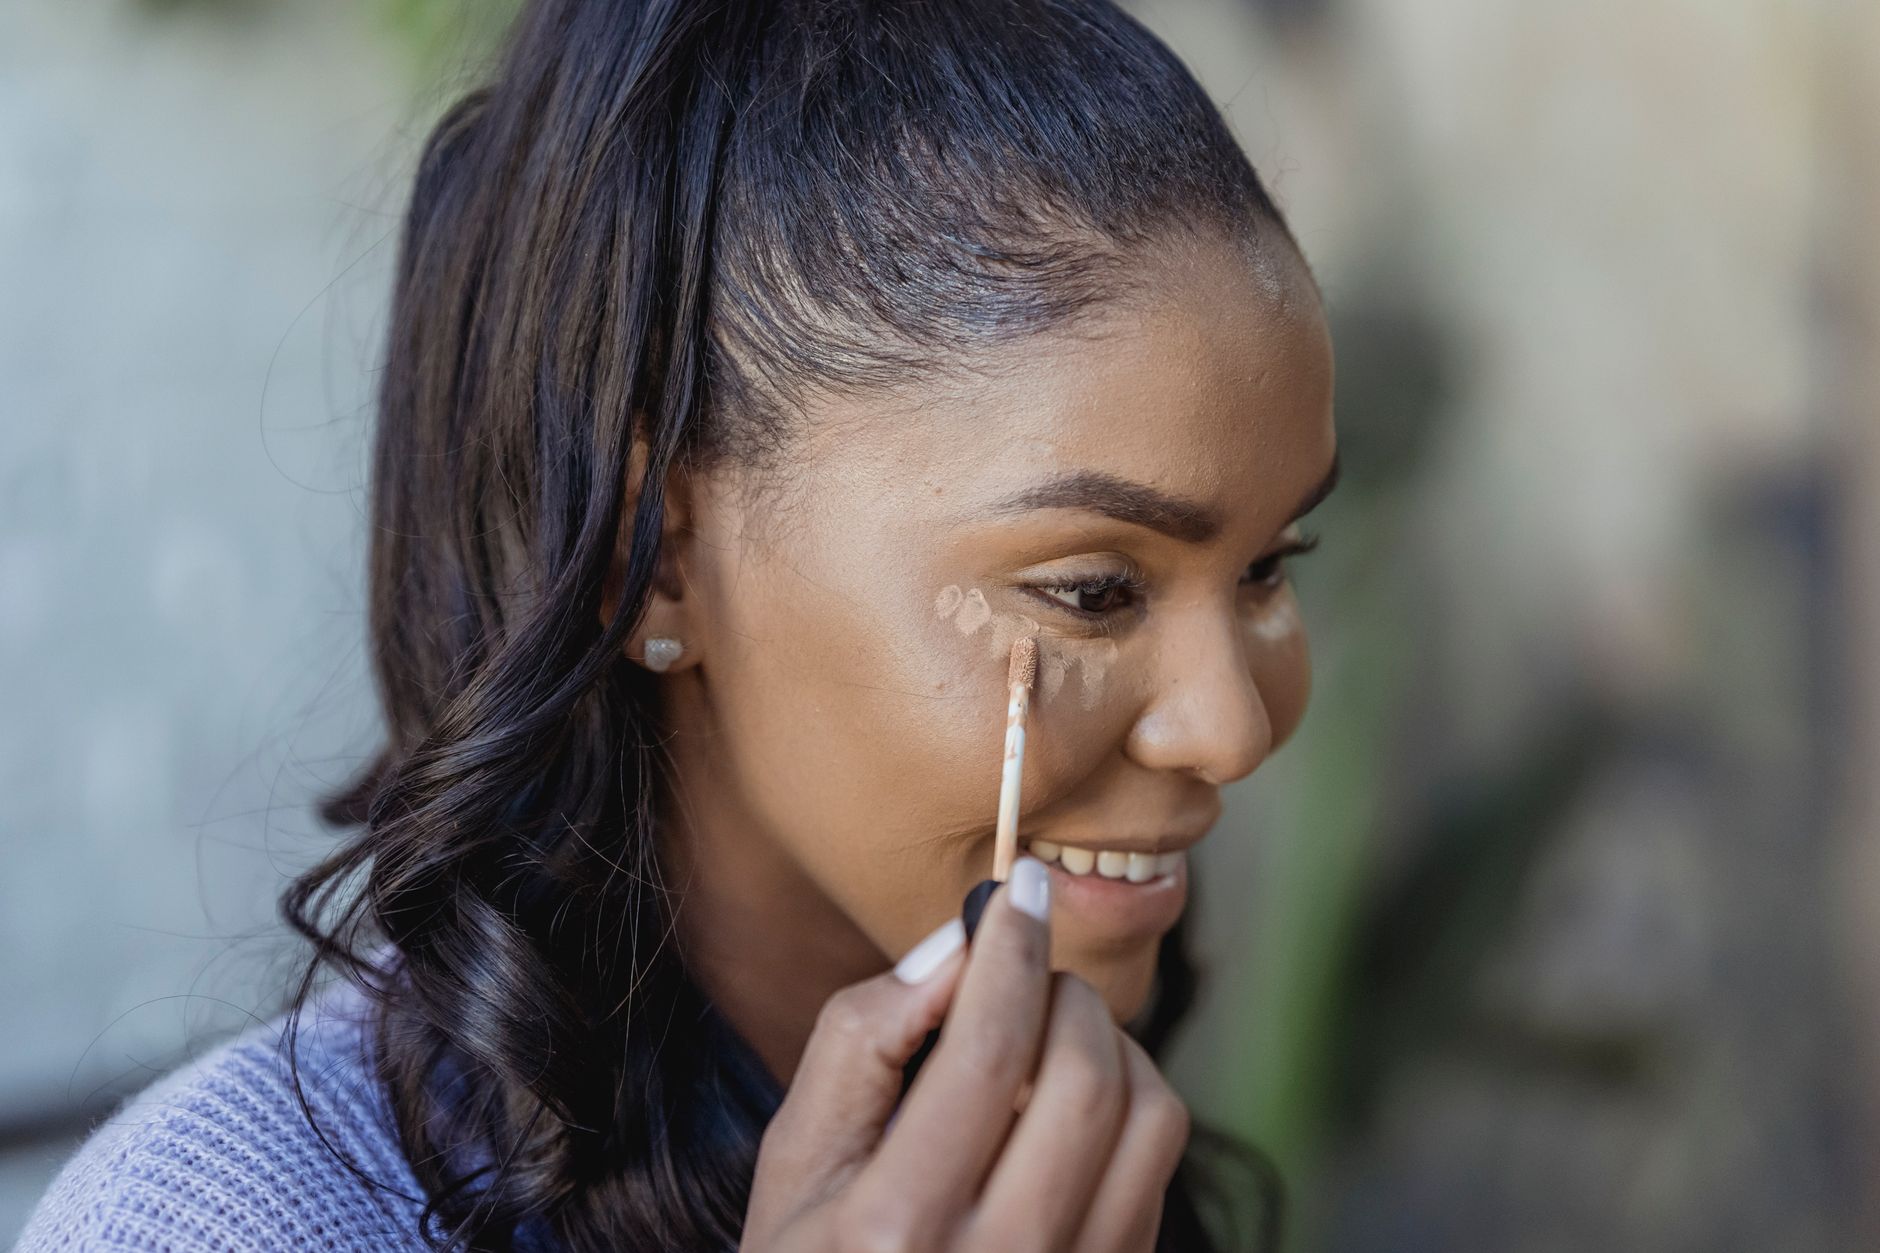
Understanding where to apply concealer can elevate your makeup game, helping you achieve a polished, flawless look. This guide will walk you through the best areas to apply concealer, techniques for flawless blending, and tips for selecting the right products for your needs.
Concealer serves to mask imperfections, such as dark circles, blemishes, and redness. Knowing the optimal placement can highlight your features and create a radiant appearance. Let’s explore the essential aspects of concealer application.
Where Does Concealer Go?
Concealer should be strategically applied to different areas of the face to effectively conceal imperfections. Common areas include under the eyes, on blemishes, around the nose, and on the chin or forehead. Each area serves different cosmetic purposes and may require varying techniques for the best results.
Types of Concealer
Before diving into application, it’s essential to understand the different types of concealers available. The type you choose can influence placement techniques:
- Liquid Concealer: Provides a lightweight, buildable coverage and is suitable for most skin types.
- Cream Concealer: Offers more coverage and a thicker consistency, best for hiding blemishes or discoloration.
- Stick Concealer: Convenient for on-the-go application and excellent for targeting specific areas.
- Potted Concealer: Typically provides maximum coverage and is long-wearing. Ideal for stubborn imperfections.
- Color-Correcting Concealer: Available in various shades to neutralize specific discolorations, such as redness or dullness.
Understanding Skin Types and Concerns
Your skin type and specific concerns will dictate not only the type of concealer to use but also its optimal application. Factors to consider include:
- Dry Skin: Opt for liquid or cream concealers with moisturizing ingredients to prevent flakiness.
- Oily Skin: Choose oil-free formulas that offer long-lasting coverage and mattifying properties.
- Sensitive Skin: Look for hypoallergenic, fragrance-free options to reduce irritation.
- Acne-Prone Skin: Use non-comedogenic formulas to avoid clogging pores.
Essential Tools for Application
Using the right tools can enhance your concealer application. Here are some commonly used tools:
- Brush: A flat or tapered brush allows for precise application and blending.
- Beauty Sponge: Ideal for a natural finish and seamless blending.
- Fingers: The warmth of your fingers can help emulsify the product for easier blending.
How to Apply Concealer: Step-by-Step Guide
The order of application can impact the final look. Follow these steps to properly apply concealer:
- Prep Your Skin: Start with a clean, moisturized face. If you plan to use foundation, apply it first.
- Select the Right Shade: Choose a shade that is one or two shades lighter than your foundation for brightening effects or a shade that matches your skin tone for blemishes.
- Application Techniques: Use your chosen tool to apply concealer to each designated area.
- Blending: Blend gently using a tapping motion with your selected tool—brush, sponge, or fingers.
- Set the Concealer: To ensure longevity, lightly dust translucent powder over the concealer.
Placement Techniques for Different Areas
Now that you know the basics, let’s discuss specific placement techniques for various areas of the face.
Under the Eyes
The under-eye area is often where concealer is most needed to combat darkness. Here’s how to apply:
- Use your ring finger or a small brush to apply a small amount of concealer just below the lower lashes.
- Create a triangle shape with the base of the triangle along your lower lash line and the tip pointing towards your cheek.
- Blend gently, ensuring not to disturb the skin.
- Consider using a slightly peach or yellow-toned concealer for the best coverage against dark circles.
On Blemishes
To conceal blemishes without drawing attention to them, follow these steps:
- Apply a dot of concealer directly onto the blemish.
- Use a small brush to tap the edges of the concealer to blend it seamlessly into the skin.
- Layer if necessary, but be careful not to overdo it to avoid a heavy look.
Around the Nose
Redness around the nose and chin can be effectively concealed with the right technique:
- Apply concealer in a small dot around the nostrils and on any redness on the chin.
- Blend softly with a brush or sponge to ensure the appearance is natural.
On the Forehead and Chin
For highlighting or concealing uneven skin tone:
- Apply a small amount of concealer in the center of the forehead and chin.
- Use a brush or sponge to blend outward toward the hairline and along the jawline.
Common Concealer Mistakes to Avoid
Even pros can make mistakes when applying concealer. Here are some common pitfalls to watch out for:
- Using Too Much Product: A little goes a long way. Excess product can lead to a cakey finish.
- Skipping Primer: Using an eye primer or skin primer can help conceal last longer and look smoother.
- Neglecting to Set: Always set your concealer with powder, especially in the under-eye area to prevent creasing.
- Poor Shade Matching: Testing concealer in natural light can help you find the perfect shade.
Color-Correcting Concealers
Color-correcting concealers can be a game changer for specific imperfections. Here’s a quick guide:
- Green Concealer: Neutralizes redness, ideal for acne or rosacea.
- Peach/Orange Concealer: Best for dark circles on darker skin tones.
- Yellow Concealer: Brightens dull skin and neutralizes purple tones.
- Lavender Concealer: Brightens sallow or yellow-toned skin.
Setting and Maintaining Your Concealer
After application, it’s vital to set your concealer and maintain its wear throughout the day. Here’s how you can do that:
- Dust with Translucent Powder: Lightly set your concealer with a translucent setting powder to prevent creasing.
- Use a Finishing Spray: A makeup setting spray can help lock your makeup in place for longer.
- Touch-Ups: Keep portable concealer and a sponge or brush handy for quick touch-ups throughout the day.
Concealer for Different Skin Tones
When selecting concealer, consider how it complements your skin tone:
- Fair Skin: Opt for neutral or pink undertones.
- Medium Skin: Look for yellow or peach undertones.
- Olive Skin: Green-toned concealers can counteract redness.
- Dark Skin: Go for deep peach or orange to address dark circles.
Final Touches and Finish Options
To customize your final look, think about the finish you desire:
- Matte Finish: Use mattifying products and powders for an oil-free, flat look.
- Satin Finish: Use standard products mixed with hydration for a healthy glow.
- Radiant Finish: Opt for luminous concealers and highlight key areas.
Concealer can be a powerful tool if used correctly. By carefully considering your needs, choosing the right products, and applying them with precision, you can accentuate your natural beauty. Remember to practice these techniques to find what works best for your features and preferences!
Now that you’re equipped with the basics, consider exploring guides such as How to Apply Concealer and Where to Apply Concealer for more tips and tricks to enhance your makeup techniques.