
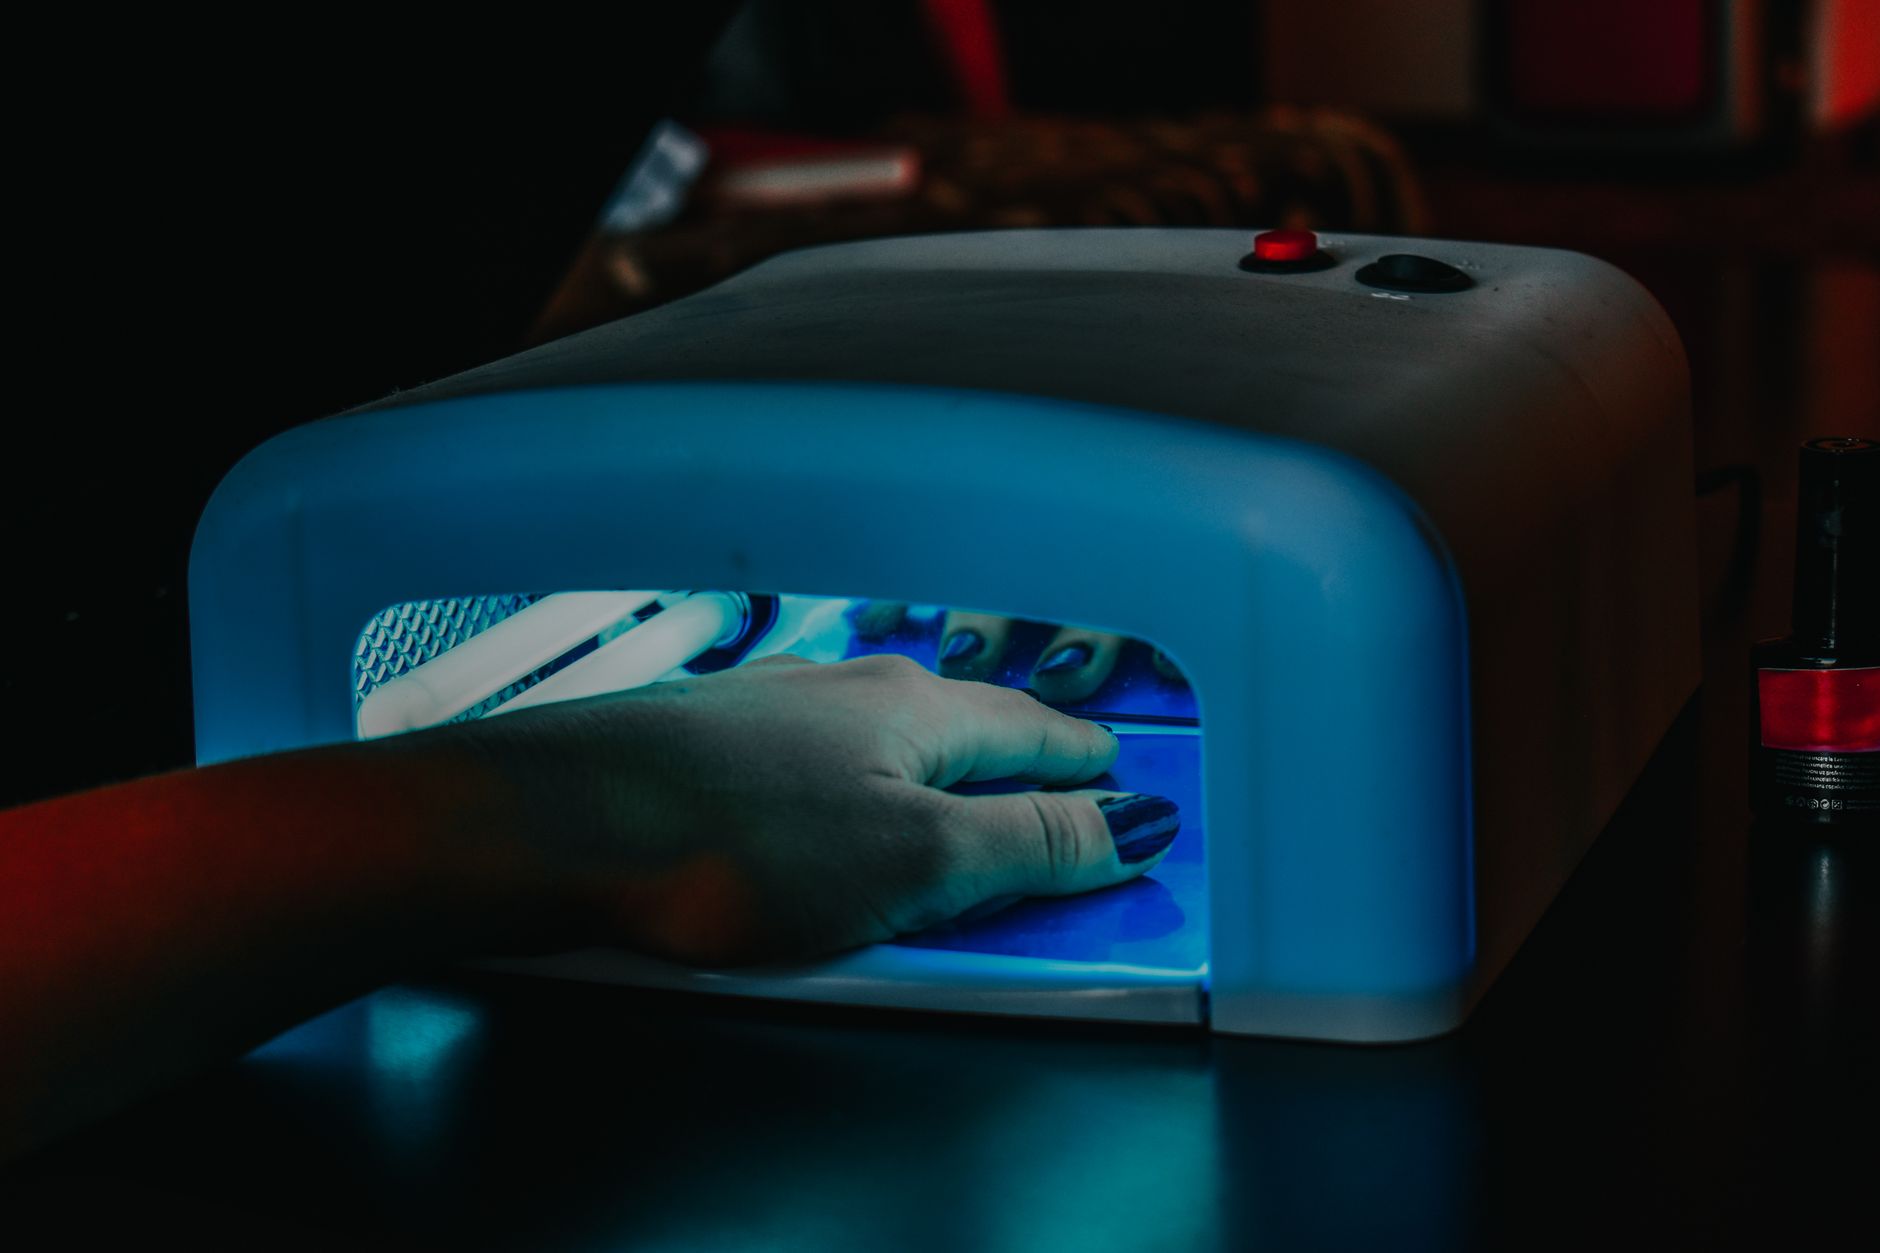
Builder gel is a popular nail enhancement product that adds strength and durability to natural nails. While enjoying beautiful manicured nails, you may need to remove the builder gel for various reasons, such as nail health or changing your style. This guide provides a comprehensive overview of how to remove builder gel at home safely and effectively.
Following the right steps and precautions ensures that your nails remain healthy and strong after the removal process. Let’s delve into the easy steps you can follow to safely remove builder gel at home without damaging your natural nails.
How to Remove Builder Gel at Home?
Removing builder gel at home can be done with common household items and some patience. The best method involves soaking your nails, which helps to break down the gel for easy removal. Below are the steps to effectively remove builder gel at home.
What You’ll Need
Preparation is essential for successful builder gel removal. Gather the following supplies before you begin:
- Acetone (preferably pure acetone for quicker results)
- Cotton balls or pads
- Aluminum foil or nail clips
- Nail file (preferably a coarse grit)
- Wooden cuticle stick or metal cuticle pusher
- Nail buffer
- Moisturizing lotion or cuticle oil
- Optional: An orange stick or a similar tool for pushing back cuticles
Pre-Removal Steps
Before diving into the removal process, it’s beneficial to prepare your nails properly. This will make the removal process easier and more effective.
- Wash Your Hands: Thoroughly cleanse your hands and nails with soap and water to remove any dirt or oils.
- Push Back Cuticles: Use a wooden cuticle stick to gently push back the cuticles around your nails. Be careful not to damage your cuticles during this step.
- File the Surface: Using a coarse nail file, gently buff the surface of the builder gel. This helps to break the seal and allows the acetone to penetrate and dissolve the gel more effectively. Avoid filing too deep to prevent damage to the natural nail beneath.
Step-by-Step Builder Gel Removal
Now that your nails are prepped, it’s time for the main removal process. Follow these steps closely for optimal results.
- Soak the Cotton: Soak a cotton ball or pad in pure acetone until it’s saturated but not dripping.
- Apply the Cotton: Place the soaked cotton directly on top of the builder gel. Ensure that the cotton completely covers the nail surface for maximum effectiveness.
- Wrap with Foil: Cut small squares of aluminum foil, wrap them around your fingertip, and secure them over the cotton. This creates a sealed environment that helps keep the acetone from evaporating and allows it to work more effectively.
- Wait: Allow the nails to soak for at least 10 to 15 minutes. If the gel is particularly thick, you may need to leave it on for up to 30 minutes.
- Check the Progress: After the wait time, carefully unwrap one finger and check to see if the gel is lifting. If it is not, rewrap and soak for another 5–10 minutes.
Removing the Builder Gel
Once you see that the gel is starting to lift, you can begin the removal process.
- Gently Scrape Off the Gel: Use a wooden cuticle stick or metal cuticle pusher to gently lift the builder gel from your nail. Start at the edge and work your way towards the center. Be very gentle; if resistance is felt, soak for a few more minutes.
- Remove Residue: After the majority of the gel is lifted, you may have some residue left on the nail. Reapply a fresh cotton ball soaked in acetone and wrap again for a few more minutes.
- Finish Scraping Off Residue: Once soaked, scrape any remaining residue off your nails until they are clean.
Aftercare for Healthy Nails
After the builder gel removal, it’s essential to take steps to ensure your nails remain healthy and strong.
- Wash Your Hands: Remove any excess acetone from your nails and hands by washing with soap and water.
- Moisturize: Apply a generous amount of moisturizing lotion or cuticle oil to your nails and cuticles. Acetone can be very drying, so it is essential to hydrate your nails after removal.
- Give Your Nails a Break: Consider waiting a week or two before reapplying any builder gel or polish to allow your natural nails to recover and strengthen.
Safety Tips for Removing Builder Gel
While the above steps outline the process of removing builder gel safely at home, it’s essential to keep the following tips in mind to ensure your nails remain healthy:
- Always use pure acetone to speed up the process and reduce the time your nails are exposed to the solvent.
- Do not pick or forcefully scrape off the gel, as this can damage your natural nails.
- If you have sensitive skin or nails, consider performing a patch test with acetone on a small area before proceeding with the full application.
- Ensure you are in a well-ventilated area when using acetone to avoid inhalation of fumes.
- If you experience pain, redness, or irritation during the process, stop immediately and rinse your nails with water.
Common Mistakes to Avoid
Understanding common mistakes can help streamline your builder gel removal process. Here are a few to watch out for:
- Skipping the filing step can prevent acetone from penetrating effectively, making removal harder.
- Removing the builder gel too quickly or forcefully may cause damage to the nail bed.
- Not taking care of your nails afterward can lead to weakening and brittleness due to acetone exposure.
When to Seek Professional Help
While removing builder gel at home can be straightforward, some situations warrant seeking professional assistance:
- If your nails are particularly damaged or weak, having a professional remove the builder gel may be safer.
- If you encounter any signs of allergic reaction (such as persistent redness or swelling), contact a healthcare professional.
- In case of multiple layers of builder gel that do not respond to home treatment, a salon may offer better removal options.
Additional Nail Care Tips
After successfully removing the builder gel, consider maintaining healthy nails with these tips:
- Keep nails trimmed and filed regularly to prevent breakage.
- Adopt a moisturizing routine for your cuticles and nails to prevent dryness.
- Consider applying a strengthening nail treatment to support natural growth.
- Avoid harsh chemicals and excessive exposure to water to preserve nail integrity.
Conclusion
Removing builder gel at home can be easy and effective if you follow the right steps and take precautions. Gather your supplies, prepare your nails, and use the soaking method for the best results. Afterward, ensure proper nail care and hydrate to keep your nails looking and feeling healthy.
For readers looking to expand their nail care routine, explore our guides on removing gel nail polish and removing gel nails for additional insights on nail maintenance.