
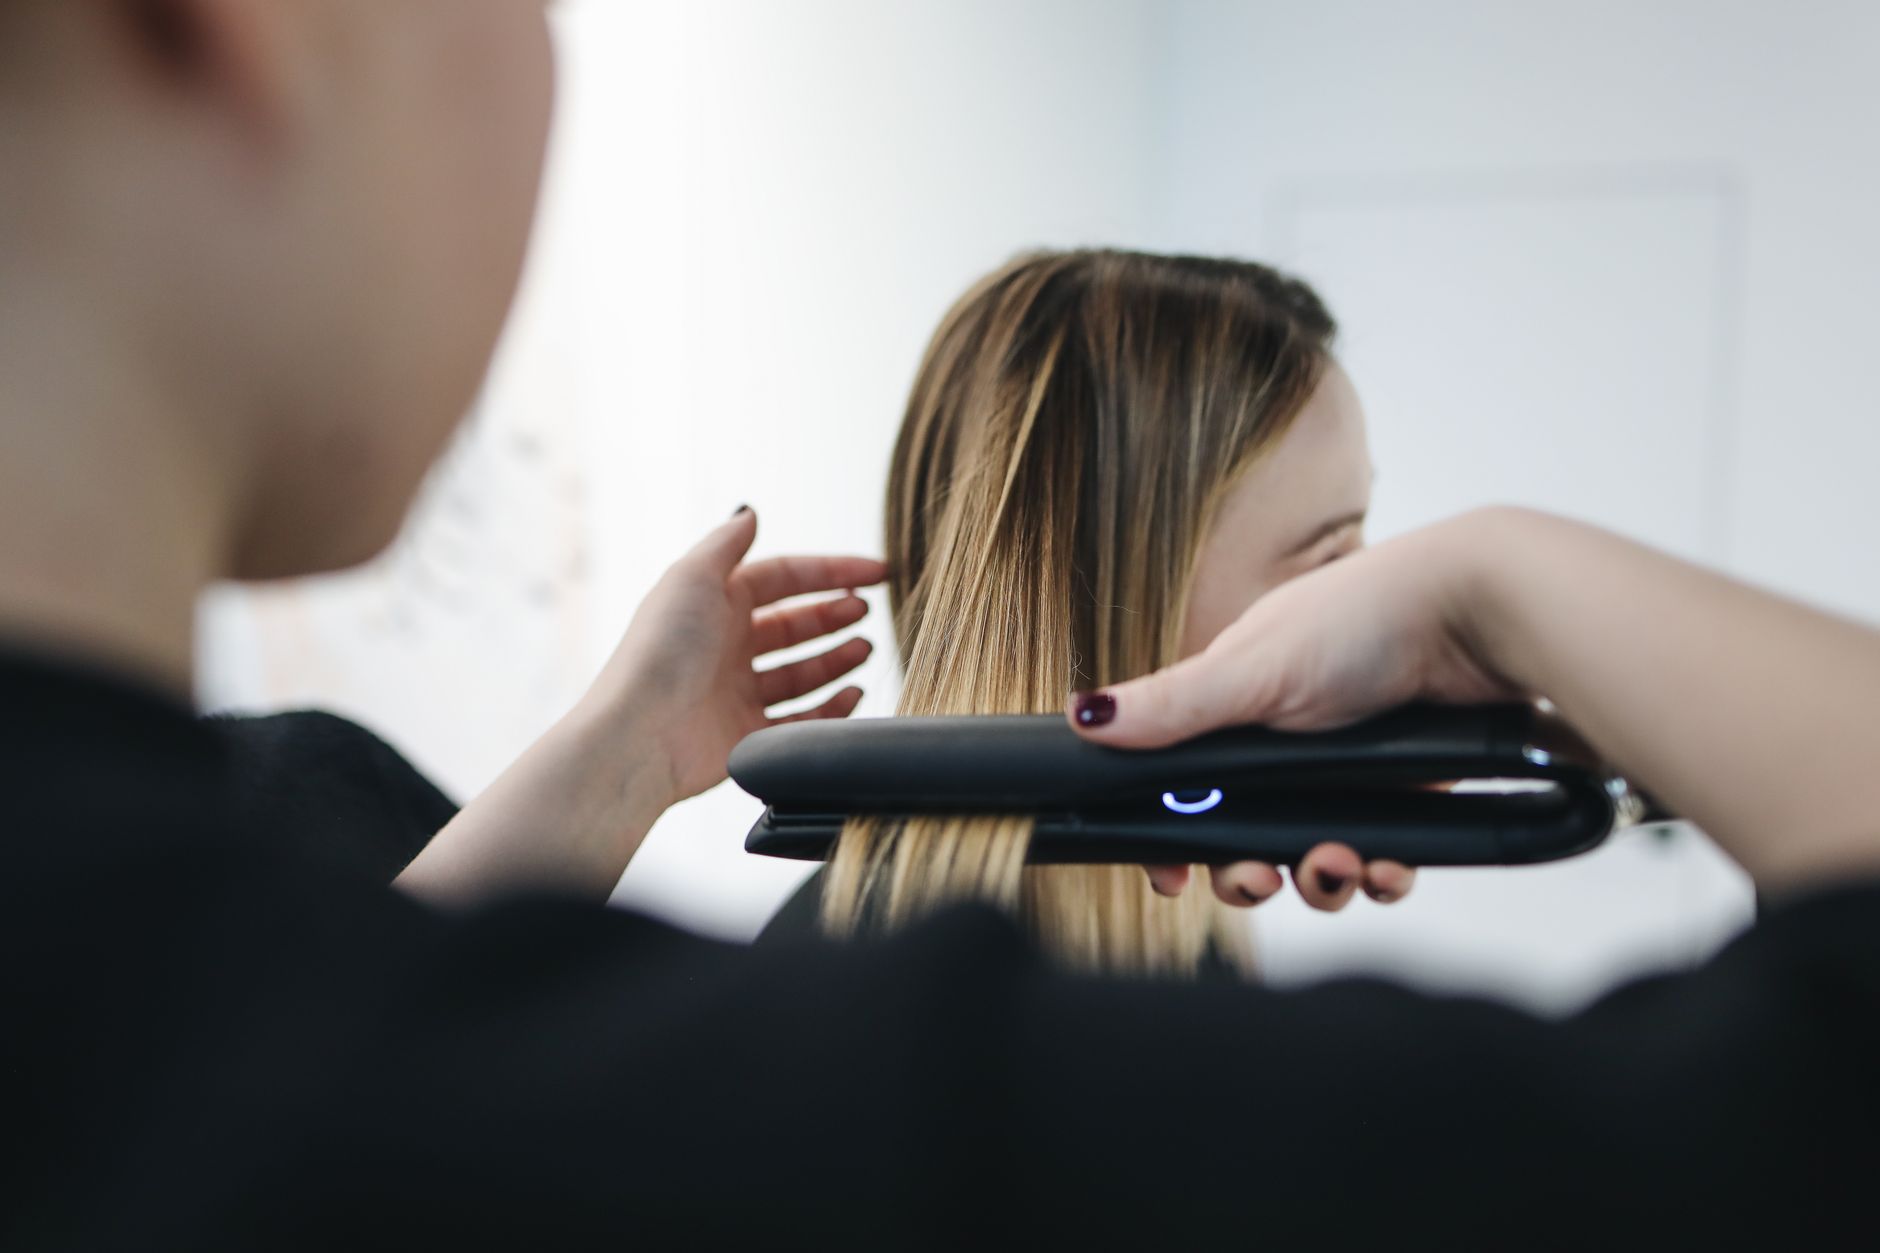
Learning how to curl your hair with a straightener can elevate your styling game and offer versatile looks with just one tool. This technique allows you to create everything from loose waves to tight curls, and it’s perfect for when you want to switch up your style without investing in a separate curling iron.
This step-by-step guide will walk you through the process, ensuring you achieve beautiful curls that last. We’ll cover the tools needed, preparation steps, and common mistakes to avoid, making curling with a straightener accessible for everyone.
How to Curl Your Hair with a Straightener?
To curl your hair with a straightener, you need to section your hair, clamp the straightener on a section of hair, twist it while pulling downward, and hold it for a few seconds. This method not only creates curls but also helps you define the size of the curls. Following a few simple steps can make a big difference in your results.
Essential Tools and Products
Before diving into the curling process, it’s essential to have the right tools at your disposal. Here’s a list of necessary items:
- Hair Straightener: A reliable straightener with rounded edges is ideal for curling.
- Heat Protectant Spray: To shield your hair from heat damage.
- Hair Clips: To section your hair easily.
- Wide-Tooth Comb or Brush: For detangling your hair.
- Hairspray: To set your curls for longer-lasting results.
- Optional: Curling Serum or Mousse: For added texture and hold.
Preparing Your Hair
Preparation is key when curling your hair with a straightener. Here’s how to get your hair ready:
- Start with Clean Hair: Wash your hair with a sulfate-free shampoo and conditioner. Avoid heavy products that can weigh your hair down.
- Dry Your Hair: Allow your hair to air dry or use a blow dryer. Ensure that your hair is completely dry before using a straightener, as wet hair can lead to damage.
- Apply Heat Protectant: Once your hair is dry, spray a generous amount of heat protectant throughout your hair. This will help minimize damage from the heat of the straightener.
- Detangle: Use a wide-tooth comb or brush to remove any knots from your hair. Working with smooth hair makes curling easier.
- Section Your Hair: Divide your hair into manageable sections using hair clips. Start with the bottom layers and work your way up. This allows better control when curling.
Step-by-Step Instructions for Curling Hair with a Straightener
Now that your hair is prepped, it’s time to learn how to curl your hair effectively using a straightener. Follow these steps carefully:
- Heat the Straightener: Turn on your straightener and set it to the desired temperature. Generally, 300°F to 350°F works well for most hair types. Fine hair may require lower heat, while thicker hair may need higher temperatures.
- Take a Section of Hair: Start with a small section of hair, about 1 inch wide. The smaller the section, the tighter the curl will be.
- Clamp and Rotate: Clamp the straightener down on the end of the hair section. Rotate the straightener 180 degrees away from your face. This twisting action is what creates the curl.
- Pull Downward: Slowly pull the straightener down through your hair while maintaining the twist. You should feel the hair curling around the plates of the straightener as you pull it through.
- Hold for a Few Seconds: Keep the straightener in that position for about 5 to 10 seconds, depending on your hair texture. The longer you hold it, the tighter the curl will be.
- Release the Curl: Gently release the straightener and allow the curl to fall. Do not pull on the curl immediately; let it cool for a few seconds to set the shape.
- Repeat: Continue this process with the rest of your sections, working your way up towards the top layers of your hair.
Tips for Achieving Different Curl Styles
The way you use your straightener can change the type of curls you create. Consider these tips for various styles:
- Loose Waves: Use larger sections of hair (1.5 to 2 inches) and pull the straightener through more quickly. This method will create a more relaxed wave effect.
- Tight Curls: Use smaller sections (less than 1 inch) and hold the straightener in place longer. You can also wrap the hair more tightly around the straightener for a coiled look.
- Flip Ends Up or Down: Choose the direction you want your curls to face. To create a more voluminous look, alternate the direction of your curls with each section.
Setting Your Curls
Once you’ve curled all of your hair, there are a few final steps to ensure that your curls last:
- Let Your Curls Cool: This is crucial for the longevity of the curls. Avoid touching them until they’ve cooled completely.
- Apply Hairspray: Lightly spritz your curls with hairspray to hold them in place. Choose a flexible hairspray to avoid crunchiness.
- Separate Curls for Volume: Gently separate the curls with your fingers to create more volume and a natural finish. Avoid excessive brushing as it can lead to frizz.
- Optional: Add Shine: For an added glow, you can apply a small amount of curl serum or shine spray to your curls, focusing on the ends.
Common Mistakes to Avoid
While curling your hair with a straightener can be straightforward, there are a few common pitfalls to watch out for:
- Using Too Much Heat: Excessive heat can damage hair. Be mindful of the temperature setting and your hair’s tolerance.
- Skipping Heat Protectant: Never overlook the importance of a heat protectant spray, as using hot tools without it can lead to severe damage.
- Not Allowing Curls to Cool: Allowing curls to cool in their shape is essential for longevity. Do not run your fingers through them or disturb them until they have set.
- Rushing the Process: Take your time with each section to ensure you achieve the best results. Quick motions can result in uneven curls.
Hair Types and Considerations
Understanding your hair type can significantly influence the curling process. Here’s a brief overview:
- Fine Hair: Use lower heat and smaller sections to avoid weighing your hair down. Fine hair may struggle with holding curls, so using a styling product can help.
- Thick Hair: Higher heat may be necessary for thick hair to achieve and retain curls. Smaller sections can provide better definition.
- Curly Hair: If you have naturally curly hair, consider treating it differently. Straightening before curling can give you defined curls, but be cautious about heat.
- Color-Treated Hair: If you have processed hair, make sure you use products designed for colored hair, and consider using lower heat settings to avoid damage.
Maintaining Your Curls
With the right care, your curls can last up to several days. Here are some tips for maintaining them:
- Use Sulfate-Free Products: Choose sulfate-free shampoo and conditioner which are gentler and less drying on your curls.
- Sleep with a Silk or Satin Pillowcase: This helps minimize friction and frizz on your curls while you sleep.
- Revive Curls with a Spray: If your curls lose definition, you can mist your hair with water or a curl-refreshing spray to bring them back to life.
- Revamp with a Styling Product: For extra hold, apply a curl cream or mousse in the mornings to reshape and maintain your curls.
Conclusion
Curling your hair with a straightener is an efficient technique that can help you achieve beautiful curls with minimal fuss. By following the steps outlined in this guide, you can quickly master this skill and create a variety of styles—from soft waves to bouncy curls. Remember to practice patience and care for your hair, and experiment with different techniques until you find what works best for you. With the right approach, you’re well on your way to achieving stunning curls!
For more beauty tips and tutorials, explore our guides on curling hair and getting fluffy hair.