
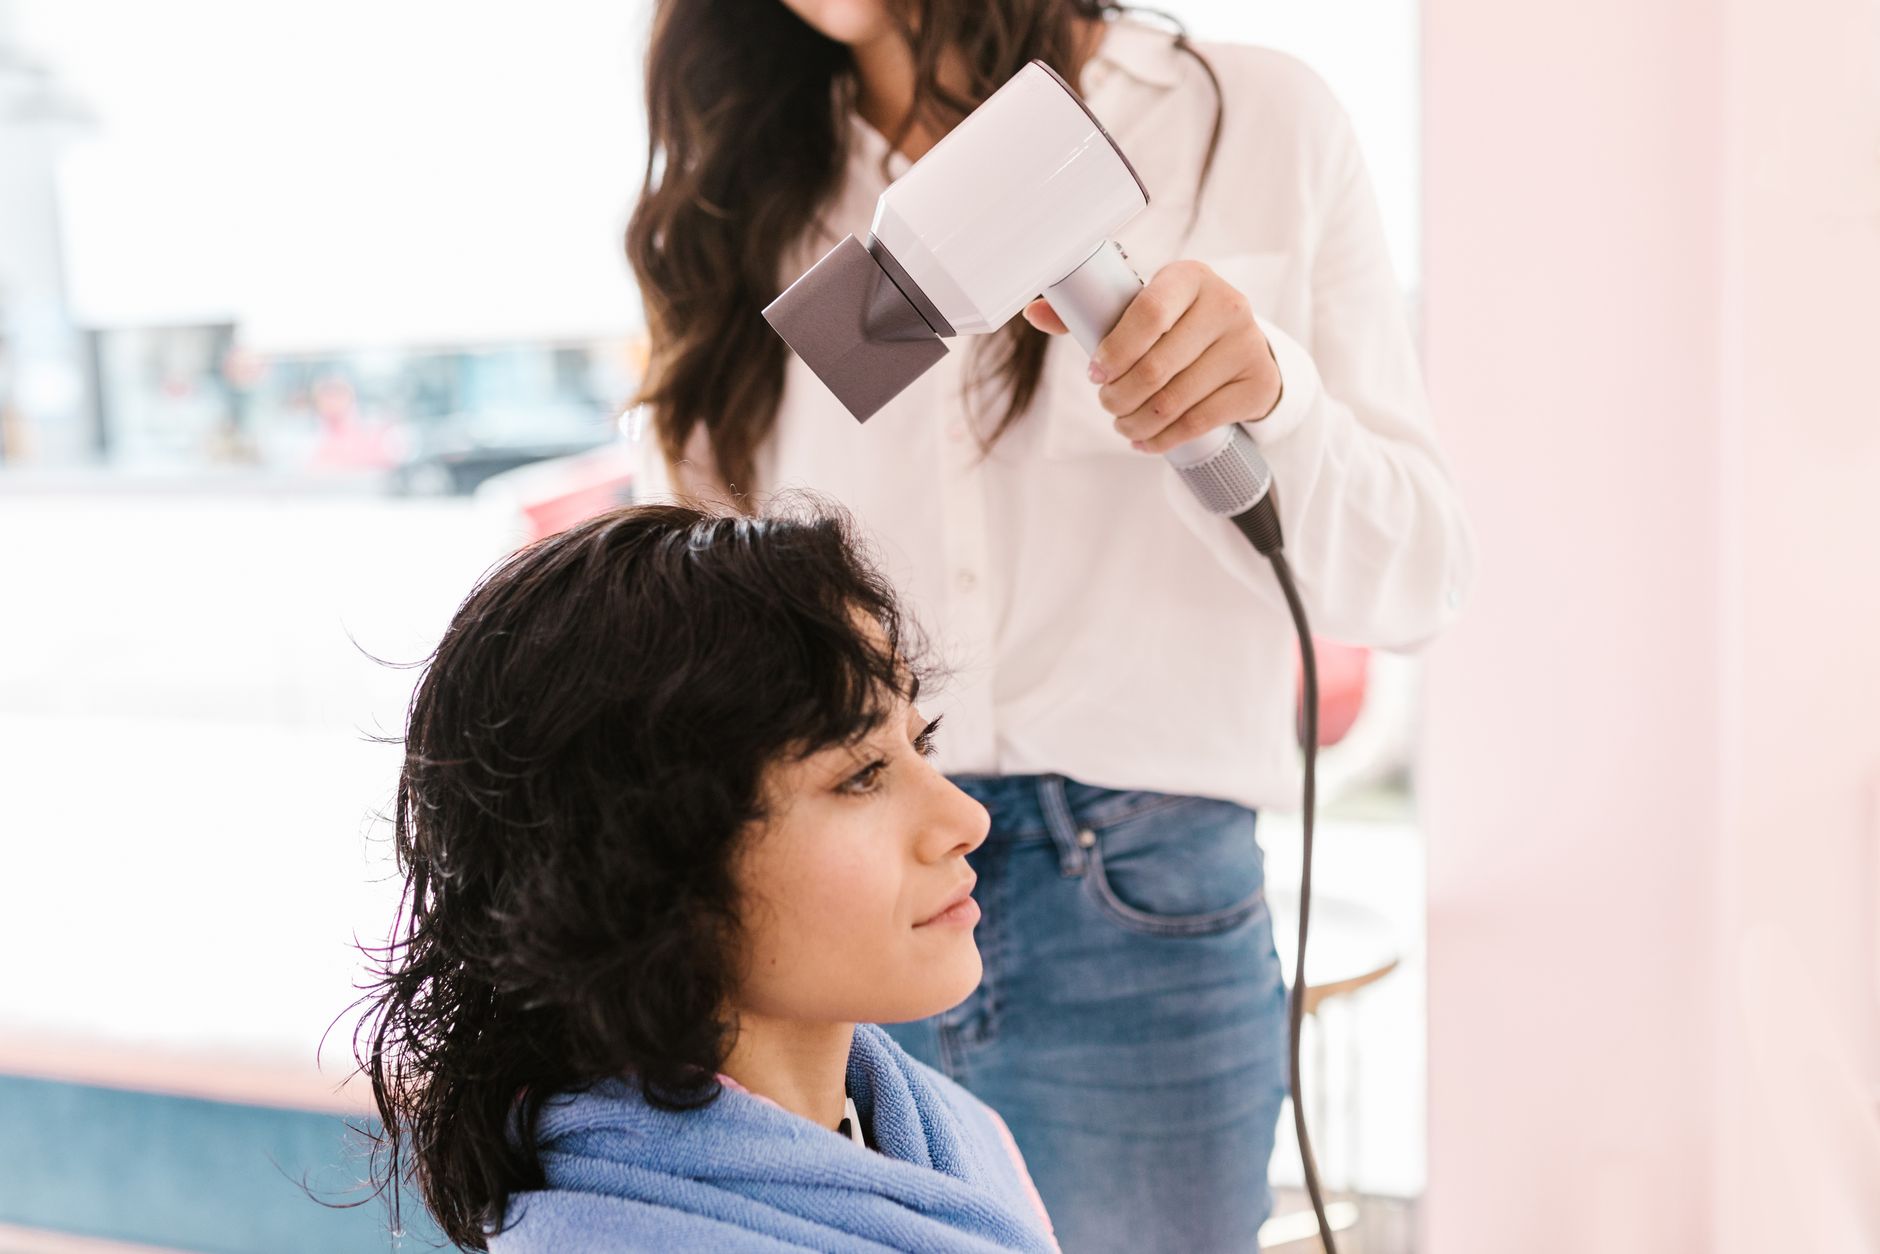
Achieving a salon-quality blowout at home can elevate your hair game, providing you with that fresh-from-the-salon look without the hefty price tag. With the right tools, techniques, and tips, you can master this styling method and enjoy smooth, voluminous hair.
In this comprehensive guide, you will learn the essential tools needed, step-by-step instructions for executing a blowout, and expert tips to achieve a flawless finish.
How to Do a Blowout?
To do a blowout, you need to use specific tools and techniques that will help you create volume and smoothness in your hair. With the right preparation and styling methods, anyone can achieve a salon-worthy blowout at home.
Essential Tools for a Blowout
Before diving into the blowout process, it’s crucial to gather all necessary tools. Here’s what you will need:
- Hair Dryer: Choose a high-quality hair dryer with multiple heat and speed settings for the best results.
- Round Brush: A medium to large round brush helps to create volume and smoothness.
- Hair Clips: Sectioning clips will help keep your hair organized during the blowout process.
- Heat Protectant: A thermal protectant will shield your hair from heat damage.
- Volumizing Mousse or Spray: These products enhance volume and hold.
- Finishing Spray: A light finishing spray can help set your style and add shine.
- Comb: A comb will assist with detangling and sectioning your hair.
Preparation Steps for a Blowout
Preparation is key to achieving a successful blowout. Follow these steps before you start styling:
- Wash Your Hair: Start with clean, damp hair. Use a sulfate-free shampoo and conditioner to maintain moisture.
- Towel Dry: Gently towel-dry your hair to remove excess moisture. Avoid vigorous rubbing, which can cause frizz.
- Apply Heat Protectant: Apply a generous amount of heat protectant throughout your damp hair, ensuring it is evenly distributed.
- Use Styling Products: Depending on your hair type, apply a volumizing mousse or spray to enhance body and hold.
- Detangle: Use a wide-tooth comb to detangle your hair gently, minimizing breakage.
- Section Your Hair: Divide your hair into manageable sections with clips. Typically, you’ll want to separate it into at least four sections for optimal control.
Step-by-Step Blowout Technique
Now that you are prepared, follow these steps to execute a blowout like a pro:
- Start with the Back Sections: Release one of the back sections of hair. If your hair is thick, consider splitting it into two more sections for easier styling.
- Target the Roots: Using the round brush, lift the hair at the roots while directing the heat from the hair dryer underneath. This method creates volume at the roots.
- Smooth the Lengths: Once the roots are dry, glide the round brush down the lengths of your hair while following it with the hair dryer. Rotate the brush as you dry to curl the ends slightly inward if desired.
- Alternate Sections: Continue working through sections of your hair, repeating steps 1 to 3 until your entire head is dry. Work from the back to the front for the best results.
- Blow Cold Air: Once your hair is dry, switch your hair dryer to a cool setting. Pass the cold air over your hair to set the style and add shine.
- Add Finishing Touches: If needed, use a small amount of finishing spray for extra hold. You can also add a shine serum for added luster.
- Style as Desired: Finally, style your hair as desired. You can leave it straight, add curls with a curling iron, or pin it up for a sleek look.
Salon-Finish Tips for a Perfect Blowout
For those looking to elevate their blowout even further, consider these salon-finish tips:
- Use the Right Heat Setting: Adjust the heat settings according to your hair type. Fine hair may need less heat, while thick hair may require higher temperatures.
- Don’t Rush: Take your time with each section. The more attention you give to each strand, the better the final result will be.
- Practice Sectioning: Proper sectioning makes a big difference. Smaller sections generally yield better results, so don’t be afraid to take your time with this step.
- Invest in Quality Tools: A quality hair dryer and round brush can make a significant difference in achieving a smooth finish.
- Dry Hair Completely: Ensure each section is completely dry before moving to the next; this minimizes frizz and extends the life of your blowout.
- Finishing Products Matter: Don’t skip finishing products. A light hairspray or shine serum can help keep your style looking fresh.
- Smooth Flyaways: Use a tiny bit of hair oil or smoothing balm to tame flyaways after styling.
Common Mistakes to Avoid During a Blowout
Learning how to do a blowout takes practice, and making mistakes is part of the learning process. Here are some common pitfalls to avoid:
- Overloading on Product: Too much product can weigh down your hair and lead to a sticky finish. Use styling products sparingly.
- Using High Heat Continuously: Consistently using high heat can damage hair. Always start with lower heat settings and increase as needed.
- Skipping Heat Protection: Never skip on heat protectant. This step is crucial to keeping your hair healthy.
- Neglecting to Section Properly: Avoid working with too much hair at one time, which can lead to uneven drying and styling.
- Improper Brushing Technique: Avoid using a stiff brush. Instead, choose a brush that allows you to apply slight tension without pulling on your hair.
- Not Drying Completely: Drying only partially can lead to frizz or an unkempt appearance later in the day.
Adapting Your Blowout for Different Hair Types
Different hair types can affect how you achieve a blowout. Here are tips for various textures:
Straight Hair
For straight hair, focus on using volume-enhancing products. A round brush can enhance body, and using higher heat may help increase curl at the ends for added style.
Wavy Hair
For those with wavy hair, it can be beneficial to use a smoothing serum to help control frizz. Aim to use a combination of higher heat and tension in the brushing technique to help straighten and smooth the waves.
Curly Hair
When styling curly hair, it’s essential to work in smaller sections. Use a larger round brush to relax curls while providing smoothness. Consider using a diffuser attachment for the hair dryer when drying the roots to preserve curl integrity.
Thick Hair
Thicker hair might require more time and effort. Working with smaller sections and a powerful blow dryer can help you achieve the desired results without over-drying your hair.
Fine Hair
For fine hair, using a volumizing mousse and a lightweight brush can help achieve fullness without weighing the hair down. Avoid overly high heat to prevent damage.
Maintaining Your Blowout
A blowout can last several days if properly cared for. To maintain the sleek look:
- Sleep Smart: Use a silk or satin pillowcase to reduce friction while sleeping, helping to keep your hair smooth.
- Minimize Wet Hair Days: Try to plan your blowout around days you won’t need to wet your hair.
- Prevent Oil Build-Up: Use a dry shampoo on the roots to absorb oil and extend the life of your style.
- Touch Up as Needed: Use a flat iron to touch up sections or use the hair dryer on a low setting to refresh the style.
Conclusion
Learning how to do a blowout can greatly enhance your hairstyling capabilities, offering you the freedom to recreate that polished look anytime at home. With the right tools, techniques, and tips, you can achieve a professional-looking blowout that lasts for several days. Now, it’s time to put your newfound knowledge into practice!
If you’re interested in more ways to manage your hair, explore our guides on fixing frizzy hair and understanding Brazilian blowouts for additional styling insights.