
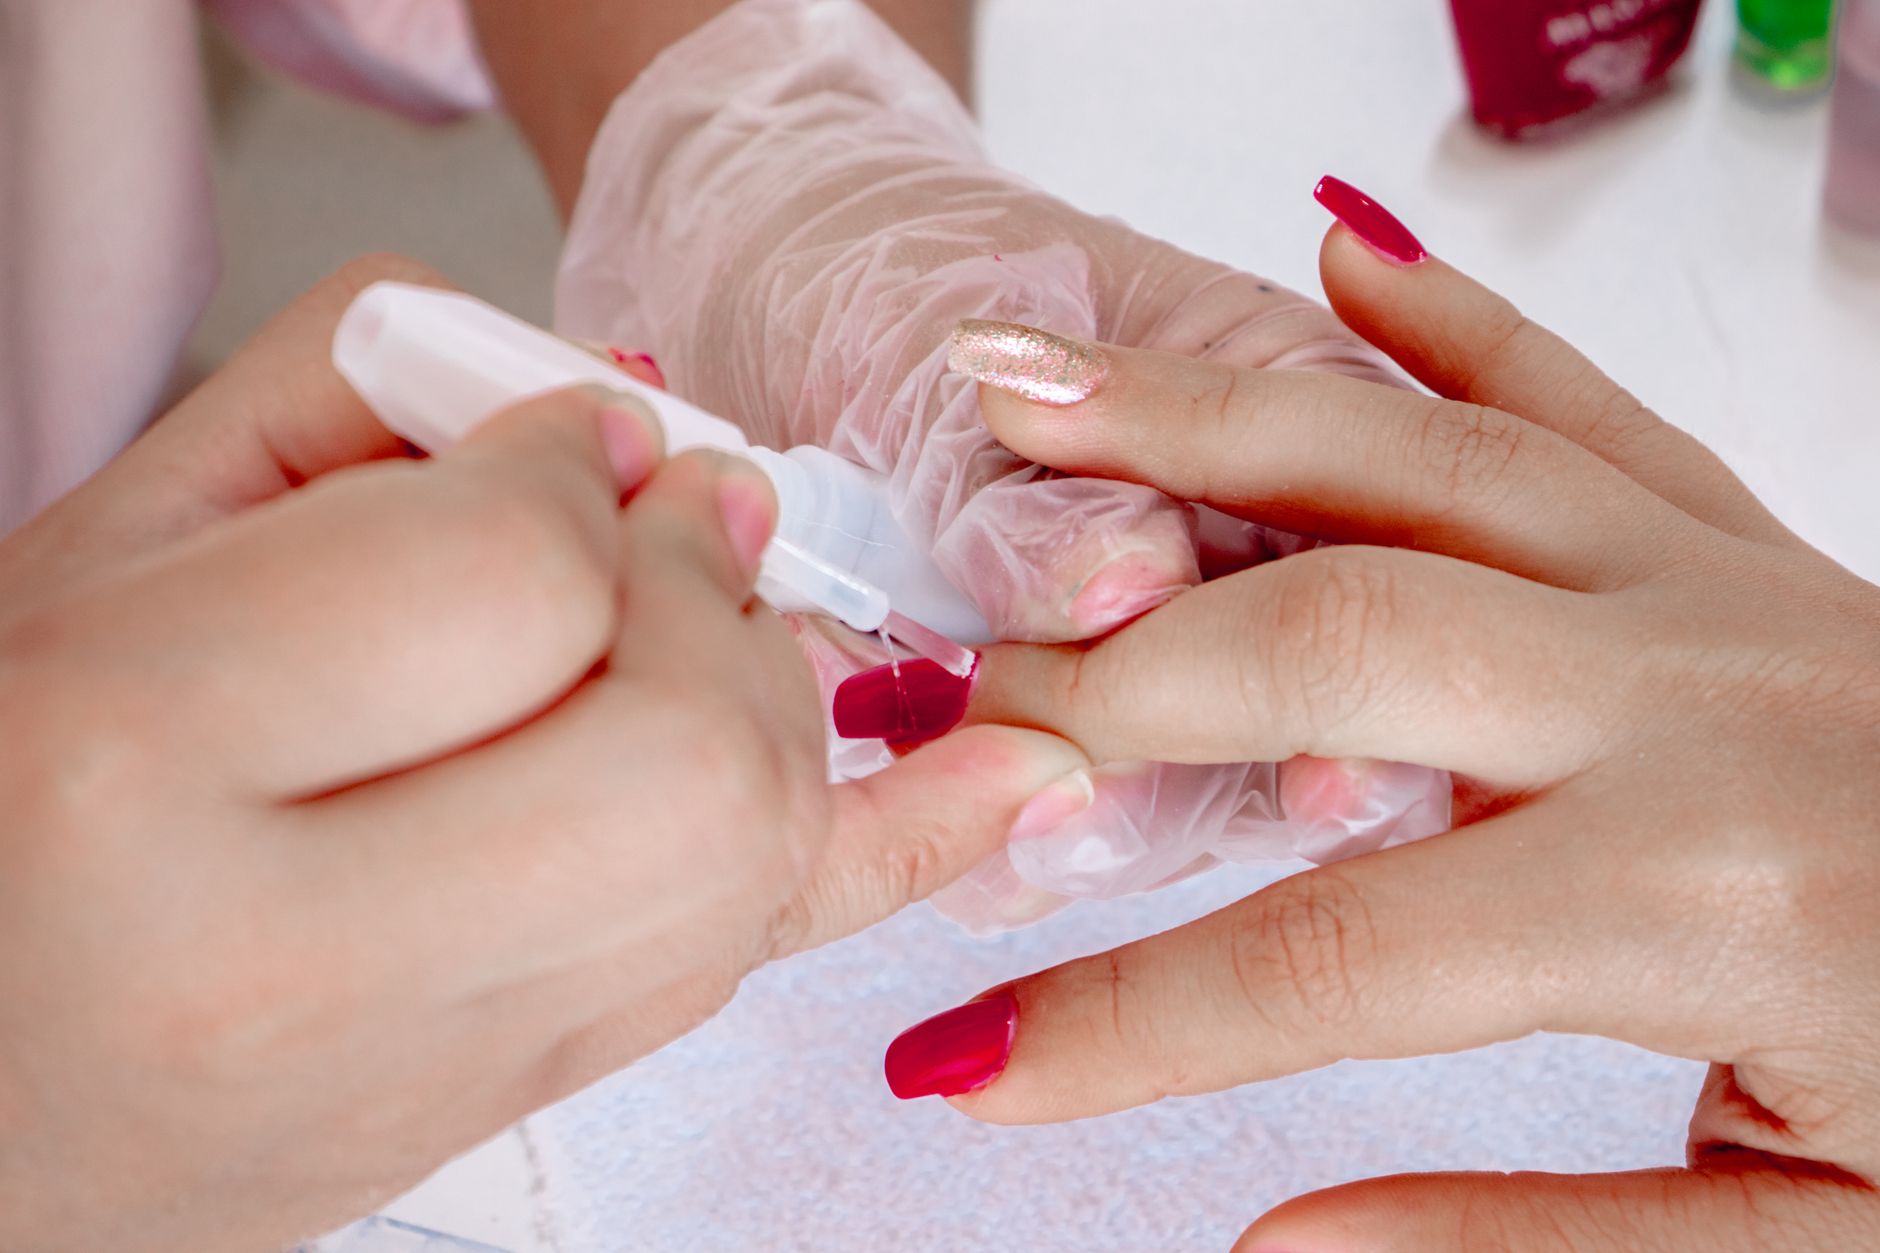
Gel-X nails are a popular choice for their long-lasting wear and stunning finish. However, when it’s time for a change, proper removal is crucial to avoid nail damage. If you’ve recently had Gel-X nails applied and are wondering how to take them off safely at home, you’ve come to the right place. This guide will walk you through the steps necessary for a stress-free removal.
We’ll also cover important aftercare tips to restore your natural nails to their best condition. From tools you need to common pitfalls to avoid, this article will provide an in-depth look at how to get Gel-X nails off without sacrificing the health of your nails.
How to Get Gel-X Nails Off?
To safely remove Gel-X nails, you need to follow a step-by-step process that involves careful preparation and the right tools. The following method will help you effectively remove the nails while minimizing the risk of damage to your natural nails.
Tools You Will Need
Gathering the right tools before you start is essential for an effective and safe removal process. Here’s a checklist of what you’ll need:
- Acetone (nail polish remover)
- Cotton balls or cotton pads
- Aluminum foil or nail clips
- Nail file
- Wooden cuticle stick or pusher
- Buffer
- Moisturizer or cuticle oil
- Towel (for spills)
Step-by-Step Removal Process
Now that you have your tools ready, follow these steps for safe Gel-X nail removal.
- File the Top Layer: Start by gently filing the top layer of the Gel-X nail with a nail file. This step helps break the seal and allows the acetone to penetrate more effectively. Be careful not to file down to your natural nail.
- Soak Cotton in Acetone: Soak a cotton ball or pad in acetone until it’s saturated, but not dripping. Too much acetone can create a mess and lengthen the removal time.
- Apply the Cotton: Place the soaked cotton directly on the Gel-X nail. Ensure the entire nail surface is covered for optimal results.
- Wrap with Aluminum Foil: Cut small pieces of aluminum foil, about 2×3 inches, and wrap it around the wrapped finger to hold the cotton in place. Alternatively, you can use nail clips designed for this purpose.
- Wait: Let the nails soak for 10 to 15 minutes. The acetone needs time to break down the Gel-X material.
- Remove the Foil and Cotton: After the waiting period, carefully remove the foil and cotton. The Gel-X should show signs of lifting or bubbling up. If it doesn’t, you may need to soak for a few more minutes.
- Gently Push Off the Gel: Using a wooden cuticle stick, gently push off the Gel-X. Be patient and avoid pulling or scraping to prevent damage to your natural nails.
- Buff and Smooth: After removing the Gel-X, use a buffer to smooth the natural nail surface. This will help eliminate any residue left on the nails.
- Wash Your Hands: After the removal process, wash your hands thoroughly with soap and water to remove any acetone residue.
- Moisturize: Finish the removal process by applying a good quality moisturizer or cuticle oil to nourish your nails and surrounding skin.
Common Mistakes to Avoid
While removing Gel-X nails might seem straightforward, there are a few common mistakes that can lead to nail damage. Here’s what to avoid:
- Skipping the Filing Step: Failing to file the top layer can prolong the soaking process, making it less effective.
- Using Too Much Force: Pulling or scraping the Gel-X off can damage your natural nails. Always push gently.
- Using Non-Acetone Removers: Non-acetone removers may not work effectively for Gel-X, making removal more difficult.
- Neglecting Aftercare: Skipping the moisturizing step can leave your nails brittle and prone to breakage.
Aftercare Tips
Once you’ve successfully removed your Gel-X nails, it’s essential to care for your natural nails. Here are some aftercare tips to ensure your nails stay healthy:
- Keep Nails Moisturized: Regularly apply cuticle oil to maintain hydration and flexibility in your nails.
- Avoid Excess Water: Limit exposure to excessive water, which can weaken your nails. Use gloves while washing dishes or cleaning.
- Give Your Nails a Break: Allow your natural nails to recover for at least a week before applying any new enhancements.
- Consider Strengthening Treatments: Use a nail strengthener to help build up your natural nails after the removal process.
- Maintain a Healthy Diet: A balanced diet rich in vitamins and minerals contributes to healthier nails.
FAQs
How long does it take to remove Gel-X nails?
The removal process can take anywhere from 15 to 30 minutes, depending on how well the Gel-X is bonding to your natural nails. Patience is key, so avoid rushing the process.
Can I remove Gel-X nails without acetone?
While it is possible to use non-acetone methods, they may not be as effective for Gel-X nails. If you don’t have acetone, a simple soak in warm soapy water can help, but the process will take significantly longer.
Can I reapply Gel-X after removing them?
Yes, but it’s recommended to wait a week or so before applying new nails. This gives your natural nails time to recover and reduces the risk of damage.
What if some Gel-X remains after the process?
If residue remains after the initial removal process, repeat the soaking step for an additional 5-10 minutes. You can also gently file any remaining bits away, but be cautious not to damage your natural nails.
Choosing the Right Nail Care Products
Once you’ve removed your Gel-X nails and are focusing on aftercare, selecting the right products can make a significant difference in the health of your nails.
- Cuticle Oil: Look for natural oils, like jojoba, almond, or vitamin E oils, that deeply hydrate.
- Nail Strengtheners: Choose a strengthening treatment that contains keratin or calcium to reinforce your nails.
- Moisturizing Hand Cream: Opt for a hand cream that includes nourishing ingredients such as shea butter or glycerin.
Final Thoughts
Removing Gel-X nails doesn’t have to be a daunting task. With the right tools and techniques, you can effectively and safely remove your nails while maintaining the health of your natural nails. Plus, following proper aftercare will ensure your nails are in the best condition for future treatments.
Remember to avoid common mistakes during the removal process, and don’t hesitate to give your nails some TLC afterward. With patience and care, you’ll be ready to rock whatever nail style you choose next.
If you’re interested in further nail care topics, explore our guides on how to remove Gel-X nails and how to get gel nail polish off for more insights and tips.