
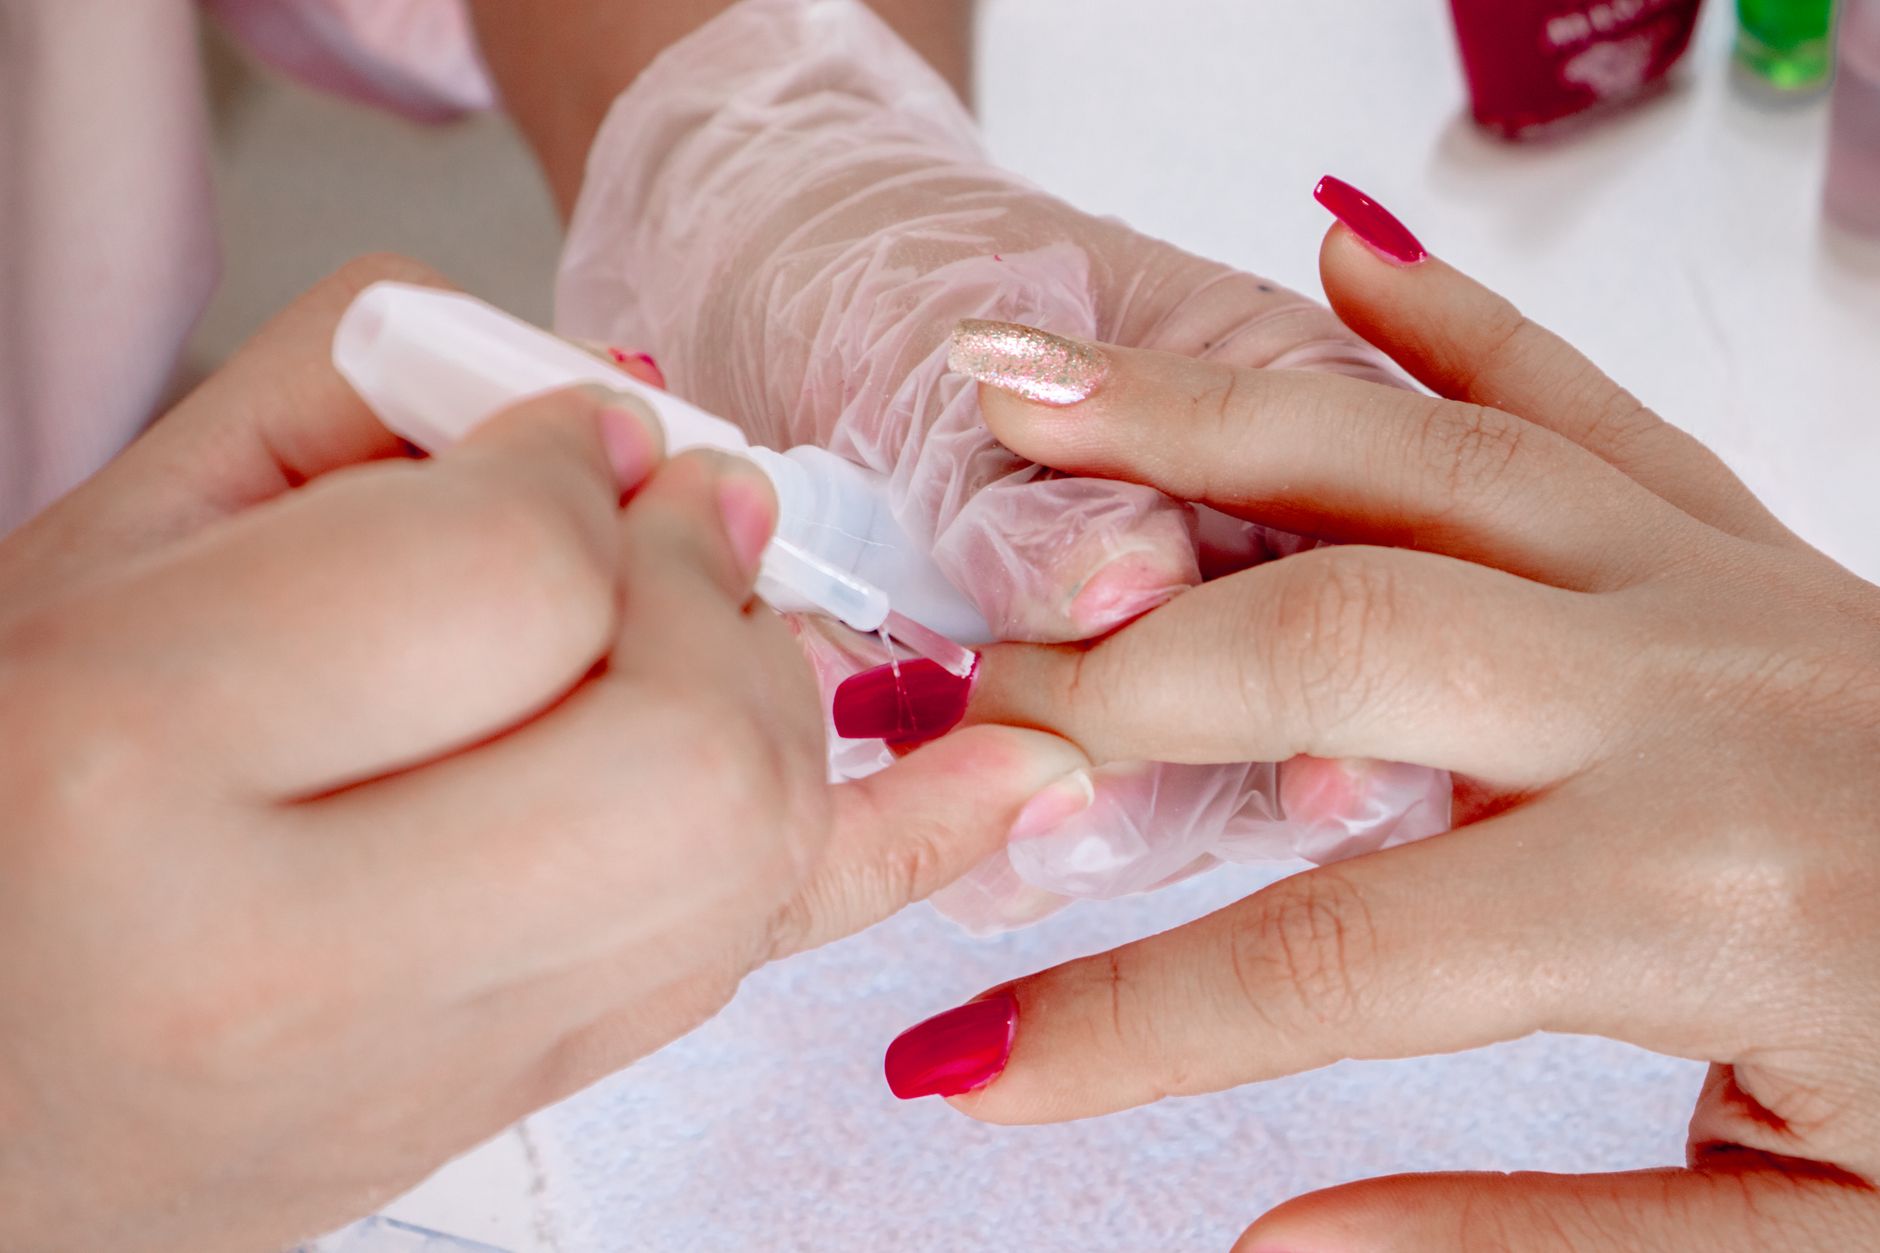
Builder gel has become a staple in the nail care industry, popular for its versatility and durability. It’s a gel-based product designed to enhance and strengthen natural nails, making it a go-to choice for nail technicians and enthusiasts alike. Understanding builder gel, its benefits, applications, and proper removal techniques can help you achieve stunning nails safely and effectively.
This article will explore what builder gel is, its various uses, the advantages it offers, and expert tips for removal. Whether you’re a nail care novice or a seasoned pro, this guide will help you make informed choices about incorporating builder gel into your nail routine.
What Is Builder Gel?
Builder gel is a type of gel used in nail enhancements that provides structure and strength to natural nails or nail extensions. Unlike regular nail gels, which are primarily used for color, builder gels have a thicker viscosity, allowing them to be sculpted and shaped to achieve various nail styles. They adhere well to the natural nail and can create long-lasting results.
Benefits of Using Builder Gel
Builder gel offers numerous benefits, making it a popular choice for those looking to achieve beautiful, strong nails. Here’s a closer look at the advantages of using this product:
- Strengthening: Builder gel reinforces weak or brittle nails, helping prevent breakage and promoting nail growth.
- Durability: It offers long-lasting wear, making it an excellent alternative to traditional polish for those who want their manicure to endure.
- Versatility: Builder gel can be used to create various nail shapes and lengths, from natural looks to dramatic extensions.
- Self-Leveling: This type of gel has self-leveling properties, allowing for a smoother, more uniform application.
- Customizable: Builder gels come in various colors and finishes, enabling customization to suit personal preferences.
- Quick Application: Builder gel can be applied relatively quickly and cured under a UV or LED lamp, making it efficient for both the technician and the client.
How to Use Builder Gel
Using builder gel effectively requires some tools and a clear sequence of steps. Whether you’re applying it at home or having it done in a salon, here’s a common method to achieve desired results:
Tools Needed
- Builder gel
- Nail prep solution
- Base coat
- Top coat
- Nail brush
- UV or LED lamp
- Nail file and buffer
- Cuticle pusher
- Lint-free wipes
Step-by-Step Application Process
- Prep the Nails: Start by cleaning the nails. Push back the cuticles gently, and remove any excess skin around the nail bed. Buff the nail surface lightly to enhance adhesion.
- Dehydrate the Nails: Use a nail prep solution to dehydrate the nails, ensuring they are free from oils and moisture.
- Apply the Base Coat: Apply a thin layer of base coat and cure it under a UV or LED lamp as per the manufacturer’s instructions.
- Apply Builder Gel: Take a small bead of builder gel, placing it in the center of the nail. Use a brush to spread it toward the cuticles and the free edge, creating your desired shape. Cure under the lamp.
- Build Layers: If more structure is needed, repeat the application of builder gel to create additional layers, curing each layer properly.
- File and Shape: Once fully cured, use a nail file to shape the nail to your liking. Buff the surface for a smooth finish.
- Apply Top Coat: Finish with a layer of top coat to seal the design and enhance shine. Cure again under the lamp.
- Clean the Nails: Wipe the nails with a lint-free wipe and nail cleanser to remove any sticky residue from the top coat.
Different Types of Builder Gel
Builder gels come in various formulations, each designed for specific nail types and preferences. Here are the most common types:
- Hard Builder Gel: Creates a strong bond to the natural nail, allowing for longer-lasting results and is generally used for nail extensions.
- Soft Builder Gel: More flexible and lighter than hard gels, ideal for those who prefer a natural look and feel. It is usually easier to soak off during removal.
- Gel Polish with Builder Properties: A hybrid of regular gel polish and builder gel, offering color and strength in one product. Suitable for shorter nails with minimal enhancements.
- Self-Leveling Builder Gel: These gels automatically settle into place upon application, creating a smooth finish without the need for much effort from the user.
Who Should Use Builder Gel?
Builder gel is ideal for various individuals based on their nail care needs and preferences. Here’s who may benefit from using builder gel:
- Those seeking strong, durable nails without frequent chipping.
- Individuals with naturally weak or brittle nails that struggle to grow.
- Sculpting enthusiasts who wish to create custom nail shapes.
- People who enjoy softer, natural-looking nails but still want added strength.
- Salons and nail technicians providing professional nail services.
Common Mistakes When Using Builder Gel
Even seasoned nail enthusiasts may encounter challenges when working with builder gel. Here are some common mistakes to avoid:
- Skipping Nail Prep: Failing to prepare the nails properly can lead to lifting and premature wear.
- Applying Too Thickly: Overly thick layers can cause bubbles, uneven curing, and potential breakage.
- Not Curing Properly: Insufficient curing time can compromise the integrity of the gel, leading to premature peeling.
- Neglecting Nail Maintenance: Failing to maintain the health of your natural nails can affect the performance of builder gel.
How to Remove Builder Gel
Removing builder gel properly is key to maintaining the health of your natural nails. Here’s a detailed guide on how to do so safely:
Tools Needed for Removal
- Acetone or gel polish remover
- Lint-free wipes
- Nail file
- Cotton balls or pads
- Aluminum foil (optional)
- Cuticle oil
Step-by-Step Removal Process
- File the Surface: Gently file the top layer of the builder gel to break the seal, allowing the remover to penetrate more effectively.
- Soak Cotton Balls: Saturate cotton balls or pads with acetone and place them on the nails.
- Wrap with Foil (if needed): Wrap each finger with aluminum foil to hold the cotton in place, creating a warm environment that aids in the removal process.
- Wait: Allow the acetone to work for about 10 to 15 minutes. Check if the gel begins to lift; if it doesn’t, give it a few more minutes.
- Gently Scrape Off: Once softened, gently push the gel off using a cuticle pusher. Avoid excessive force to prevent damaging your natural nails.
- Wash and Nourish: Wash your hands thoroughly to remove any residue and hydrate your nails and cuticles with cuticle oil.
Aftercare Tips for Natural Nails
Taking care of your natural nails post-removal is essential for re-establishing health and strength. Consider these aftercare tips:
- Give Your Nails a Break: Allow your natural nails to rest for at least a week before applying any nail enhancements again.
- Moisturize: Regularly apply cuticle oil and hand cream to hydrate the nails and surrounding skin.
- Limit Water Exposure: Minimize soaking your hands to prevent weakening the nails.
- Maintain Good Hygiene: Keep your nails clean and trimmed to prevent any infections.
Frequently Asked Questions About Builder Gel
To provide further clarity about builder gel, here are answers to some common questions:
Can I apply builder gel over my natural nails?
Yes, builder gel can be applied directly over natural nails, especially when they require added strength or length.
How long does builder gel last?
When applied correctly and properly maintained, builder gel can last up to two to three weeks before needing a touch-up or removal.
Is builder gel safe for everyone?
While builder gel is generally safe, individuals with specific allergies should check ingredients. Always perform a patch test if unsure.
Do I need to visit a salon for builder gel application?
While many prefer to have it done professionally, builder gel can be applied at home if you have the right supplies and experience. However, novices should consider seeking professional assistance initially.
Conclusion
Builder gel is a fantastic option for those looking to enhance their nail strength and appearance. Its versatility, durability, and customizability make it a valuable addition to any nail care regimen. By understanding how to apply, maintain, and remove builder gel correctly, you can achieve beautiful, long-lasting results that leave your nails looking polished and healthy.
For detailed removal tips and techniques, you can explore our guide on how to remove gel nail polish. Whether you’re opting for a salon visit or a DIY approach, understanding builder gel is the first step toward achieving stunning nails.