
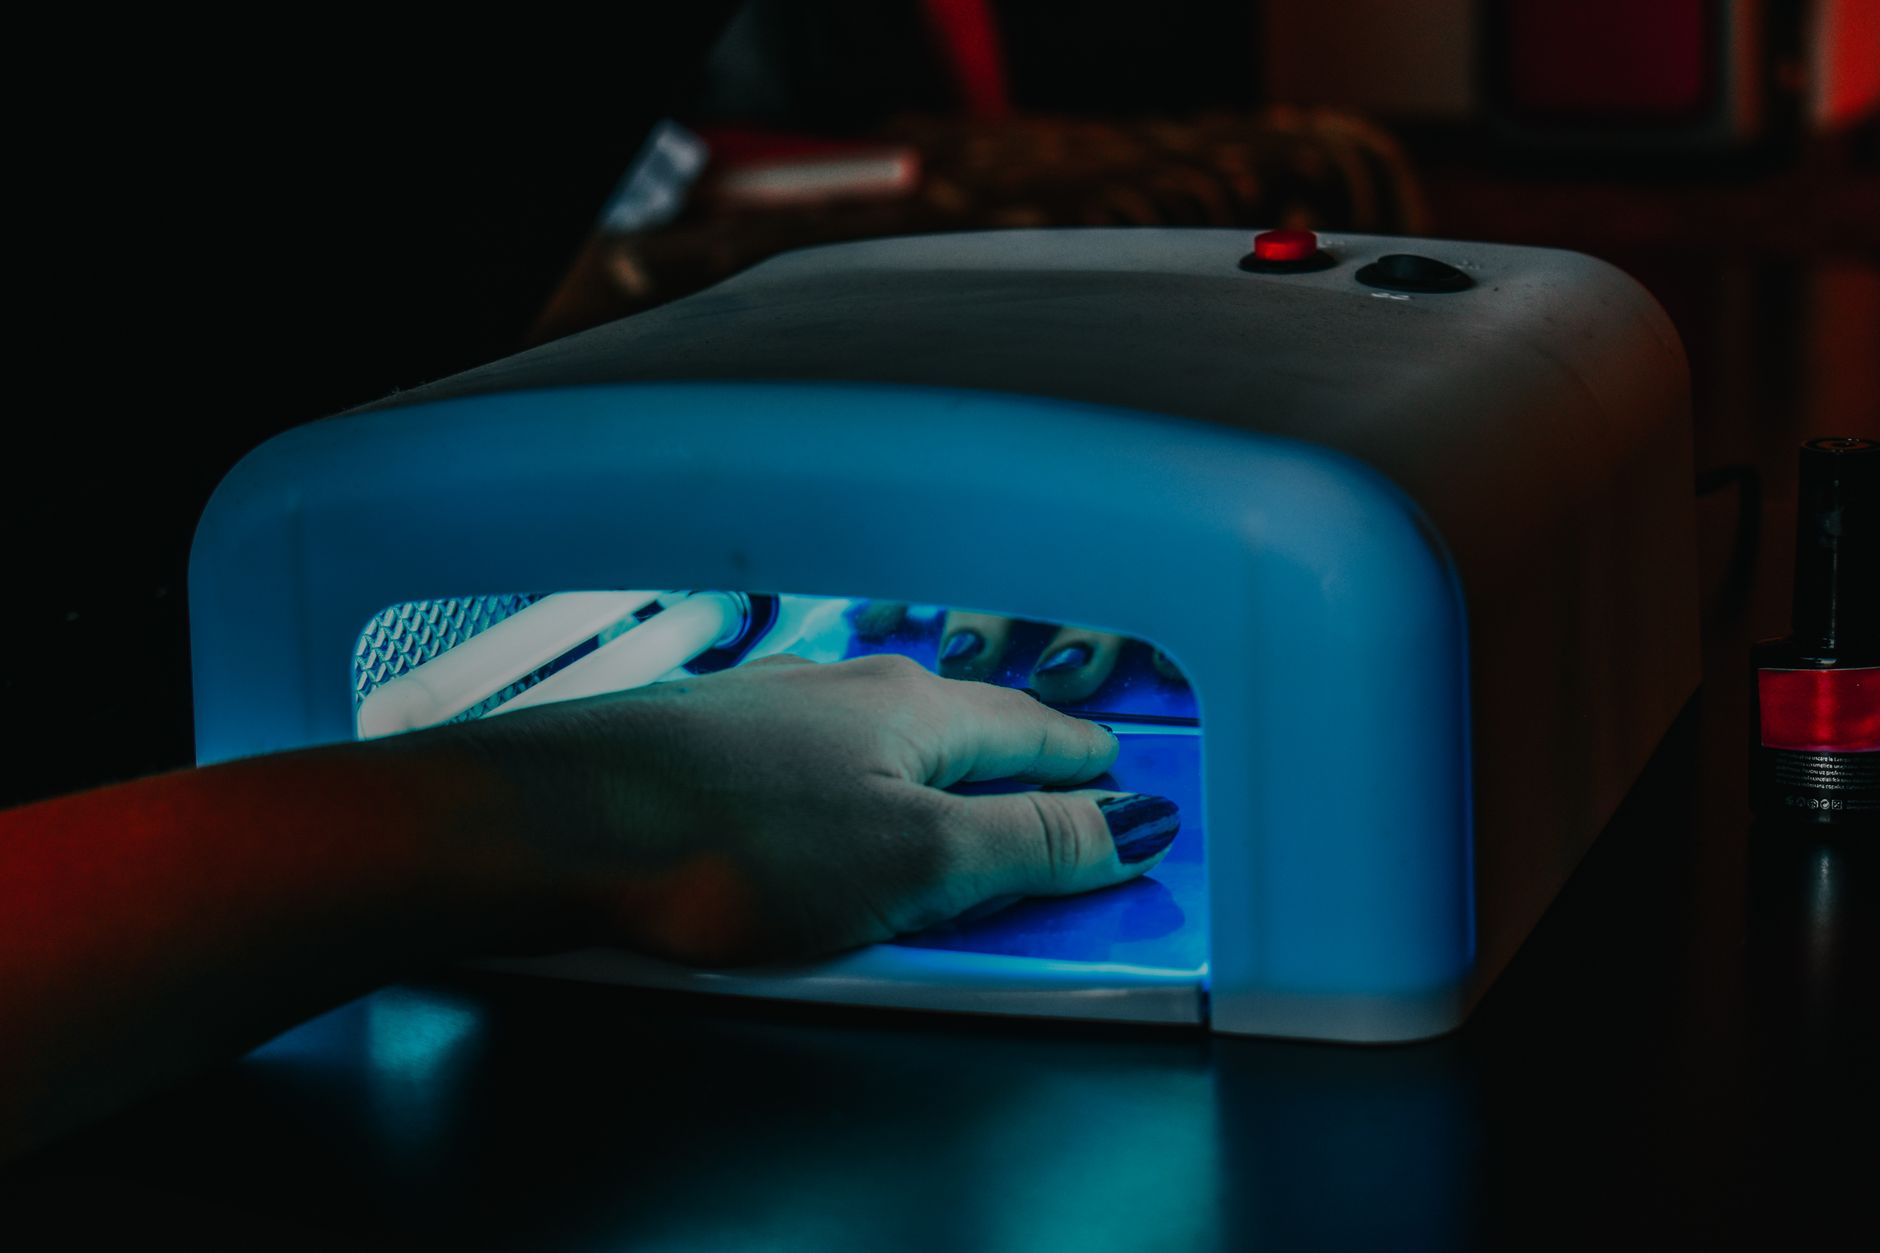
Gel-X nails are a popular choice for those looking for long-lasting nail enhancements. They offer a beautiful finish and durability but require careful removal to avoid damaging your natural nails. This guide will walk you through the proper steps to take off Gel-X nails safely, along with essential nail care tips for maintaining healthy nails.
With the right tools and techniques, you can remove your Gel-X nails at home without causing stress to your natural nails. Whether you’re preparing for a fresh look or your nails need a break, follow these steps to ensure a smooth removal process.
How to Take Off Gel-X Nails Safely?
To safely take off Gel-X nails, you need to follow a few systematic steps that allow for gentle removal while protecting your natural nails. The process typically involves soaking, gently filing, and carefully lifting the extensions off. Here’s how to do it.
Tools You’ll Need
- Acetone or Gel Nail Polish Remover
- Cotton Balls or Pads
- Aluminum Foil or Nail Clips
- Nail File (180-grit or lower)
- Nail Buffer
- Cuticle Pusher or Orange Stick
- Nail Oil or Cuticle Oil
Steps to Remove Gel-X Nails
- Start by Preparing Your Workspace: Choose a well-lit area and gather your tools. Lay down a towel to protect your surface from spills.
- File the Surface: Gently file the top layer of your Gel-X nails using a nail file. This helps break the seal and allows the acetone to penetrate better. Be careful not to file too deep, as you want to avoid damaging your natural nail underneath.
- Soak Cotton Balls in Acetone: Soak cotton balls or pads with acetone or a gel nail polish remover. Make sure they are thoroughly saturated but not dripping.
- Apply Cotton Balls to Nails: Place the soaked cotton balls directly on your nails, ensuring full coverage of the Gel-X extension.
- Wrap with Foil: Cut aluminum foil into small squares and wrap them around each finger to hold the cotton balls in place. This will create a warm environment that helps the acetone work effectively. Alternatively, you can use nail clips designed for this purpose.
- Wait: Allow the acetone to work for about 15 to 20 minutes. You may want to check a couple of nails after the initial waiting time to see if the Gel-X is lifting.
- Check for Lifting: After the time has elapsed, remove the foil and cotton balls. The Gel-X should look clouded and lifted at the edges. If you still find it difficult to lift, rewrap the nails and soak for another 5–10 minutes.
- Gently Lift the Gel-X: Use a cuticle pusher or an orange stick to gently push off the Gel-X. Start from the edges and work your way toward the center. Do this gently to avoid damaging your natural nails.
- Buff and Clean: Once all the Gel-X is removed, buff the surface of your natural nails lightly using a nail buffer. This step helps smooth any rough edges left from the removal process.
- Moisturize: Apply cuticle oil or a nourishing nail oil to hydrate your nails and cuticles. This is crucial for promoting healthy nail growth post-removal.
Post-Removal Nail Care Tips
After removing your Gel-X nails, give your natural nails the care they deserve. Here are some practical tips to help them recover and remain healthy:
1. Hydrate Your Nails and Cuticles
Your nails may feel dry and brittle after the removal process. Apply cuticle oil daily to nourish and moisturize both your nails and cuticles. Look for oils containing essential oils like jojoba or vitamin E for the best results.
2. Avoid Nail Damage
Keep your nails trimmed and avoid using them as tools. This helps reduce the risk of accidental breakage while they recover. If you’re prone to biting your nails or using them for tasks, consider wearing gloves during chores to protect them.
3. Give Your Nails a Break
It’s essential to give your nails some time to breathe before applying another set of enhancements. Consider a break of at least two weeks to a month. During this time, watch your diet and hydrate well to support healthy nail growth.
4. Eat a Balanced Diet
Healthy nails often reflect a balanced diet. Incorporate foods rich in vitamins and minerals, such as biotin, zinc, and iron, to promote strong nail growth. Foods like eggs, leafy greens, nuts, and fish can work wonders for your nails.
5. Avoid Harsh Chemicals
Limit exposure to harsh chemicals, such as cleaning products and detergents. If you cannot avoid them, wear gloves while handling such substances to protect your nails from damage and dehydration.
6. Reassess Your Nail Routine
Consider incorporating a strengthening base coat into your nail care routine before applying polish next time. This can provide an extra layer of protection against future damage.
Common Mistakes to Avoid When Removing Gel-X Nails
When it comes to removing Gel-X nails, certain pitfalls can lead to damaged natural nails. Here are a few common mistakes to be aware of:
- Not filing enough: Skipping the filing step can hinder acetone’s effectiveness, making removal difficult and causing you to forcefully lift the Gel-X, damaging your nails.
- Using improper removers: Regular nail polish remover may not work effectively on Gel-X. Always use acetone-based removers designed for gel layers.
- Not soaking long enough: Rushing through the soaking process can lead to incomplete removal and the risk of damaging your natural nails.
- Pushing too hard: When lifting the Gel-X from your natural nails, use gentle pressure. Being aggressive can lead to painful injuries or tearing of the nail.
- Skipping nail care after removal: It’s crucial to provide additional hydration and care to your nails after the removal process. Neglecting this can lead to long-term damage.
Signs of Irritation or Damage
While removing Gel-X nails at home is generally safe, you should be aware of certain signs that indicate potential irritation or damage:
- If you experience significant pain or discomfort during the removal process, stop immediately.
- Redness or swelling around the cuticles or nail beds may indicate irritation.
- If your natural nails appear thin, brittle, or peeling after removal, it may be a sign of underlying damage.
- Seek professional help if you notice any of these symptoms or if your nails do not seem to recover after following proper care.
In any of these cases, consider consulting a professional nail technician or a dermatologist for further advice and care.
Summary
Removing Gel-X nails can be done safely at home if you follow the right steps and take precautions. Remember to hydrate your nails afterwards, give them a break, and be gentle throughout the process. With the right care, your natural nails can quickly return to health, ready for your next nail adventure.
For more information on nail care, check out our guides on how to remove gel nail polish and other nail treatment options. Explore our resources to empower your beauty journey.