
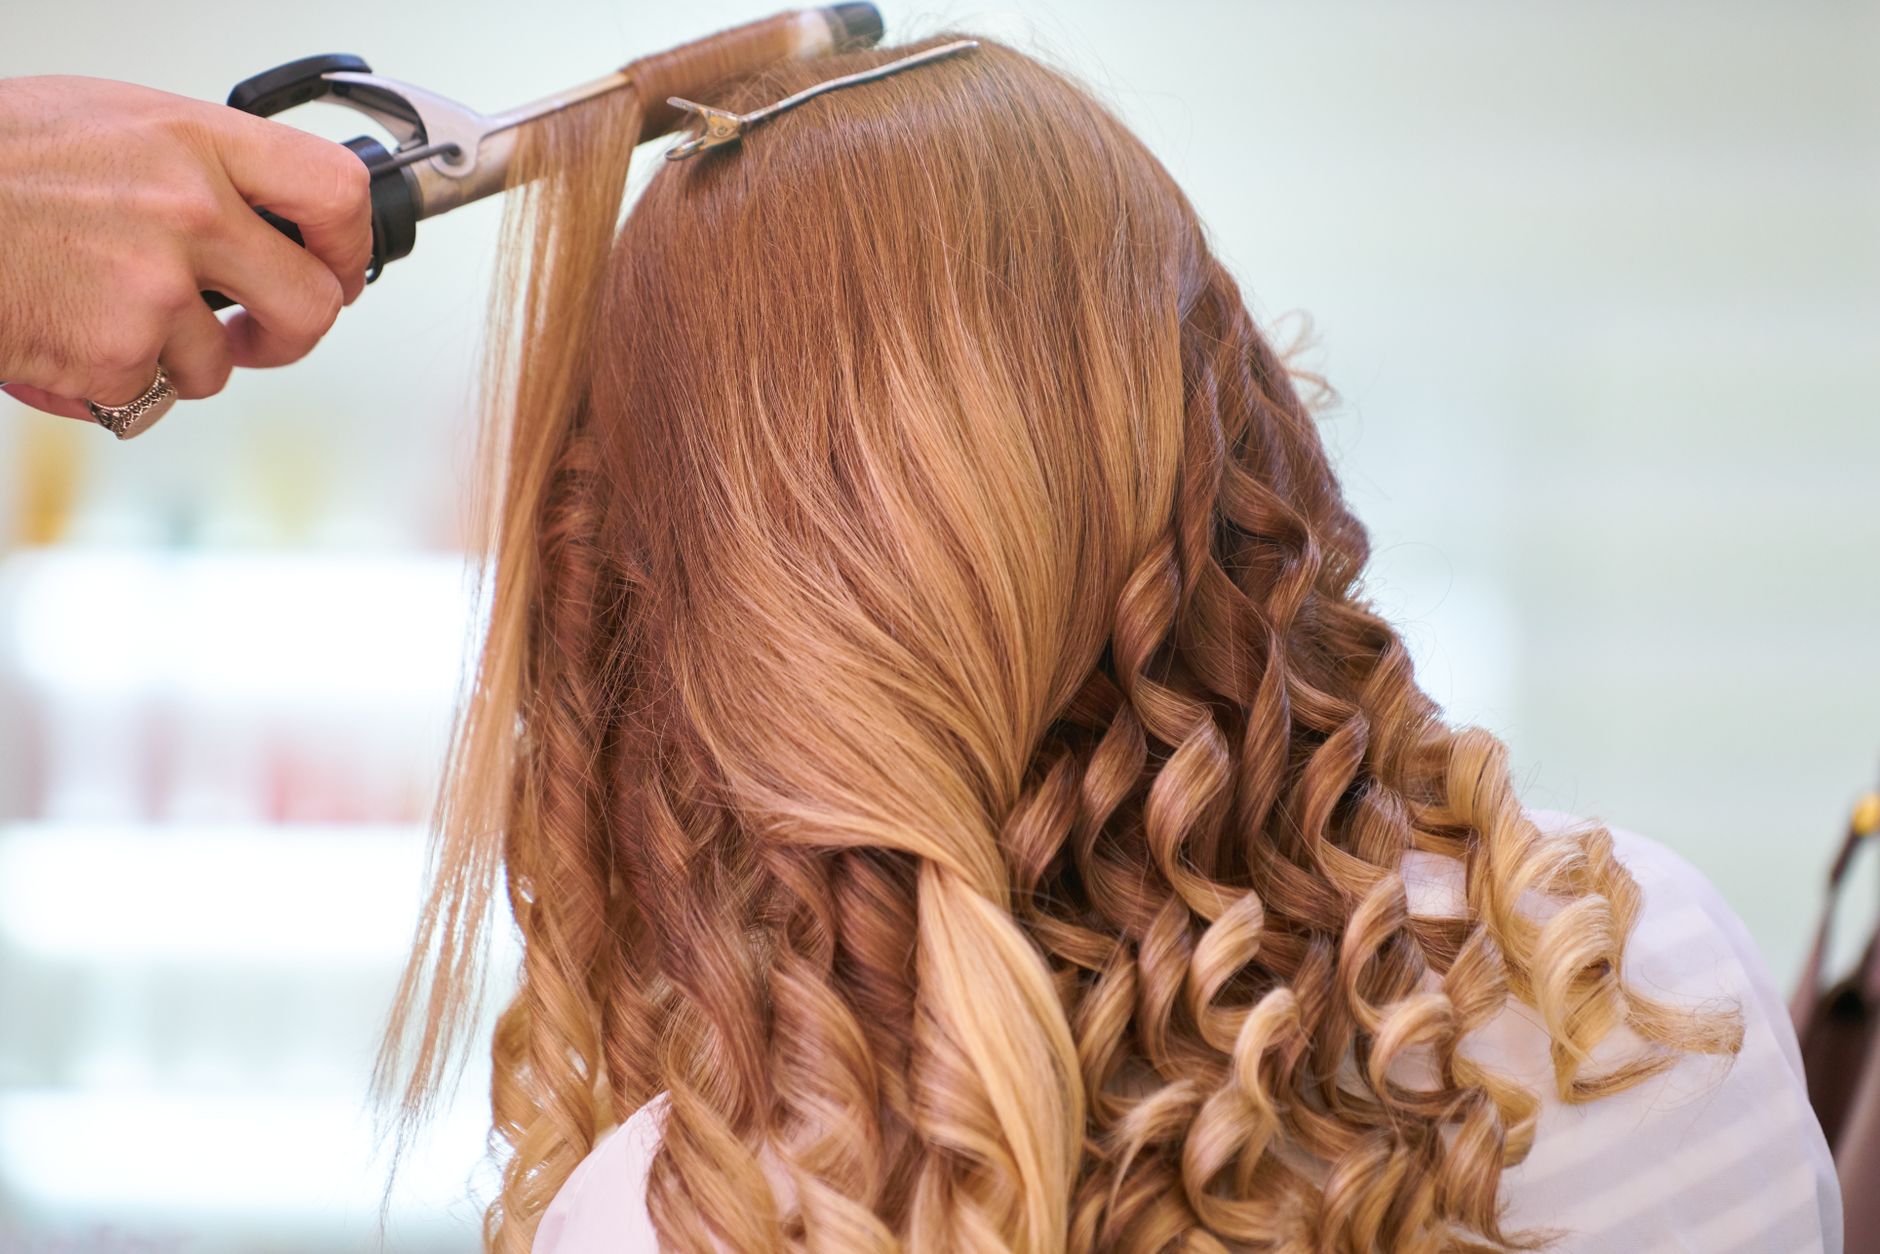
Using a curling iron can elevate your hairstyle from simple to stunning with just a few easy steps. Whether you’re seeking tight ringlets or loose waves, mastering the use of this tool can unlock a world of styling possibilities.
In this guide, you’ll learn about selecting the right curling iron, essential pre-styling preparations, and detailed instructions on how to achieve your desired look. Let’s get started!
How to Use a Curling Iron?
To use a curling iron effectively, start by selecting the right iron for your hair type and desired curl. Prepare your hair by washing and drying it thoroughly, and apply heat protectant. Section your hair and then wrap strands around the barrel to curl. Finish with hairspray for long-lasting curls.
Understanding Curling Iron Basics
Before diving into how to use a curling iron, it’s essential to understand different types and sizes available on the market.
Types of Curling Irons
- Clip Curling Irons: Have a spring-loaded clamp that holds hair in place while you curl.
- Barrel Curling Irons: Clipless design allowing you to wrap hair around the barrel for a more natural curl.
- Adjustable Curling Irons: Allow temperature control and different barrel sizes to create various curl styles.
Curling Iron Sizes
The size of the barrel affects the type of curl you achieve. Here’s a basic guideline:
- ¾ inch: Tight curls
- 1 inch: Medium curls and waves
- 1 ¼ inch: Loose waves
- 1 ½ inch: Soft, beachy waves
Selecting the Right Curling Iron for Your Hair Type
Choosing the right curling iron is vital for achieving beautiful curls without damaging your hair.
Consider Your Hair Type and Texture
- Thin Hair: Opt for a smaller barrel size and low heat setting.
- Thick Hair: Select a larger barrel size and higher heat setting to hold curls better.
- Curly Hair: Clipless curling irons can help define curls without adding frizz.
Preparation Steps
Preparing your hair before using a curling iron is crucial to achieving the best results and minimizing damage.
Step 1: Wash and Dry Your Hair
Start with clean, dry hair. Washing helps remove any product buildup that could weigh your hair down.
Step 2: Apply Heat Protectant
Protect your hair from heat damage by applying a heat protectant spray or serum. This step is essential for preventing dryness and breakage.
Step 3: Style Smoothly
Ensure your hair is completely dry and tangle-free before curling. A flat iron can help smooth out any frizz if necessary.
The Curling Iron Technique: Step-by-Step Instructions
Once your hair is prepped, it’s time to start curling. Follow these steps for beautiful, bouncy curls.
- Section Your Hair: Divide your hair into manageable sections. You can create four to six sections depending on your hair thickness. Use hair clips to keep the sections separated.
- Heat the Curling Iron: Plug in your curling iron and set it to the appropriate temperature for your hair type. Generally, high heat (365°F to 400°F) is suitable for thick hair, while lower heat (300°F to 350°F) works for fine hair.
- Start Curling: Begin with one section of hair. Hold the curling iron vertically and place the ends of the hair on the barrel.
- Wrap Hair Around the Barrel: Carefully wrap the hair around the barrel away from your face. For a more natural look, avoid the roots and leave a small section of hair out.
- Hold the Curl: Keep the hair wrapped around the barrel for 5 to 10 seconds, depending on your hair type and the heat setting. Do not exceed the time to prevent damage.
- Release the Curl: Gently unwinding the hair from the barrel, be cautious to avoid tangling. Hold the curl in your hand for a moment to let it cool and set.
- Continue Curling: Repeat the process for the remaining sections, alternating the direction of the curls for a more voluminous and natural appearance.
- Finish with Hairspray: Once all the curls are done, lightly spray with hairspray to help hold the style and maintain its shape.
Common Mistakes to Avoid
Using a curling iron can be straightforward, but there are common pitfalls you should be aware of.
- Using Too Much Heat: Always choose the right temperature based on your hair type to avoid burn damage.
- Not Using Heat Protectant: Ignoring this step can lead to dryness and damage.
- Skipping the Cooling Time: Allowing curls to cool helps them set better and last longer.
Tips for Long-Lasting Curls
To help your curls last longer, consider the following tips:
- Set your curling iron to the right temperature based on your hair texture.
- Use quality hairsprays or curl-setting sprays designed for your hair type.
- Try pinning curls up after they come off the iron to help them hold their shape as they cool.
- Give your curls extra volume by teasing the roots after curling.
Removing Curling Iron Marks
If you’ve ever taken your hair down only to see a mark from the curling iron, there are ways to avoid it:
- Ensure the iron is clean and free from product buildup.
- Keep your hair loosely wrapped around the barrel to avoid indentation.
Variations for Different Styles
Depending on the look you want, you can adapt your curling technique:
For Loose Waves
- Use a larger barrel curling iron.
- Wrap hair loosely around the barrel and hold for a shorter time.
For Defined Curls
- Use a smaller barrel size.
- Wrap hair tightly, hold longer, and consider using a thicker section of hair for pronounced curls.
For Beachy Waves
- Alternate the direction of the curls.
- Use a salt spray after curling for added texture and volume.
Using a Curling Iron on Different Hair Types
Different hair types may require adjustments in technique. Consider the following:
Fine Hair
Use lower heat settings and smaller sections to prevent the curls from falling flat. Less time on the barrel can help avoid heat damage.
Thick Hair
Use a higher heat setting and larger sections for better curl retention. Depending on the thickness, you may need to hold it longer.
Aftercare and Hair Maintenance
Mainly focus on keeping your curls looking great without compromising hair health. Here are some essential tips:
- Use a sulfate-free shampoo and conditioner to keep hair moisturized.
- Limit heat use by using alternative styling methods like braids or buns to achieve waves.
Conclusion
Mastering the use of a curling iron can take your hairstyling skills to new heights. By following the steps outlined in this guide, you’ll be able to achieve beautiful curls or waves that can last throughout the day. Remember to choose the right iron, prep your hair properly, and take your time with your styling technique.
If you want to explore more about hair styling techniques, check out our guide on how to curl your hair and learn how to curl with a straightener at how to curl your hair with a straightener.