
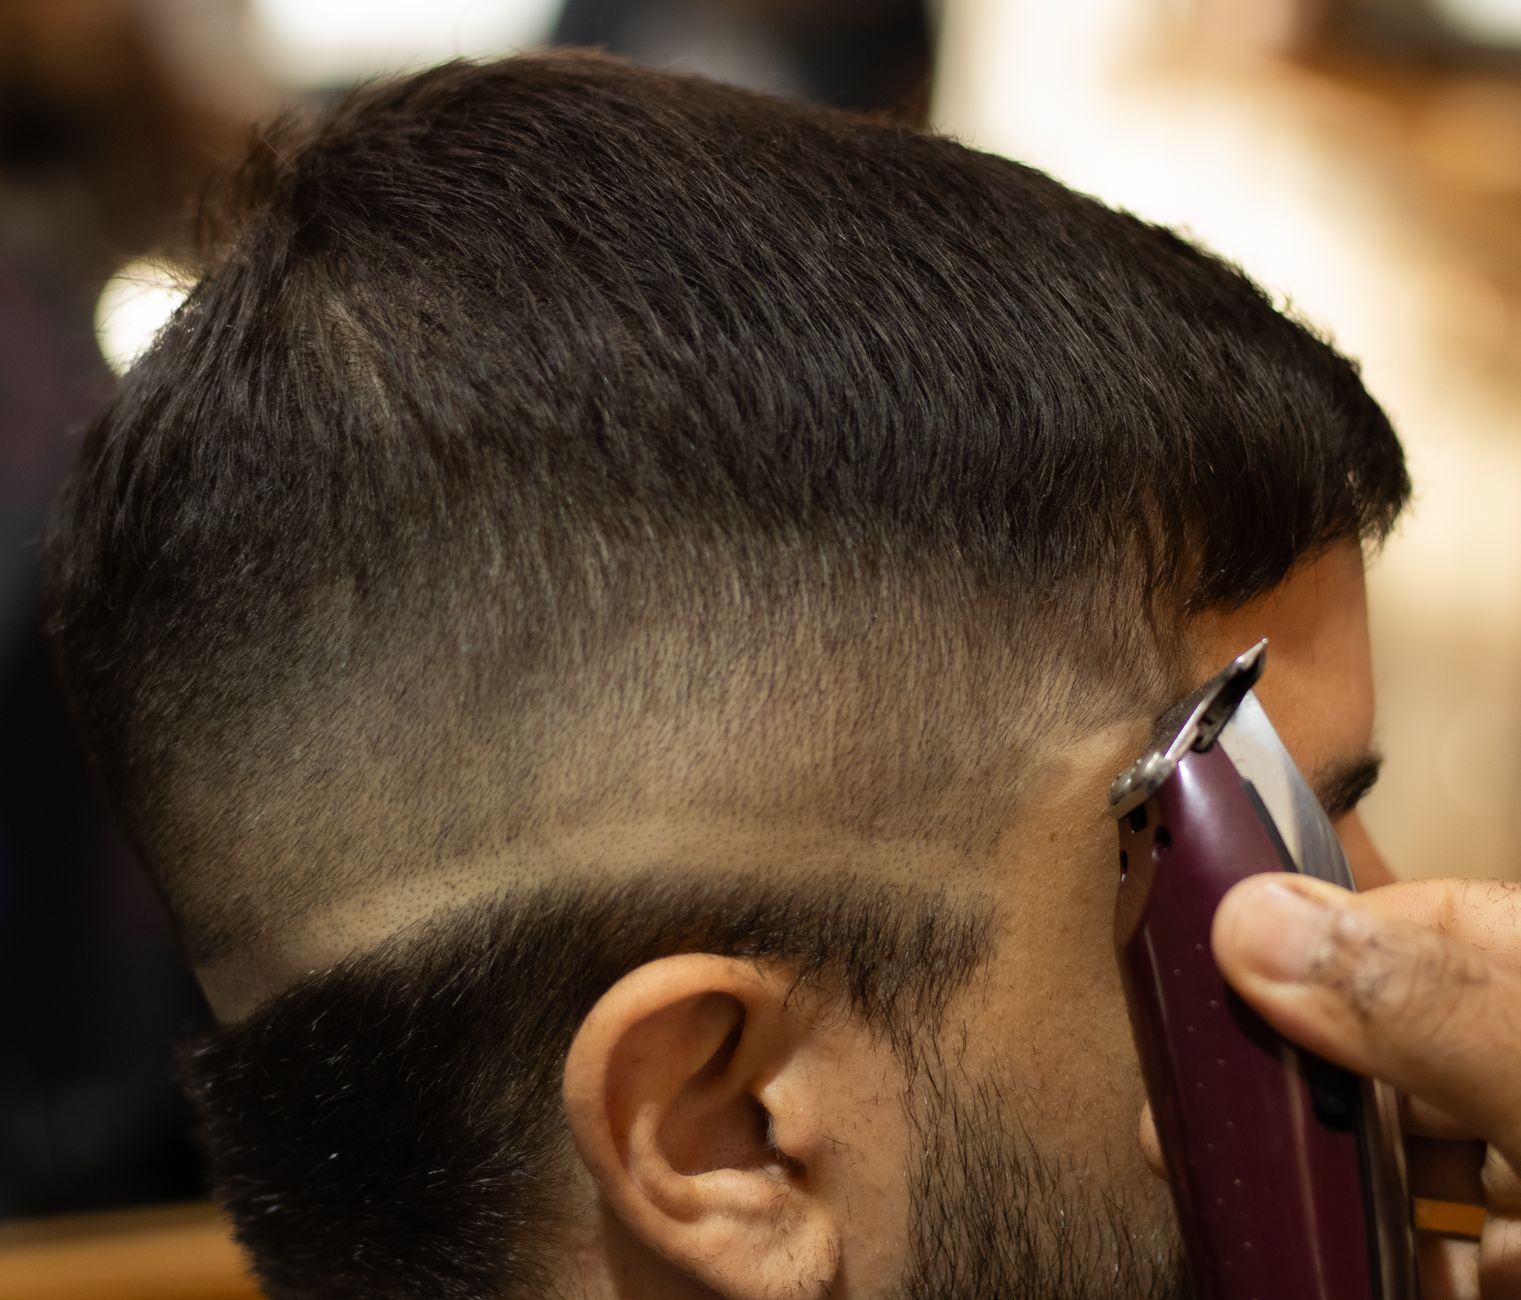
Fading your own hair can seem daunting, but with the right tools and techniques, it can be a manageable and rewarding task. A fade haircut creates a smooth transition between different lengths, giving a fresh and polished appearance. This guide will provide you with step-by-step styling tips, helping you achieve a professional-looking fade at home.
Whether you’re new to hair cutting or just looking to refine your skills, this article breaks down everything you need to know about fading your own hair. We’ll cover the tools you’ll need, various fading techniques, and essential tips for maintaining your look.
How to Fade Your Own Hair?
To fade your own hair, start by gathering the necessary tools, deciding on the fade style, and following a structured, step-by-step process. By taking your time and practicing, you’ll achieve a stylish fade without the hassle of visiting a salon.
Essential Tools for Fading Your Hair
Before you begin, gather the following tools to make the process smoother:
- Hair clippers with interchangeable guards
- Hair scissors
- Fine-tooth comb
- Mirror (preferably a handheld and wall-mounted one)
- Comb or hairbrush
- Hair clips
- A spray bottle with water (for dampening hair)
- Hair trimmer (for detailing)
- Towel or cape (to catch hair clippings)
Choosing the Right Fade Style
Fades come in various styles, and understanding them will help you achieve the look you desire. Here are a few common fade options:
- Low Fade: Gradual fade that starts just above the ears.
- Mid Fade: Fade starts around midway up the head.
- High Fade: Fade begins higher up, just above the temples, creating a more dramatic look.
- Taper Fade: Hair on top remains longer, while the sides and back taper down to the skin.
- Bald Fade: The shortest fade that goes down to the skin at the sides and back.
Decide which style suits your personality and face shape before proceeding with the cutting process.
Step-by-Step Guide to Fading Your Hair
Follow these detailed steps to achieve a clean fade at home:
-
Prepare Your Hair:
Start with clean, dry hair. Use the spray bottle to lightly dampen your hair if needed. This can make it easier to manage while cutting.
-
Section Your Hair:
Use hair clips to section your hair. Separate the top section from the sides and back, securing it out of the way. This will help you focus on the fade without getting distracted by longer hair on top.
-
Choose the Right Guard:
Start with a longer guard (like a #4 or #5) on your clippers. This will help avoid cutting too much off right away. You can always go shorter if necessary.
-
Start Fading the Sides:
Begin at the bottom of the sides and back of your head, moving the clippers upward in steady strokes. Keep the clippers flat against your scalp as you move up.
-
Blend the Fade:
Once you reach about halfway up the sides, switch to a shorter guard (e.g., #3). Use the clippers in a flicking motion at the transition line to blend the fade smoothly.
-
Detail the Fade:
After blending, use a shorter guard (e.g., #1) or no guard at all to trim the very bottom of the fade for a sharper look. Go over any areas that need more blending.
-
Cut the Top (if needed):
If you’re adjusting the length on top as well, use hair scissors to trim the hair to your desired length. Enlist a comb to lift hair up for an even cut.
-
Clean Up:
Check for any uneven sections and refine those areas with your clippers. Work around the ears and neckline for a polished finish.
-
Style and Review:
Once satisfied with the fade, style your hair as usual. Take a moment to examine the cut in different lighting to ensure the fade appears smooth from all angles.
Tips for a Successful Hair Fade
Here are some helpful tips to keep in mind while fading your hair:
- Take your time. Don’t rush the process, particularly if you’re inexperienced. This will minimize mistakes.
- Make sure you are well-lit to see all angles clearly while cutting.
- Frequent checks in the mirror will help you maintain symmetry on both sides.
- Always start with a longer guard. You can cut more hair, but you can’t put it back once it’s gone!
- If you’re feeling uncertain, consider practicing on a mannequin head first.
- Set a designated area for cutting your hair that’s easy to clean up.
- Use a handheld mirror for viewing the back of your head while cutting.
Common Mistakes to Avoid
When learning how to fade your hair, being aware of common mistakes can help improve your technique:
- Starting with too short a guard can lead to an unwanted cut.
- Cutting at the wrong angle can create uneven lengths. Always keep clippers flat against the scalp.
- Neglecting to section hair can lead to an uneven fade and disrupted flow.
- Forgetting to clean up stray hair can create an unfinished appearance.
Maintaining Your Fade
Once you’ve achieved your desired fade, proper maintenance is key to keeping the look fresh. Here are some tips:
- Schedule regular touch-ups every 2 to 4 weeks, depending on how fast your hair grows.
- Invest in quality hair clippers and scissors to make future cuts easier and more precise.
- Keep your tools clean and sharpened for optimal performance.
- Use products like pomades or wax to help style your hair, maintaining control and definition.
- Consider visiting a professional barber for a touch-up if you feel uncertain about doing it yourself.
Fading Your Hair with Textured or Curly Hair
If you have textured or curly hair, fading your hair may require additional considerations:
- Curly hair often takes on a different shape as it dries, so cut slightly longer than you think necessary to allow for shrinkage.
- Clippers may not be the best tool for maintaining a fade in textured hair. Consider a combination of clippers and scissors.
- Use a comb to lift curls and see how they fall during the fade to achieve a natural look.
Understanding Fade Terminology
As you learn to fade your hair, it’s helpful to understand common terms used in hairstyling:
- Fade: A gradual transition from short to longer hair.
- Bald Fade: The skin is exposed in the fade; extremely short.
- Taper: A less drastic change, often seen as a subtle fade at the edges.
- Clippers: Electrical tools used for cutting hair quickly and efficiently.
- Guard: Attachments that control the length of hair being cut with clippers.
Final Thoughts on Fading Your Own Hair
Fading your own hair can be a satisfying way to express your style. With practice and the right techniques, you’ll be able to maintain a fresh fade without relying on professional help. Remember to take your time, use quality tools, and don’t be afraid to experiment with different styles.
As you develop your fading skills, consider exploring other hair techniques, such as cutting your own hair or trying different hairstyles. Each step can enhance your confidence in at-home hair care.
Ready to take the plunge and try your fading skills? Don’t hesitate to check out our guides on cutting your own hair and doing a fade for more tips and techniques to further elevate your hair game!