
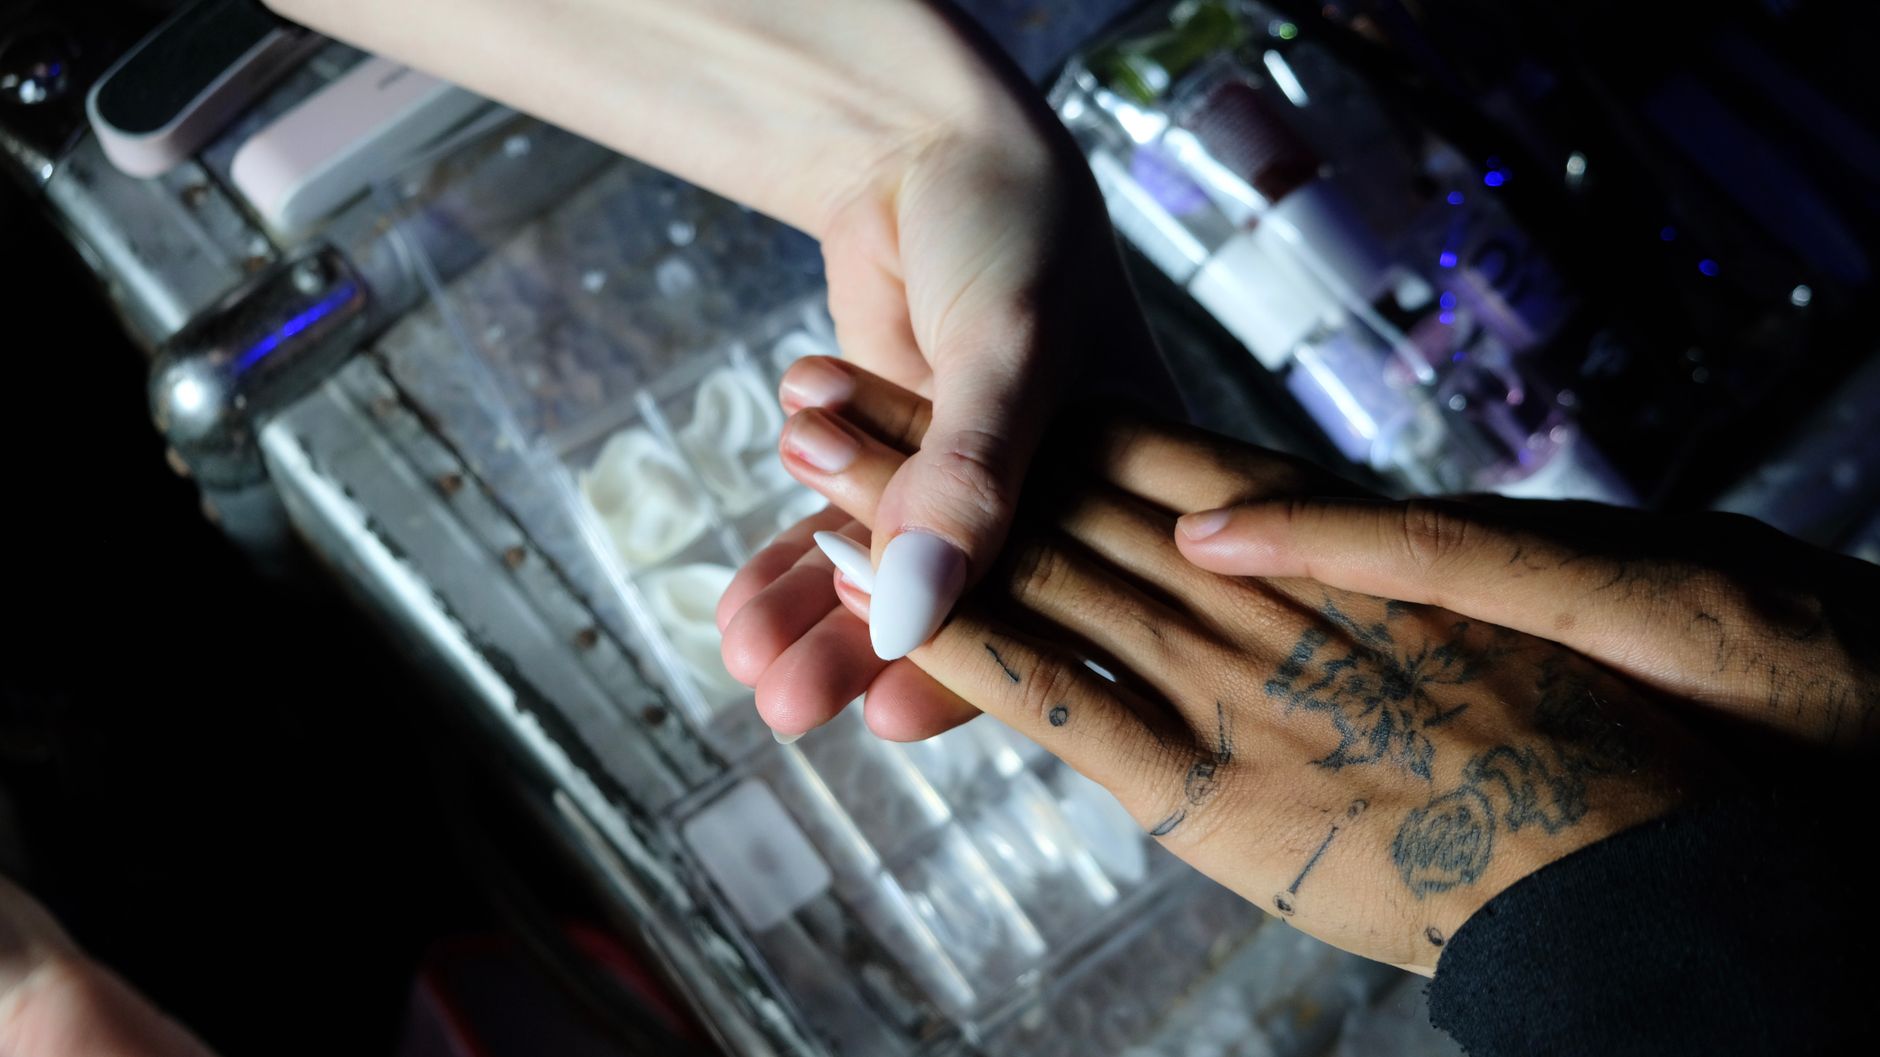
Acrylic nails are a popular choice for enhancing your manicure, but when it’s time to remove them, you may feel overwhelmed. The process can be tricky, but with the right tools and techniques, you can safely and effectively remove acrylic nails at home. In this guide, we’ll walk you through the step-by-step process, ensuring your natural nails stay healthy and intact.
Getting acrylic nails off can be a daunting task, particularly if you’re unsure where to start. Whether you want to give your nails a break or simply prefer the natural look, understanding the proper removal technique will help minimize damage and maintain nail health.
How to Get Acrylic Nails Off?
To safely remove acrylic nails at home, you’ll need a few tools and a bit of time. The primary methods include soaking the nails in acetone and gently filing them off. Follow our detailed steps for an effective removal process.
What You’ll Need for Safe Removal
Before starting, gather the following materials:
- Acetone (100% pure is preferred)
- Cotton balls or pads
- Aluminum foil or nail clips
- Nail file (preferably a coarse one)
- Buffer block
- Cuticle oil or nail conditioner
- Warm water (optional)
Step-by-Step Guide to Removing Acrylic Nails
Step 1: Prepare Your Workspace
Choose a well-ventilated area and cover your workspace with a towel or newspaper to catch any mess. Make sure to keep all your materials within reach.
Step 2: Clip the Acrylic Nails
Using nail clippers, carefully trim the acrylic nails as short as possible without hurting your natural nails. This reduces the amount of product you’ll need to remove and speeds up the soaking process.
Step 3: File the Surface
Use a coarse nail file to gently buff the top layer of the acrylic nails. Be careful not to file down to your natural nails. You’re aiming to break the seal on the acrylic, which allows the acetone to penetrate more effectively.
Step 4: Soak Cotton Balls in Acetone
Take your cotton balls or pads and soak them in acetone. Ensure they are saturated but not dripping. You may also warm the acetone slightly for a more effective soak, but make sure it’s not too hot to avoid burning your skin.
Step 5: Apply Cotton to Nails
Place the soaked cotton on each acrylic nail, ensuring full coverage. This will help dissolve the acrylic effectively.
Step 6: Wrap with Foil
Wrap each finger with a small piece of aluminum foil, ensuring the cotton ball stays in place. Alternatively, you can use nail clips designed to hold the cotton and foil together. This will create a heat-retaining environment that helps the acetone work faster.
Step 7: Wait for the Acrylic to Soften
Let the nails soak for 15 to 30 minutes. The length of time may vary based on the brand of acrylic used and the thickness of the application. During this time, you can relax, read a book, or binge-watch your favorite show.
Step 8: Check the Acrylic
After 15 to 30 minutes, check one of your nails. The acrylic should appear soft and gummy. If it’s still hard, re-wrap the nail and wait a little longer.
Step 9: Gently Remove the Acrylic
Using a wooden cuticle stick or an orangewood stick, gently push the softened acrylic away from your natural nail. Be gentle to avoid damaging your natural nail underneath. If the acrylic is still stubborn, you can soak your nails a bit longer.
Step 10: Buff and Smooth Your Nails
Once the acrylic is completely removed, gently buff the surface of your natural nails to smooth out any rough edges. Use a buffer block for a polished finish.
Step 11: Clean and Condition
Wash your hands thoroughly with soap and water to remove any acetone residue. After drying your hands, apply cuticle oil or a nourishing nail conditioner to help restore moisture to your nails and cuticles.
Common Mistakes to Avoid
While removing acrylic nails at home might seem straightforward, there are several common pitfalls to sidestep:
- Rushing the process: Allow enough time for the acrylic to soften completely; this will prevent damaging your natural nails.
- Skipping the filing step: Failing to file the surface before soaking can extend the removal time and may create more friction against your nails.
- Using excessive force: Pushing too hard while removing the acrylic can damage your natural nails and cause pain.
- Empty cotton balls: Using dry cotton balls will not effectively dissolve the acrylic. Always ensure they are soaked in acetone.
- Ignoring aftercare: Not conditioning your nails post-removal can lead to dryness, brittleness, and peeling.
Alternative Methods of Acrylic Nail Removal
In addition to acetone soaking, there are a few alternative methods for removing acrylic nails. However, these methods may take longer or be less effective.
Non-Acetone Remover
If you prefer to avoid acetone, you can use a non-acetone nail polish remover, but be aware that this method may take longer and require more physical effort to remove the acrylic. Follow the same soaking and wrapping steps but expect the process to extend to an hour or more.
Soaking in Warm Water
Another potential method is soaking your nails in warm, soapy water. This will soften the acrylic over time and may help lift it from the nail. However, this method is generally less effective and may require significant time. It can be useful as an adjunct to the acetone process.
Aftercare for Healthy Nails
After the removal process, taking care of your nails is vital for restoring their health.
- Apply cuticle oil regularly to nourish and restore moisture.
- Consider using a strengthening nail treatment to help reinforce the natural nail structure.
- Give your nails a break from any polish or artificial products for at least a week.
- Stay hydrated. Drinking plenty of water will help keep your nails and cuticles healthy and strong.
When to Seek Professional Help
Sometimes, you may encounter issues that require professional intervention. If you experience any of the following situations, consider visiting a nail technician:
- Severe pain or discomfort during the removal process
- Signs of infection, such as redness or swelling around the nail bed
- If you have thick acrylics that do not budge with at-home methods
Final Thoughts
Removing acrylic nails at home isn’t as intimidating as it may seem. With the right tools and techniques, you can safely remove them while maintaining the health of your natural nails. Take your time, follow the steps carefully, and remember to give your nails the care they need afterward.
Now that you know how to safely remove acrylic nails, consider exploring other related beauty topics, such as how to remove gel nail polish or how to remove Gel-X nails for a complete nail care routine.