
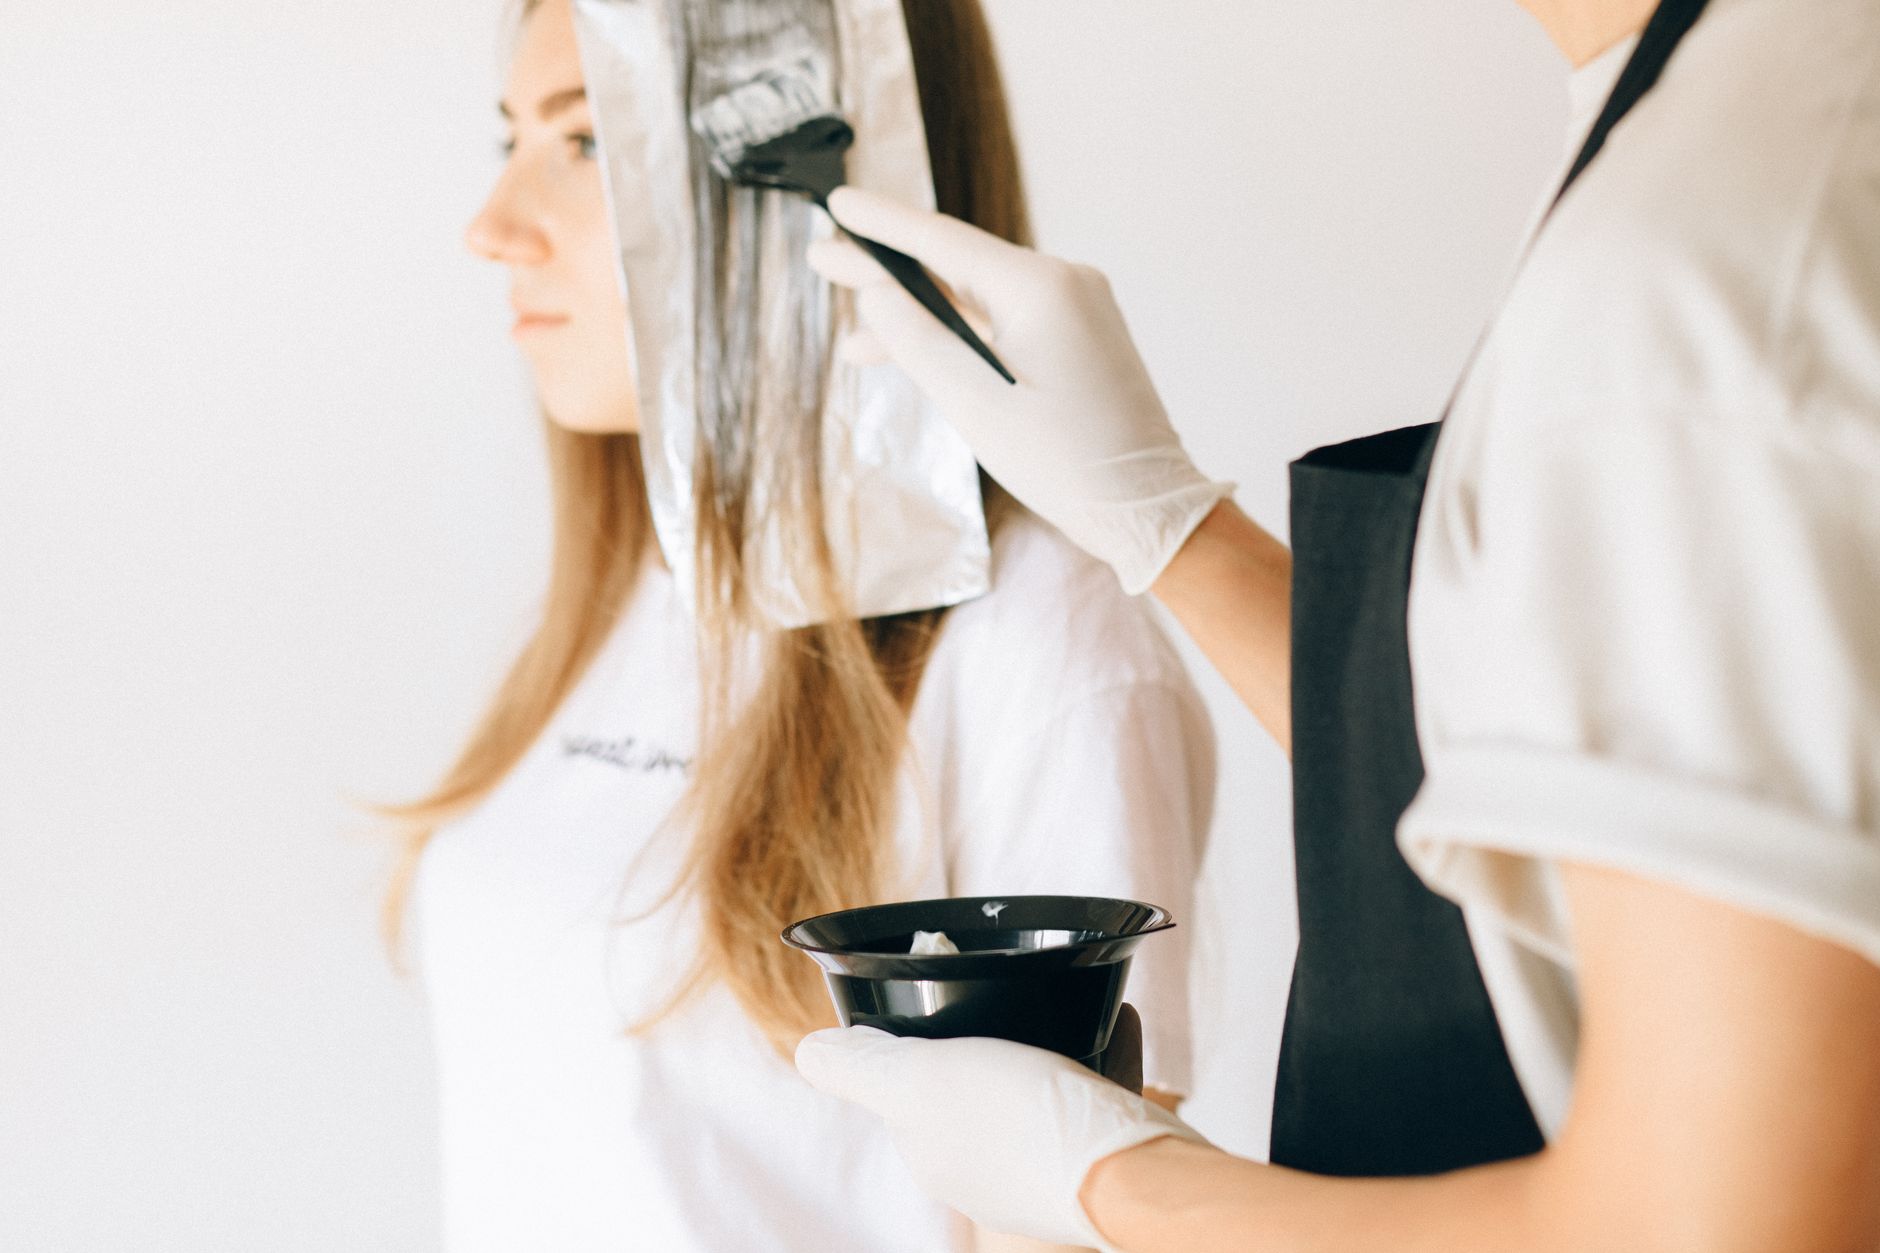
Hair lowlights are a fantastic way to add depth and dimension to your hair color without the high maintenance that highlights often require. Unlike highlights, which lighten sections of your hair, lowlights involve adding darker hues to create contrast and richness. This article will delve into the world of lowlights, covering their colors, ideal placements, and tips for upkeep.
Whether you’re looking to enhance your natural color or switch up your look completely, understanding how lowlights work can help you achieve a stunning and balanced effect. Let’s explore everything you need to know about lowlights and how they can transform your hair.
What Are Hair Lowlights?
Hair lowlights are darker shades of color applied to selected strands of hair, which create depth and richness in the overall color. They are typically used to complement or add contrast to a lighter base color or highlight. This technique can enhance natural hair colors or introduce new hues, making your hair look fuller and more dimensional.
Lowlights are an excellent choice for anyone who wants to soften the contrast between highlights or for those wanting to create a more natural look. The beauty of lowlights lies in their versatility, which can suit various hair types and colors.
Colors Used for Lowlights
Choosing the right colors for your lowlights is crucial in achieving your desired look. Here are some popular color options:
- Dark Brown: A classic choice that adds depth to lighter shades like blonde or caramel.
- Chestnut: Warm tones that can complement lighter golden highlights beautifully.
- Black: Adds dramatic contrast to lighter shades and is particularly striking on medium to light hair.
- Burgundy or Red: Perfect for adding a pop of color, especially on brown or blonde bases.
- Cool Ash: Works well with blonde or light brown hair for a more muted, sophisticated look.
Choosing the Right Shade
When selecting a shade for your lowlights, consider the following:
- Base Color: The color of your natural or current dye should guide your choice of lowlight. Darker lowlights work better on light or medium base colors, while subtle, slightly darker shades can enhance already dark hair.
- Skin Tone: Cool-toned individuals may benefit from ash or burgundy lowlights, while those with warmer skin undertones typically look best with golden or chestnut shades.
Placement of Lowlights
Placement is key to achieving a natural look with lowlights. Here are some effective placement techniques:
- Chunky Lowlights: Placing thicker sections of lowlights can create more drama and depth, making a bold statement.
- Feathered Lowlights: Thin, subtle strands of lowlights interspersed throughout the hair appear more natural and soft, ideal for a sun-kissed effect.
- Face-Framing Lowlights: Adding darker shades around the face can enhance features and provide a flattering frame.
- Ombre Effect: Pairing lighter ends with darker roots can create a stylish ombre look that is low-maintenance yet chic.
How to Get Lowlights
Getting lowlights typically involves visiting a salon, where a professional hairstylist can help you choose the right shade and placement. However, if you’re feeling adventurous, you can try a DIY approach at home with the right products.
Salon Application
- Consultation: Discuss your desired look with your hairstylist, focusing on color choice and placement preferences.
- Color Selection: Your stylist will help mix the right colors based on your hair type and desired outcome.
- Application: The chosen lowlight color will be applied to selected sections of your hair using various techniques like foiling or balayage.
- Processing: The dye will remain on the hair for a specified time to achieve the desired effect.
- Wash and Style: After processing, your stylist will wash out the color and style your hair, showcasing your new look.
At-Home Application
If you choose the DIY route, here’s how to apply lowlights at home:
- Choose a Semi-Permanent Dye: Opt for a semi-permanent dye one to three shades darker than your base color.
- Section Your Hair: Divide your hair into manageable sections to ensure even application.
- Apply the Dye: Use a brush to apply the dye to chosen strands, working from the ends upwards. Use foils if necessary to separate lowlight sections from the rest of your hair.
- Set the Timer: Follow the dye instructions for processing time, usually around 20–30 minutes.
- Rinse and Condition: Thoroughly rinse out the dye and use a deep conditioner to nourish your hair afterward.
Upkeep and Maintenance of Lowlights
Like all hair color treatments, lowlights require upkeep to maintain their vibrancy and health. Here’s how to take care of your lowlighted hair:
Regular Conditioning
Using a deep conditioning treatment regularly helps maintain your hair’s moisture and color vibrancy. Look for color-safe masks or conditioners that nourish while protecting your hair color.
Color-Protecting Products
Use shampoo and conditioner specifically formulated for color-treated hair. These products help extend the life of the color and minimize fading.
Limit Heat Styling
Excessive heat can dry out your hair and lead to color fading. Try to limit heat styling tools and use a heat protectant when styling is necessary.
Schedule Touch-Ups
Depending on your hair growth and color fading, you may need touch-ups every 4–8 weeks. Regular salon visits ensure that your lowlights remain fresh and vibrant.
Avoid Chlorine and Excess Sun
Chlorine from swimming pools can affect your hair color. If swimming, wear a swim cap or rinse your hair afterward. Similarly, direct sunlight can fade color-treated hair, so consider wearing a hat during prolonged sun exposure.
Common Mistakes to Avoid
While lowlighting can be an excellent addition to your hair, there are some common pitfalls to avoid:
- Choosing the Wrong Shade: Always consult a professional or do a patch test to find the perfect shade that complements your base color.
- Overdoing It: Too many lowlights or overly dark shades can lead to a harsh contrast that looks unnatural.
- Neglecting Aftercare: Skipping color-safe hair products can lead to faster fading and increased dryness.
Texture and Hair Type Considerations
Your hair texture and type can greatly impact the outcome of lowlights. Here’s how different hair types may affect the process:
- Straight Hair: Straight hair often showcases lowlights beautifully, allowing for a striking contrast between different shades.
- Curly Hair: Curly hair can benefit from lowlights with strategic placement to create a multi-dimensional look that enhances curl definition.
- Thick Hair: A thicker hair structure allows for chunkier lowlights for more pronounced contrast.
- Fine Hair: Fine hair may require subtler lowlights to avoid overwhelming the texture, benefiting from feathered or balayage techniques.
Examples of Lowlights
Here are some popular lowlight styles to inspire your next look:
- Bronde Lowlights: Combining blonde and brown shades creates a beachy bronde effect, perfect for adding softness and depth.
- Chocolate Lowlights: Dark brown lowlights on a caramel or blonde base provide a decadent and warm look.
- Gray Lowlights: Adding gray lowlights to dark hair creates an edgy yet sophisticated vibe for those daring enough to try it.
Final Thoughts
Lowlights are a versatile and effective color treatment that can enhance your overall look without the fuss of regular highlights. With the right shade, placement, and care, lowlights can add the depth and dimension you crave. Whether you’re opting for dramatic contrast or subtlety, lowlights can elevate your hairstyle to the next level.
If you’re ready for a hair transformation, consider lowlights the next time you think about visiting a salon or trying some dye at home. And remember, consultation with a professional can always ensure that you get the best results.
For further exploration of hair care, you may consider reading about demi-permanent hair color or discovering what hair gloss can do for your hair’s shine and vibrancy.