
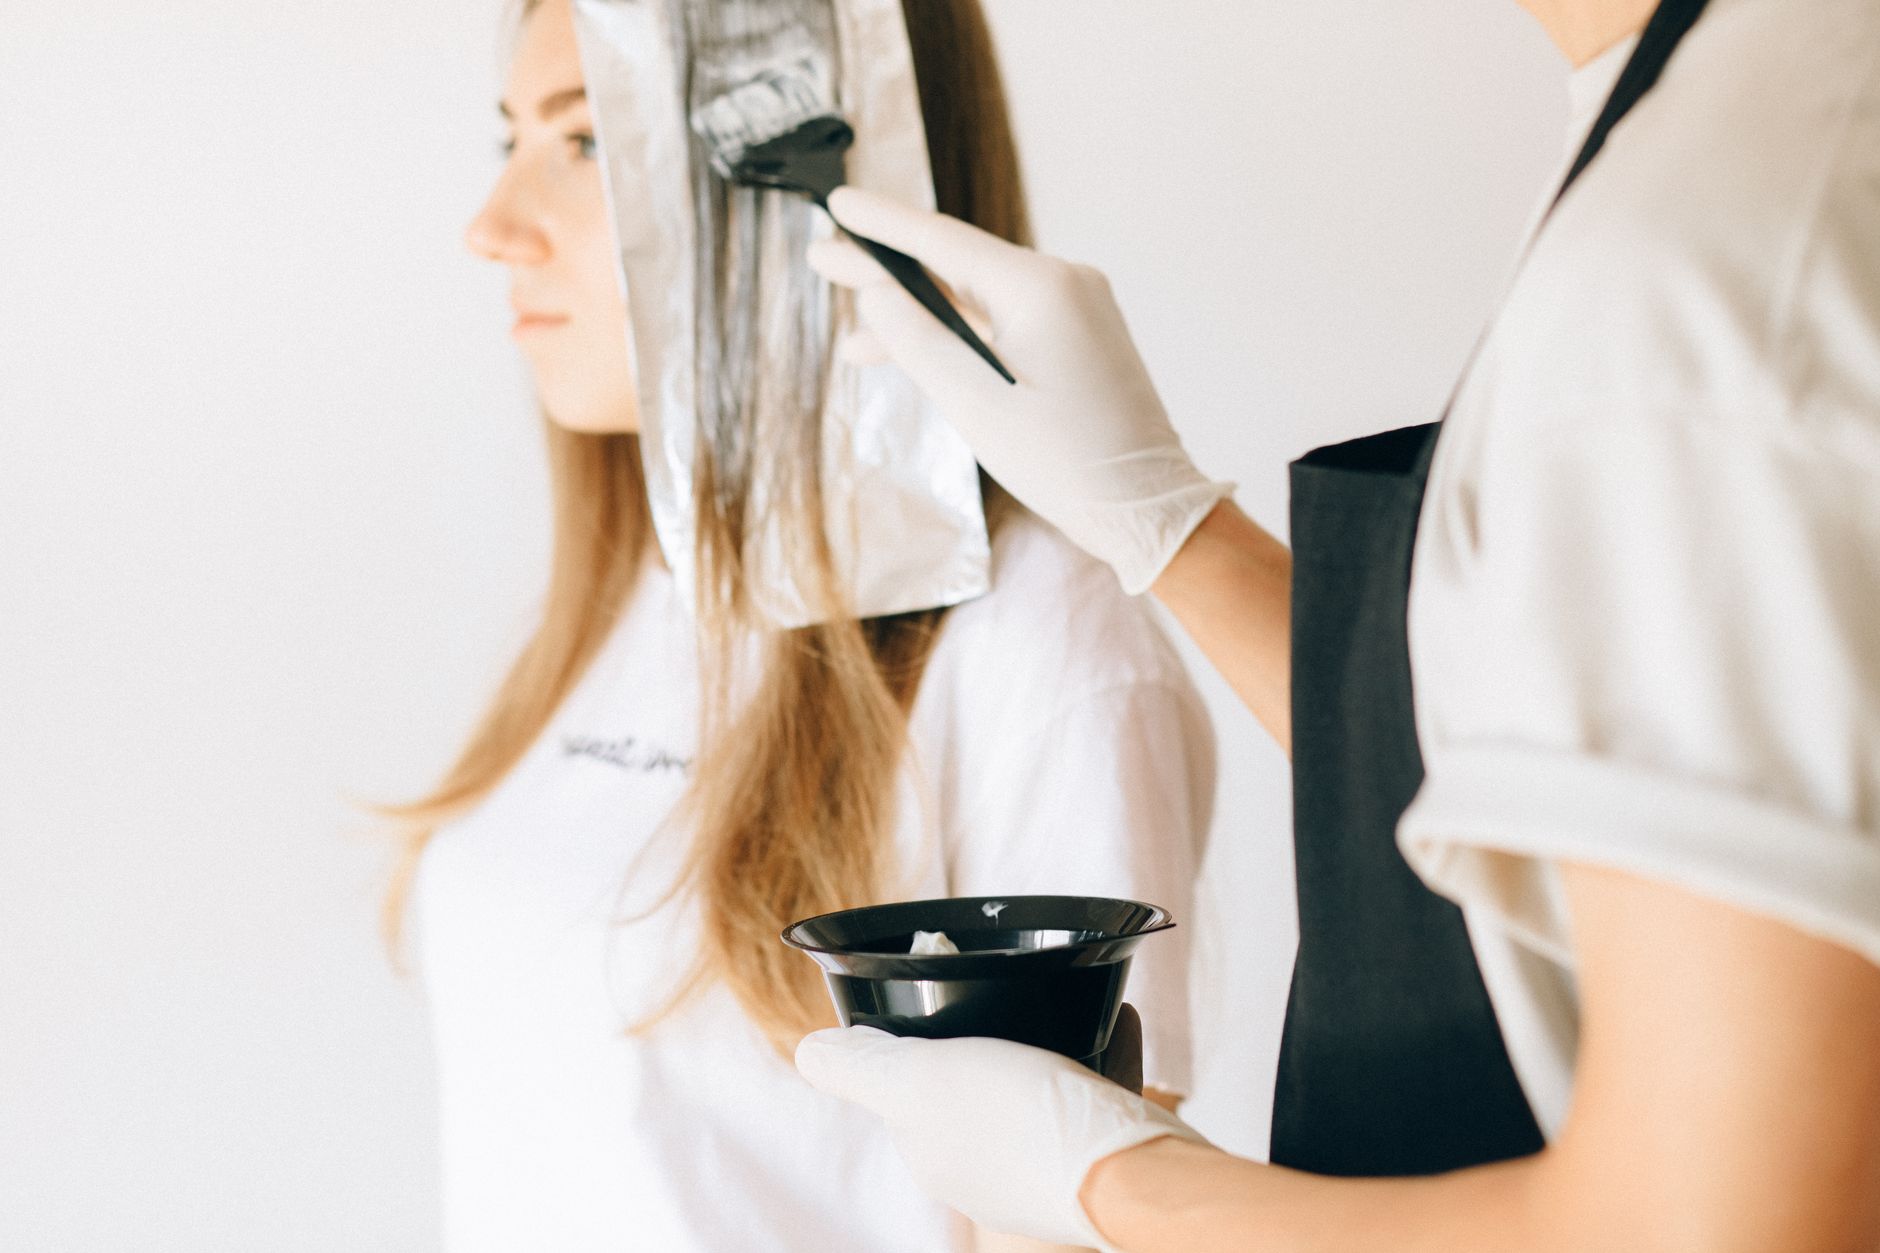
If you’re looking to lighten your hair and add dimension, highlights can be a perfect choice. Doing highlights at home can save you time and money, and with the right preparation, tools, and techniques, you can achieve salon-like results in the comfort of your own space.
This guide will walk you through everything you need to know about how to do highlights at home, including prep, timing, and care tips for beautifully highlighted hair.
How to Do Highlights at Home?
To do highlights at home, select a highlighting kit that suits your hair type and color. Follow the instructions carefully, and pay attention to your application technique to ensure even distribution and a natural look. Don’t forget to invest time in aftercare to maintain the vibrancy of your highlights.
Preparing for the Highlighting Process
Preparation is vital for a successful highlighting job. Here’s what you need to do before diving in:
1. Assess Your Hair Type
Consider your hair’s texture and its current condition. This will help you choose the right highlighting product:
- Straight or Wavy Hair: Typically easier to highlight; choose a lighter application technique.
- Curly Hair: Consider using a gentle highlighting technique to avoid uneven lightening.
- Color-Treated Hair: Make sure the products you choose are compatible with previous treatments.
2. Gather Your Tools
Having the right tools on hand is essential for an effective highlighting session.
- Highlighting kit (bleach, developer, and toner)
- Hairbrush and comb
- Applicator brush
- Plastic gloves
- Plastic clips
- Old towel or cape
- Shower cap or plastic wrap
- Timer
- Mirror (additional handheld mirror for better visibility)
3. Do a Strand Test
Before applying highlights to your entire head, perform a strand test. This test helps you gauge how your hair will respond to the bleach and the final color it will achieve. Follow these steps:
- Choose a small section of hair from an inconspicuous area.
- Apply the highlighting mixture according to the product instructions.
- Wait the recommended processing time, then rinse and dry the section.
This will give you a good idea of how the highlights will turn out.
4. Prepare Your Space
Set up a clean, well-lit space where you can comfortably do your highlights. Cover surfaces with old towels or newspapers, and have all your tools easily accessible. Also, ensure you wear an old shirt that you don’t mind staining, as bleach can be messy.
Highlighting Techniques
Several techniques can be used to apply highlights. The best option for you will depend on the look you’re going for.
1. Foil Highlights
This technique involves using foil to isolate sections of hair. Here’s how:
- Section your hair into quadrants using clips.
- Take a 1-inch slice of hair from the section you’re working on.
- Apply the highlighting mixture generously and place it on a piece of foil.
- Fold the foil to wrap the hair and secure it in place.
This method allows for precise placement and helps keep the hair separated while processing.
2. Balayage
Balayage involves painting the highlighting mixture onto the hair without foils. It’s a more natural-looking technique. Follow these steps:
- Using a comb, take a small section of hair.
- Apply the highlighting mixture freehand, concentrating on the tips and mid-lengths.
- Feather the mixture up towards the roots for a blended look.
This technique is excellent for creating soft, lived-in highlights.
3. Cap Highlights
This technique is suitable for short hair and involves using a cap with holes to pull hair through. Here’s how to achieve it:
- Place the cap on your head and secure it.
- Using a hook (usually included in the kit), pull small sections of hair through the holes.
- Apply the highlighting mixture to the pulled hair, making sure to saturate them well.
This method is less common but can work well for specific hairstyles.
Timing Matters: How Long to Leave the Bleach
Correct timing is crucial to avoid over-processing your highlights. Generally, the recommended time frame can typically range from:
- 10 to 30 minutes for standard hair.
- Less than 10 minutes for finer hair.
- More than 30 minutes for thick or coarse hair.
Always refer to the instructions provided with your highlighting kit, and remember to check the hair’s progress regularly during the process. A strand test will also help you establish how quickly your hair processes.
Aftercare for Highlighted Hair
To keep your highlights looking fresh and vibrant, proper aftercare is essential.
1. Use a Color-Safe Shampoo
Opt for sulfate-free shampoos that won’t strip color from your highlights. Wash your hair less frequently to help maintain the color.
2. Condition Regularly
Use a deep conditioner or a hair mask once a week to keep your hair hydrated and minimize damage. Look for products with ingredients known for their moisturizing properties, such as:
- Argan oil
- Coconut oil
- Shea butter
3. Be Cautious with Heat Styling
Avoid excessive heat styling as it can damage bleached hair. When you do use heat tools, always apply a heat protectant spray to safeguard your strands.
4. Limit Sun Exposure
Protect your hair from sun exposure by wearing hats or using hair products with UV protection. Sun exposure can fade color quicker than usual.
Common Mistakes to Avoid
When highlighting at home, being proactive about avoiding certain mistakes can lead to better results.
- Skipping the Strand Test: Always do a strand test to understand how your hair reacts to bleach.
- Overprocessing: Keep a close eye on the timer and check your hair’s progress regularly.
- Applying to Dirty Hair: While it’s good to have some natural oils on your hair, too much product build-up can affect results. Wash your hair 24-48 hours before highlighting.
- Being Too Ambitious: Trying to do too many highlights in one go can lead to uneven results. Start with less and add more highlights in future sessions if needed.
- Not Following Instructions: Always follow the specific instructions provided with your product for the best results.
When to Seek Professional Help
While at-home highlighting can be rewarding, there are instances where it might be best to seek professional assistance. Consider the following cases:
- If you want drastic color changes or multiple colors.
- If your hair is heavily damaged or has been processed multiple times.
- If you feel unsure about your highlighting technique.
Final Thoughts
Doing highlights at home requires careful planning, the right tools, and some practice. With preparation, proper technique, and aftercare, you can achieve stunning results that add light and dimension to your hair. Remember to be patient with yourself as you learn the process, and don’t hesitate to get professional help if you need it.
For those also interested in hair grooming, you might find our guide on cutting your own hair helpful. Also, learn about how long to leave bleach in hair to avoid over-processing. Happy highlighting!