
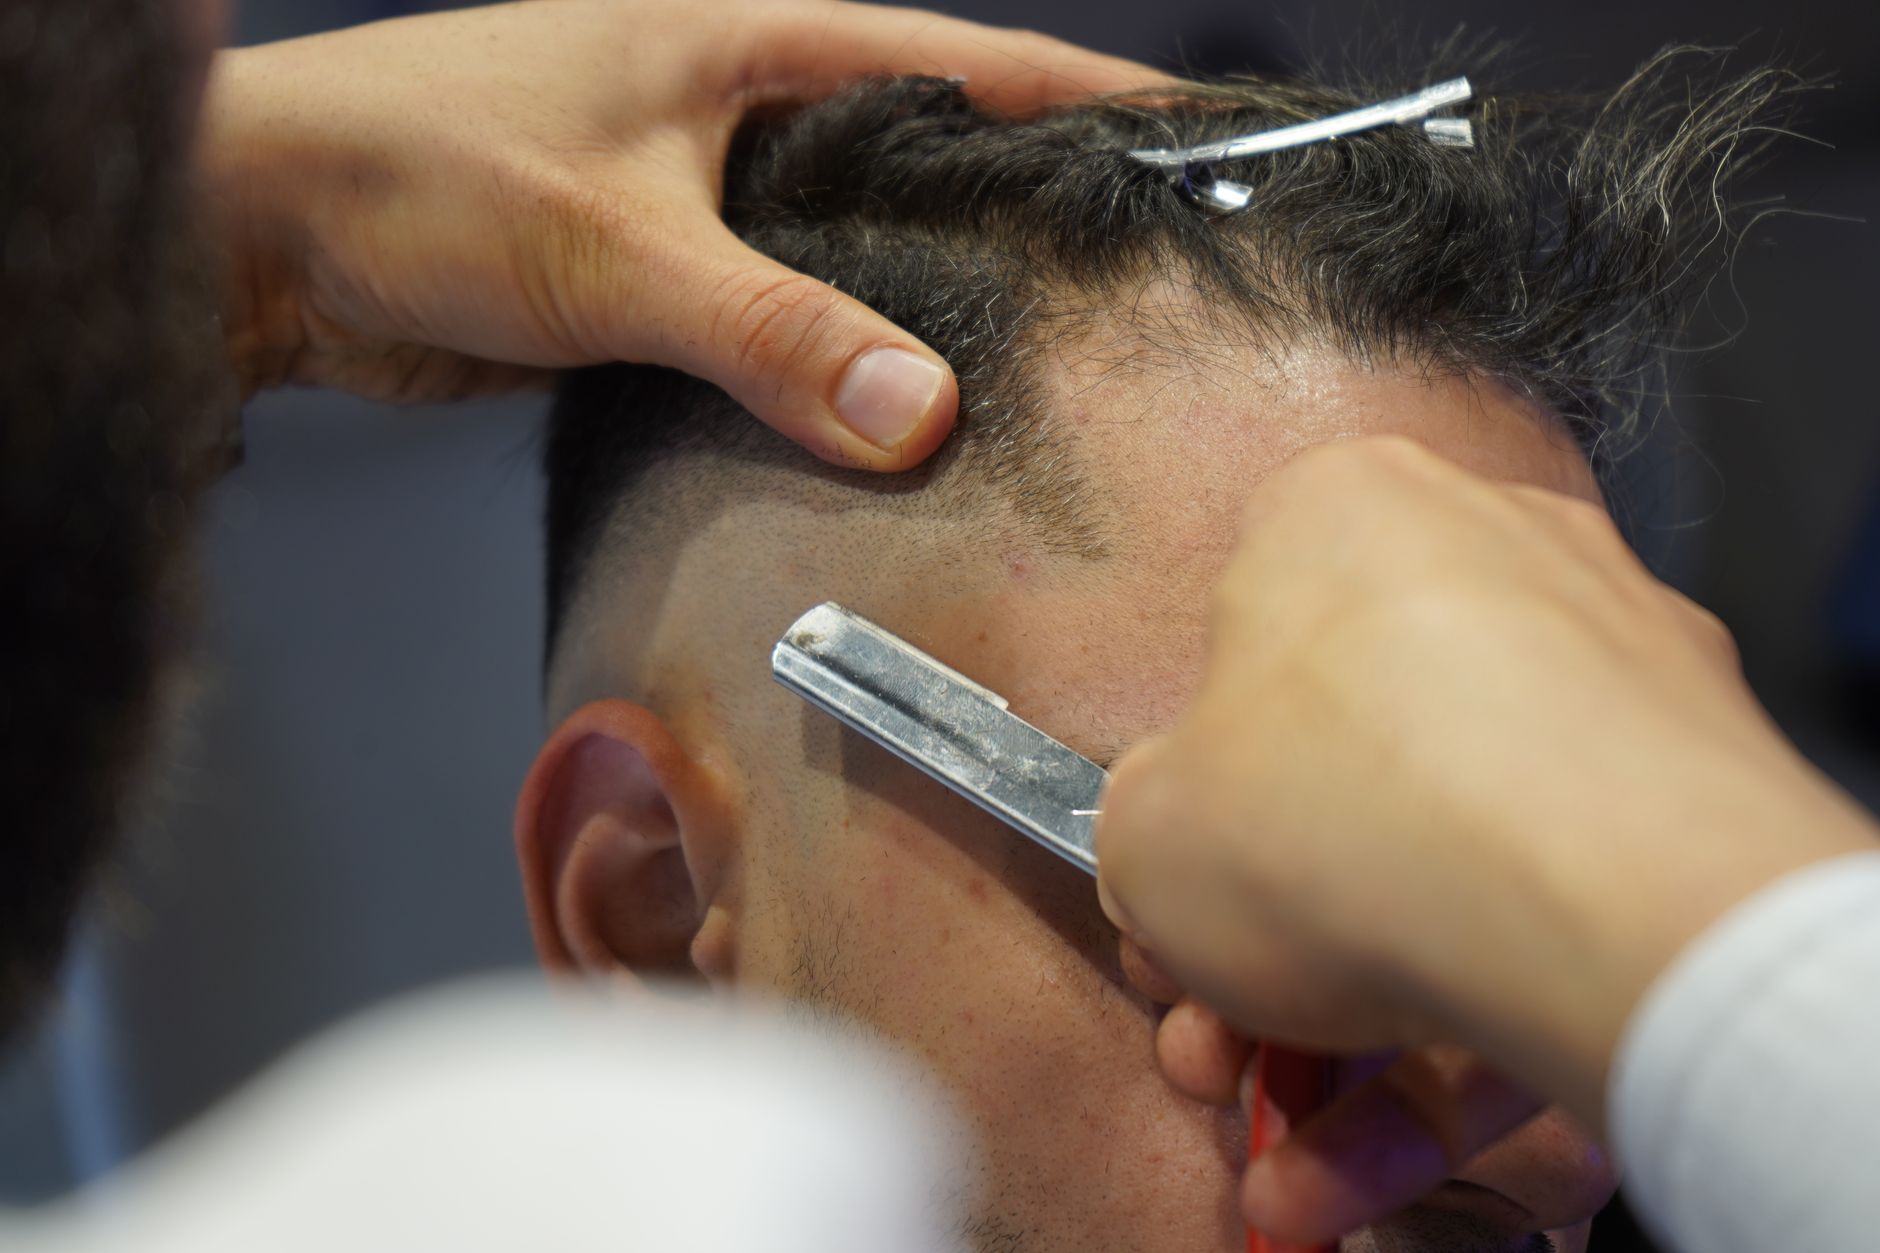
The fade haircut has become increasingly popular, favored for its sharp and stylish look that complements a variety of hairstyles. It involves gradually shortening the hair from the top of the head down to the sides and back, blending it seamlessly with different lengths. Whether you’re aiming for a low, mid, or high fade, understanding the technique is essential to achieve a polished look.
This guide will walk you through the steps of performing a fade haircut and help you avoid common mistakes. With the right tools and techniques, you can achieve a professional-looking fade right at home.
How to Do a Fade?
To do a fade, start by preparing your hair and tools, then methodically blend different hair lengths using clippers or scissors. The process involves sectioning the hair, selecting the desired fade gradient, and taking care to blend seamlessly between different lengths. Knowing your hair type and texture is essential for achieving the best results.
Essential Tools for a Fade Haircut
Having the right tools is crucial for executing a fade haircut properly. Here’s a list of essential tools you’ll need:
- Hair clippers with adjustable guards
- Scissors for detailing
- Comb for sectioning and styling
- Mirror for clear visualization
- Cape or towel to cover shoulders
- Hairbrush for smoothing hair
- Spray bottle with water for dampening hair
Types of Fades
There are several types of fades you can choose from, each offering a different look:
- Low Fade: Begins just above the ears and creates a subtle transition.
- Mid Fade: Starts halfway up the sides, creating a more noticeable contrast.
- High Fade: Starts closer to the top of the head for a bold style.
- Taper Fade: Similar to a fade but less dramatic; it gradually shortens the hair on the sides without going bald.
Step-by-Step Guide to Doing a Fade
Follow these steps to create a fade haircut. It’s advisable to do a test run on a small section of hair first, especially if you’re a beginner.
Step 1: Prepare Your Hair
- Start by washing your hair and towel-drying it, ensuring it’s clean and slightly damp, which makes cutting easier.
- Comb your hair thoroughly to remove any tangles.
- Decide on the length you want for the top and the fade to choose the right clipper guard.
Step 2: Section Your Hair
- Section the hair by separating the top from the sides using a comb. Clip the top section away using a hair clip.
- Begin with the sides, taking care to create a clean parting line.
Step 3: Choose the Right Guard Length
- Attach the appropriate guard to your clippers, starting with a longer guard for the top and a shorter one for the sides.
- For a low fade, use a size 2 or 3 guard for the sides; for mid and high fades, opt for size 1 or even 0 depending on how short you want it.
Step 4: Start Fading
- Begin at the bottom of the sides and work your way up, using a slight scooping motion with the clippers to blend into the top.
- Move gradually up the head, switching guards as necessary to create a gradient effect. Ensure to blend with each pass to avoid harsh lines.
- Check in the mirror regularly to ensure you’re achieving the desired transition and adjust if necessary.
Step 5: Blend the Fade
- Once you have finished cutting with the clippers, use scissors to delicately blend any areas that may appear uneven.
- Comb the hair sections and take small snips to eliminate any discrepancies in length.
Step 6: Style the Top
- Unclip the top section and style it according to your preference – this could involve cutting to a specific length or just styling without cutting.
- For textured looks, consider using product to enhance the style.
Step 7: Clean Up
- Once satisfied with the fade and top style, use a hand-held mirror to check the back for consistency.
- Finally, clean up any stray hairs and remove the cape or towel used to collect hair clippings.
Common Mistakes to Avoid When Doing a Fade
A fade can be tricky, especially for beginners. Here are some common mistakes to look out for:
- Not Choosing the Right Length: Always start with a longer guard and work your way down. It’s easier to cut more hair off than to try and fix cutting off too much initially.
- Neglecting to Blend: One of the most critical parts of a fade is the blending between the different lengths. Take your time with this step to avoid noticeable lines.
- Rushing the Process: A fade requires patience. Rushing can lead to mistakes like uneven lengths or poor transitions between sections.
- Ignoring the Mirror: Regularly checking your work in a mirror during the haircut ensures you maintain symmetry and balance.
- Forgetting About Maintenance: A fade requires regular touch-ups to keep it looking fresh. Determine how often you’ll need to maintain it based on your hair growth rate.
Tips for Different Hair Types and Textures
Not all fades will look the same on different hair types and textures. Here are some helpful tips:
- Straight Hair: Straight hair does well with high fades and sharp transitions. Use a smaller guard for a cleaner, tighter fade.
- Wavy Hair: Opt for a mid or low fade to allow for that natural wave on the top. Blending is critical for wavy textures.
- Curly Hair: Consider a longer top with a low fade to enhance your curls. Make sure to work with the natural curl pattern.
- Textured Hair: For textured or coily hair, use clippers with care, and avoid going too short to maintain volume and shape.
Post-Fade Hair Care
Following a fade, proper care is essential to keep your hair looking fresh. Here are a few guidelines:
- Use a moisturizing shampoo and conditioner to maintain healthy hair.
- Consider a hair oil or serum to keep your scalp nourished and counteract any dryness from clipping.
- Regular touch-ups are necessary to keep the fade looking sharp; aim for every two to four weeks.
- Protect your hair and scalp from sun damage by wearing hats or using leave-in conditioners with SPF.
When to Seek Professional Help
While doing a fade at home can be a rewarding experience, there are times when it’s best to seek professional help. Consider visiting a barber or stylist if:
- You are unsure about how to proceed with a fade.
- You want a complex fade that requires advanced techniques.
- You have very thick or coarse hair and are unsure about how to manage it.
Final Thoughts
Creating a fade haircut at home can seem intimidating, but with practice and patience, it can also be rewarding. Follow the steps outlined in this guide, keep an eye on common mistakes, and you’ll soon be able to create your perfect fade. Remember, also to care for your hair afterward to maintain your new style.
For those looking for further guidance related to haircuts, you may find it useful to check out our articles on how to cut your own hair and how to cut hair with clippers.