
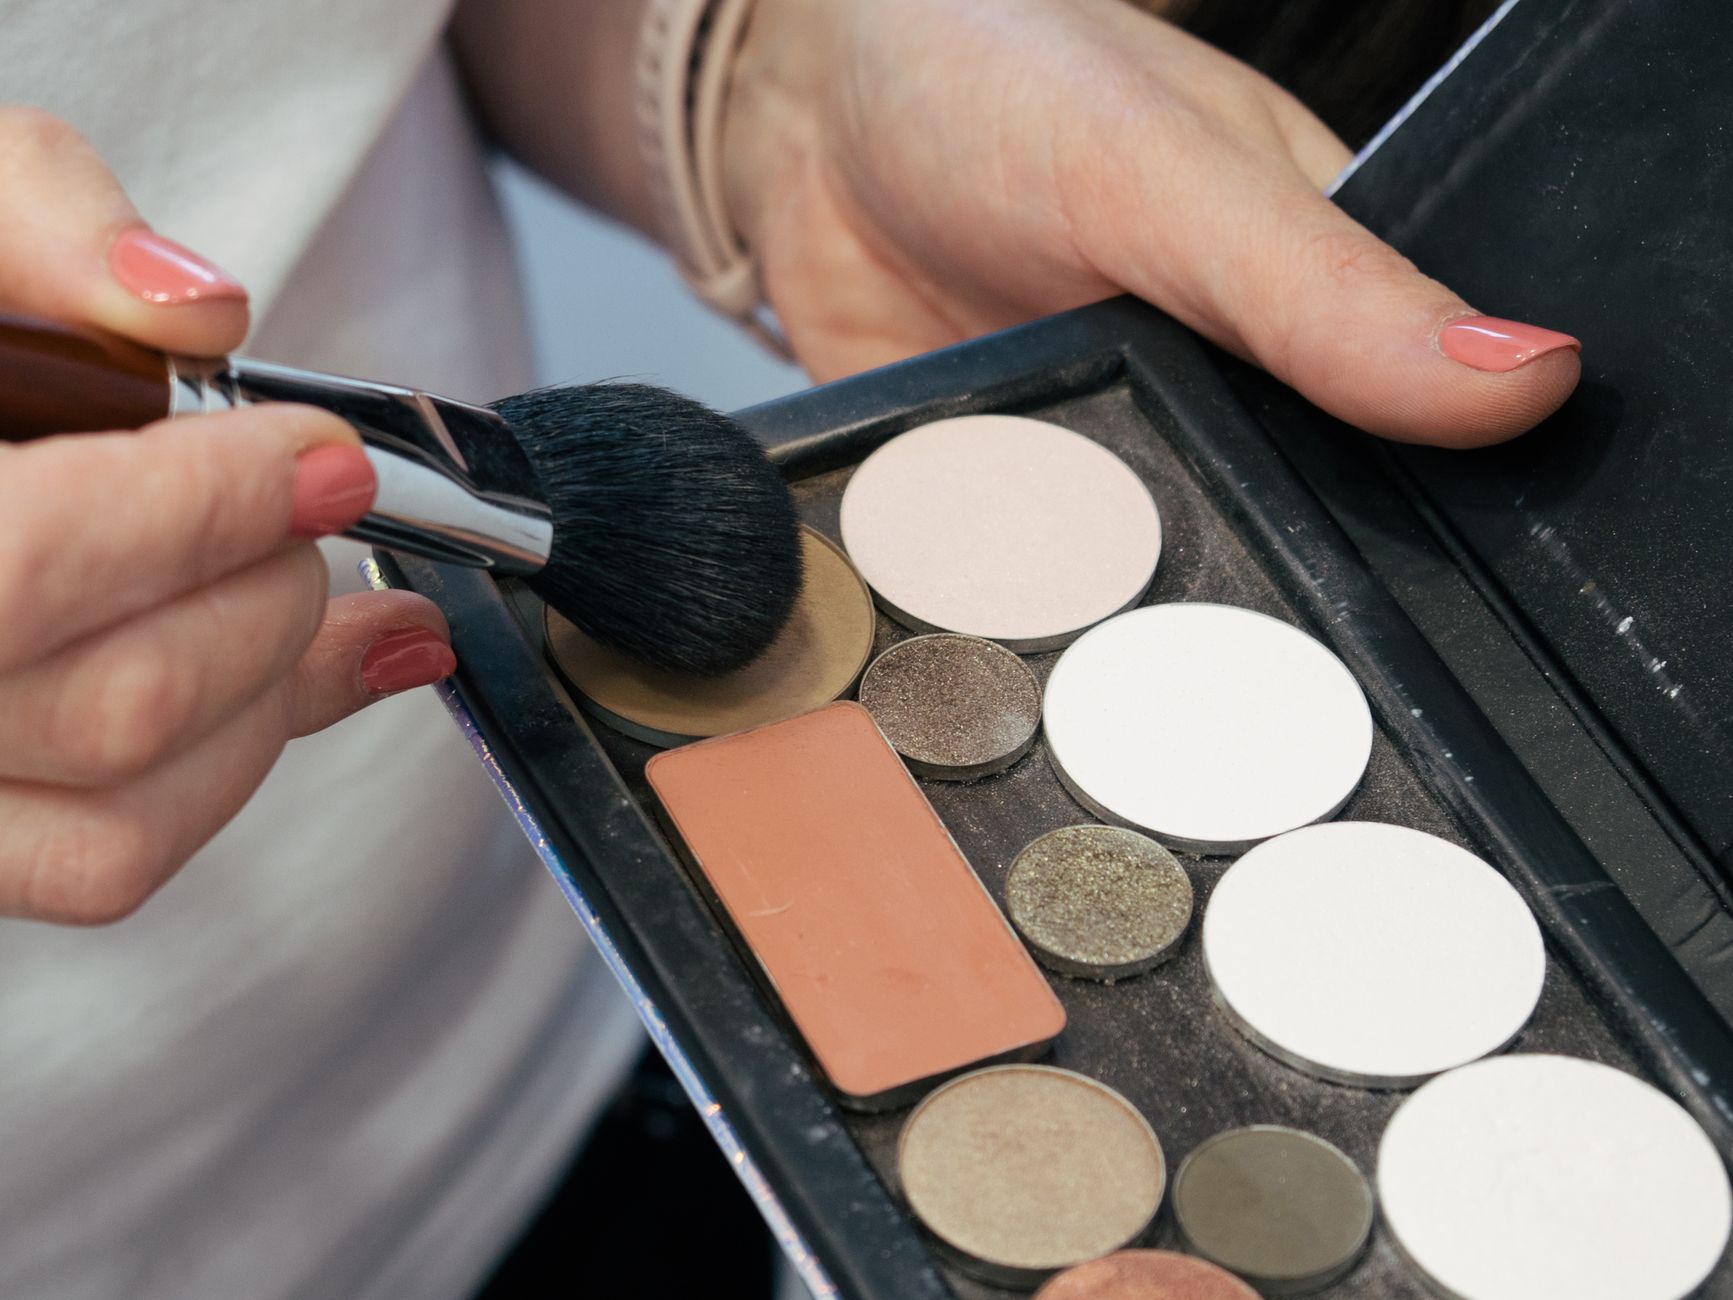
Blush can be a transformative makeup product, adding color and dimension to your face. Its placement is crucial for enhancing your natural features and creating the desired look. Understanding where to put blush can help elevate your makeup game, regardless of your face shape or makeup style.
This guide covers everything from blush placement based on your face shape to blending techniques for a flawless finish. By the end of this article, you’ll be equipped with the knowledge to confidently apply blush and achieve that youthful glow.
Where to Put Blush?
Blush is typically applied to the cheeks to create a healthy flush, but the specific placement can vary based on your face shape and the look you want to achieve. Generally, blush should be applied on the apples of your cheeks, extending up towards the temples, but let’s explore the best blush placement based on different face shapes.
Understanding Face Shapes
Before diving into brush techniques, it’s essential to identify your face shape. The main types of face shapes include oval, round, square, heart, and diamond. Each shape has unique features that can be enhanced or softened through proper blush placement.
1. Oval Face Shape
Oval faces are characterized by balanced proportions with slightly wider cheekbones and a gently rounded jawline. For this shape:
- Apply blush on the apples of your cheeks and blend it out towards your temples.
- You can extend the color slightly toward the ears for definition.
- A soft sweep of blush will keep the overall look harmonious.
2. Round Face Shape
Round faces have equal width and length with softer angles. To give the illusion of length:
- Apply blush slightly above the apples of the cheeks, angling it upward towards the temples.
- This technique helps elongate the face.
- Keep the application higher on your cheeks to avoid emphasizing the roundness.
3. Square Face Shape
Square faces have sharp angles with a broad forehead and strong jawline. To soften these features:
- Apply blush on the apples of your cheeks and blend it in circular motions towards the temples.
- Using a fluffier brush can help diffuse the color and blend seamlessly.
- A slightly higher placement can help soften square jawlines.
4. Heart Face Shape
Heart-shaped faces feature a wider forehead and a narrow chin. To balance the proportions:
- Apply blush on the apples of your cheeks and blend towards the center of the face.
- This creates a flattering flush that doesn’t draw too much attention to the forehead.
- Adding a touch of highlighter on the chin can also aid in achieving balance.
5. Diamond Face Shape
Diamond faces have a narrow forehead and jawline with wide cheekbones. To flatter this face shape:
- Apply blush on the apples of your cheeks and blend towards your temples.
- Focus the color more on the center to play up the cheekbones.
- A bit of highlighter on the forehead can help harmonize the features.
Choosing the Right Blush Formula
Blush comes in various forms: powder, cream, liquid, and stick. The choice of formula can affect how you apply and where you put blush. Here’s a quick overview of each:
- Powder Blush: Great for oily skin; it can be built up for desired intensity.
- Cream Blush: Best for dry or mature skin; it provides a dewy finish and blends easily into the skin.
- Liquid Blush: Perfect for a lightweight feel and usually offers a long-lasting effect; ideal for those looking for a fresh, natural glow.
- Stick Blush: Convenient and travel-friendly; it can be directly applied and blended with fingers or a brush.
Blush Application Techniques
Now that you know where to apply blush based on your face shape, let’s discuss application techniques for a flawless finish.
1. Prep Your Skin
Blush looks best on well-prepped skin. Make sure you have a clean canvas:
- Cleanse your face, apply moisturizer, and use a primer suited for your skin type.
- This ensures longer-lasting wear and a smoother application.
2. Choose the Right Tool
The tool you use can dramatically affect the application of your blush:
- Brush: Use a fluffy blush brush for powder blush; for cream and liquid blush, a stippling brush or your fingertips work best.
- Sponge: A damp beauty sponge is excellent for applying cream blush for a seamless, natural finish.
- Fingers: Hands can provide warmth, making cream or liquid blush easier to blend.
3. Apply in Layers
Less is often more with blush. Start with a light application:
- Tap your brush in the product, then remove excess by tapping against the side of the container.
- Smile to find the apples of your cheeks; this is where you should start applying the blush.
- Begin with a small amount, and gradually build up to the desired intensity.
4. Blend Blush Seamlessly
Blending is crucial to avoid harsh lines:
- Using gentle, sweeping motions, blend the blush out towards the temples or hairline.
- Move in circular or upward strokes to lift the appearance of the face.
- Always blend for a natural look; if in doubt, use a clean, fluffy brush to diffuse edges.
5. Set with Powder
If you used cream or liquid blush, consider setting it with a light dusting of translucent powder:
- This will help lock in your blush and maintain its vibrancy throughout the day.
- Be light-handed; too much powder can dull the color.
Blush Trends to Try
Trends in blush application have evolved, giving rise to various artistic methods:
1. Draping
This technique involves using a combination of shades to sculpt and lift the face, resembling a more vintage aesthetic:
- Choose two shades of blush: one a bit darker than your natural flush and the other lighter.
- Apply the deeper shade along the cheekbone and blend upward, then apply the lighter shade on the apple of the cheeks.
2. Blush on Nose
Applying blush to the bridge of your nose creates a youthful sun-kissed look:
- Use a soft hand to apply a very light layer of blush over your nose.
- Ensure the color is faint to maintain an effortless vibe.
3. Blush Layering
For added warmth and dimension, layer different blush products:
- Start with a cream blush, then apply a powder blush on top to set the cream.
- Mix and match colors to create custom shades.
Common Blush Mistakes
Even seasoned makeup enthusiasts can make mistakes when applying blush. Here are a few common pitfalls and how to avoid them:
- Over-applying: Start light, and build up the color gradually to avoid looking overdone.
- Wrong placement: Ensure you understand your face shape for proper placement to enhance your features.
- Choosing the wrong shade: Your blush color should complement your skin tone; warmer tones suit warm undertones, while cooler tones flatter cool undertones.
Removing Blush
At the end of the day, it is essential to remove all makeup thoroughly. Here’s how to effectively remove blush:
- Start with a makeup remover or micellar water on a cotton pad to lift off the blush.
- Follow up with a cleanser suitable for your skin type to ensure all makeup is removed.
- Use a gentle exfoliator 1-2 times a week to prevent buildup and maintain glowing skin.
Proper removal helps prevent clogged pores and allows your skin to breathe overnight.
Every Skin Tone Matters
When it comes to blush, it’s important to select shades that complement your unique skin tone:
- Fair Skin: Soft pinks, peaches, and cool undertones look beautiful.
- Medium Skin: Roses, mauves, and warm peaches can enhance natural warmth.
- Dark Skin: Bold shades like berry, plum, and bright corals can add vibrancy and dimension.
There’s a vast array of colors for every complexion, so don’t hesitate to experiment until you find your perfect match.
Conclusion
Knowing where to put blush and how to apply it can greatly enhance your makeup routine. By considering your face shape, experimenting with different formulas, and employing effective blending techniques, you can achieve a naturally radiant look. Don’t shy away from trying different blush styles and shades until you find what works best for you!
Now that you have a comprehensive understanding of blush application, explore related beauty guides to further enhance your makeup skills. Check out our articles on how to apply blush and where to apply bronzer for a complete look. Happy Blushing!