
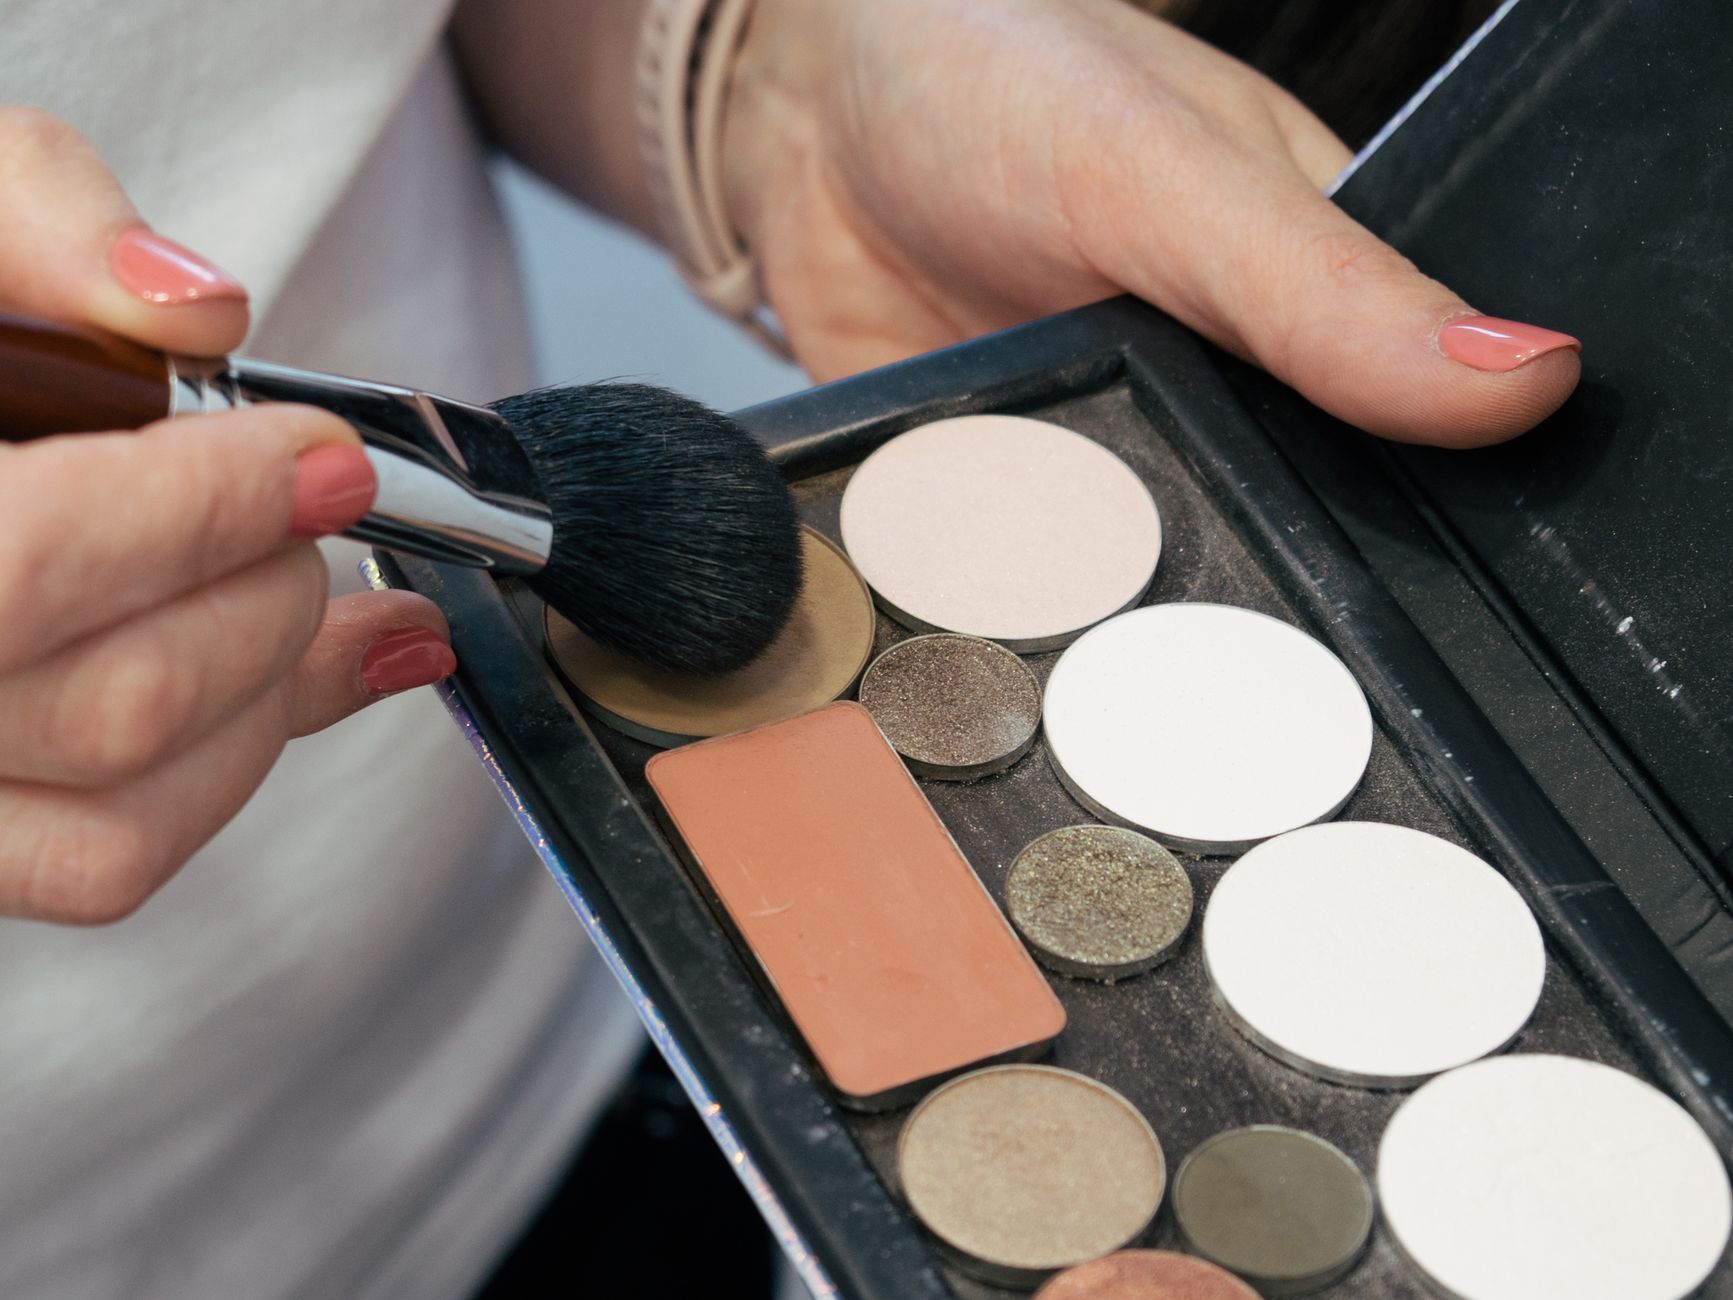
Blush can be a transformative makeup product, adding vibrancy to your cheeks and enhancing your overall complexion. However, the common question remains: How do you apply blush effectively to achieve that fresh, radiant look? Understanding your face shape, skin tone, and type of blush can significantly influence your application technique and the final result.
This guide will provide you with practical tips and tricks for applying blush like a pro, from choosing the right product to mastering the perfect technique. We’ll also address common mistakes that can hinder your efforts and how to rectify them for a flawless finish.
How to Apply Blush?
To apply blush effectively, start by selecting the right type of blush for your skin type and tone, then follow a systematic approach to application. This involves choosing the appropriate tools, determining the correct placement on your cheeks, blending smoothly, and finishing with a setting spray if desired.
Choosing the Right Blush
Before you grab a brush, it’s essential to choose the right blush that complements your skin type and tone. Here are some considerations:
Types of Blush
- Powder Blush: Ideal for oily to combination skin, as it sets well and controls shine.
- Cream Blush: Excellent for dry skin types, providing a dewy finish and hydration.
- Liquid Blush: Versatile and can work for multiple skin types, but needs to be blended quickly to avoid streaks.
- Gel Blush: Lightweight and often sheer, suitable for a natural look, great for all skin types.
Understanding Skin Tone
Your skin’s undertone is crucial in selecting the right blush shade:
- Cool Undertones: Look for pinks, mauves, or berry shades.
- Warm Undertones: Opt for peach, coral, or warm pink hues.
- Neutral Undertones: Choose rose, soft pinks, or peachy tones that blend both warm and cool shades.
Gathering the Right Tools
Having the appropriate tools makes a significant difference in your application. Here are the essentials:
- Blush Brush: A fluffy brush with tapered bristles for even application.
- Stippling Brush: Useful for layering cream or liquid products.
- Beauty Blender: Ideal for a natural finish with cream or liquid blush.
- Fan Brush: Can be used for a light dusting of powder blush on the high points.
Step-by-Step Guide to Applying Blush
Follow this step-by-step guide to achieve a beautifully blended blush:
- Prepare Your Skin: Start with a clean, moisturized face. Apply your foundation or BB cream to even out your complexion, setting it with a translucent powder if necessary.
- Determine Placement: Smile to find the apples of your cheeks, then apply blush slightly above this area for a lifted effect. For round faces, apply the blush more towards the temples, while on oval faces, place it centrally.
- Load Your Brush: Dip your brush lightly into the blush. For powder, tap off any excess; for cream or liquid, use a stippling brush or beauty blender to avoid heavy application.
- Apply Blush: Starting from the apples of your cheeks, use a sweeping motion back towards your temples. For cream or liquid, blend quickly to avoid streaks.
- Build Intensity: If you desire more color, gradually build up the blush. It’s better to apply in moderation than to try to correct an overly heavy application.
- Blend: Use a clean brush or a damp beauty blender to soften any harsh edges, allowing the blush to blend seamlessly into your skin.
- Set Your Makeup: If desired, finish with a setting spray to lock everything in place.
Common Mistakes to Avoid
Even the best makeup artists can make mistakes. Here are common errors to watch out for:
Using Too Much Product
Add too much product all at once, and you can easily end up with clown-like cheeks. Always start with a small amount and build up slowly. Less is more!
Improper Placement
Applying blush to the wrong areas can alter the shape of your face. Be mindful of your face shape and apply blush in the right areas to create a flattering look.
Skipping the Blend
Harsh lines can turn your makeup from polished to messy. Blend your blush thoroughly for a seamless transition between your skin and the color.
Choosing the Wrong Shade
The wrong shade can either wash you out or clash with your skin tone. Understand your undertones and choose colors that complement your natural coloring.
Neglecting the Rest of Your Makeup
Blush should harmonize with your overall makeup look. Ensure your eye makeup, lip color, and blush work together for a cohesive appearance.
Adapting Blush for Different Skin Types
Different skin types may require different approaches to applying blush. Here’s how to adapt your technique:
Oily Skin
Opt for powder blushes to help absorb excess oil. Applying after setting powder can enhance longevity.
Dry Skin
Cream blushes are excellent for hydration. Apply them with a damp sponge for a dewy finish. Ensure your skin is well-moisturized beforehand.
Combination Skin
You can mix products; use cream blush on the drier areas and powder on the oily parts to achieve balance.
Sensitive Skin
Choose hypoallergenic and fragrance-free products. Creams may cause less irritation than powders, so opt for those.
Additional Tips for a Flawless Finish
- Day vs. Night: For a daytime look, stick with soft, natural blush tones; for evening events, feel free to go bolder.
- Layer with Highlighter: For extra radiance, apply a highlighter above the blush on the cheekbones.
- Consider Your Lighting: Blush may appear different in various lighting. Check your makeup in natural light to ensure even application.
- Practice: Mastering blush application takes practice, so don’t hesitate to experiment until you find what works best for you.
Removing Blush
At the end of the day, it’s essential to remove all makeup, including blush, to maintain healthy skin. Here’s how to do it:
- Choose a Makeup Remover: Use a gentle makeup remover or micellar water suitable for your skin type.
- Apply the Remover: Soak a cotton pad with the remover and press it against your cheeks, allowing it to dissolve the product.
- Wipe Away: Gently wipe from the apples of your cheeks towards your ears to avoid tugging at the skin.
- Wash Your Face: Follow up with a gentle cleanser to remove any residue. This is crucial to prevent clogged pores and breakouts.
Embracing Blush in Your Routine
Integrating blush into your makeup routine can elevate your look, making it easy to refresh your complexion. To ensure you feel confident, experiment with various products and techniques until you find your perfect application approach.
As with all beauty practices, the goal is to enhance your natural beauty and feel comfortable in your own skin. There is no one-size-fits-all approach to makeup—what works for someone else may not work for you. Trust your instincts and enjoy the process!
Keep practicing, embrace any mistakes as learning opportunities, and soon you’ll be a blush application pro. With these tips in hand, go forth and add a pop of color to your cheeks—one sweep at a time!
For further beauty insights, consider exploring guides on how to apply eyeshadow and how to contour for a complete makeup look.