
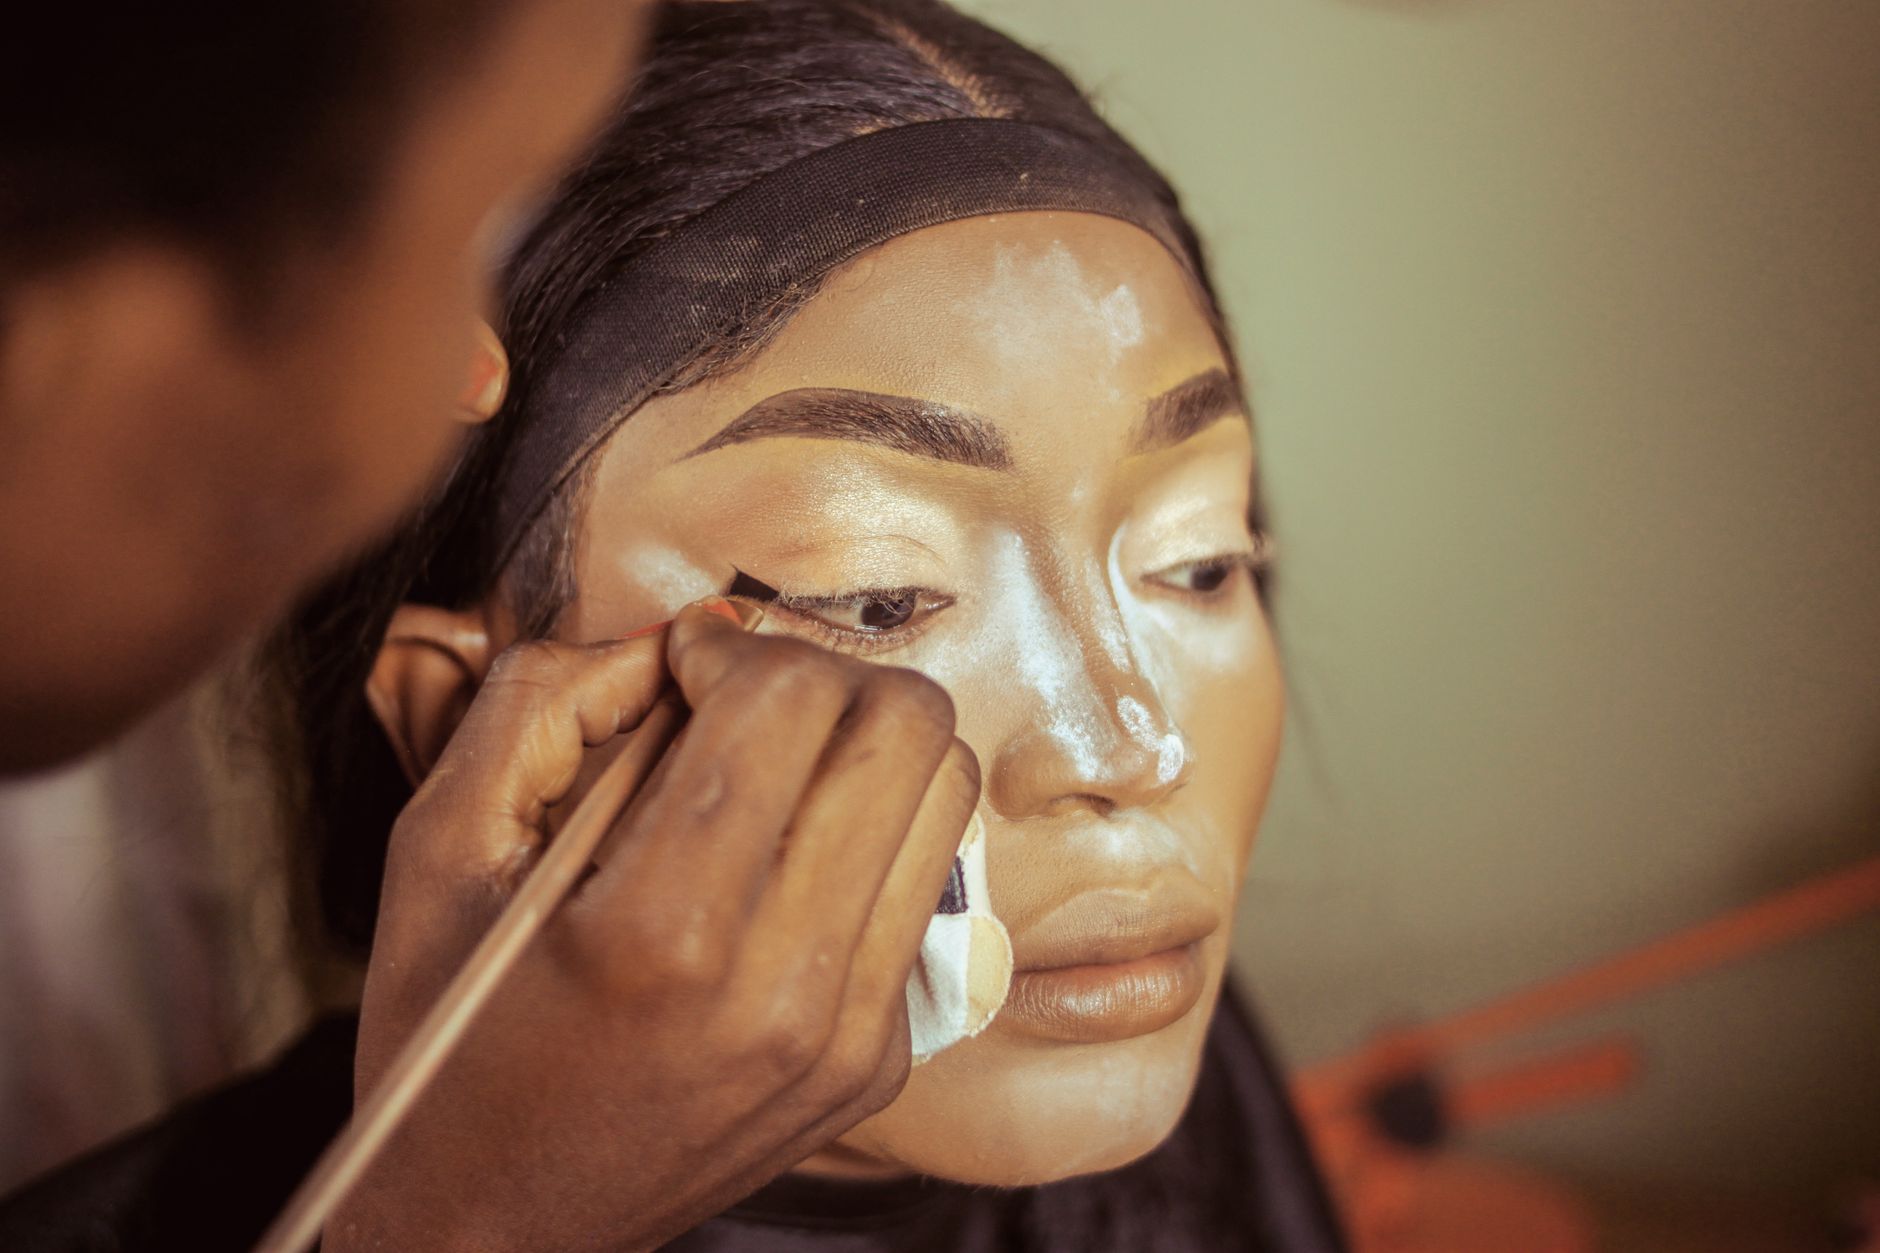
Contouring is an essential makeup technique that helps sculpt and define the face, creating the illusion of higher cheekbones and a slimmer jawline. With the right tools and techniques, anyone can master this beauty skill, regardless of their makeup experience. This comprehensive guide will walk you through everything you need to know about contouring, including product selection, application steps, and blending tips.
Whether you’re prepping for a night out or just looking to enhance your natural features, knowing how to contour will elevate your makeup game. From choosing the right products to understanding different skin tones, this guide is perfect for anyone wanting to add depth and dimension to their makeup routine.
How to Contour: What Is It and Why Should You Do It?
Contouring refers to the use of makeup to enhance or create the illusion of shadow and light on the face. By using darker shades to create shadows and lighter shades to highlight certain areas, you can effectively shape your face. The goal is to accentuate your best features while minimizing those you’d like to downplay.
People contour for various reasons, including:
- To enhance facial features like cheekbones, jawline, and nose.
- To create a more structured appearance for a rounder face.
- To add warmth and dimension to the skin.
Understanding Your Face Shape
Before diving into contouring techniques, it’s crucial to understand your face shape. The shape of your face will determine where you’ll want to apply contour and highlight products. Here are the common face shapes and their characteristics:
- Oval: Forehead is slightly wider than the chin; cheekbones are the widest part.
- Round: Face is almost equally wide as it is long, with softer angles.
- Square: Forehead and jawline are roughly the same width; the jaw is prominent and angular.
- Heart: Wider forehead with a narrow chin; cheekbones are positioned slightly higher.
- Long/Rectangular: Face is longer than it is wide, with straight sides and similar width at the forehead and jaw.
Determining your face shape will guide you on how and where to apply contour and highlight products effectively.
The Tools You’ll Need for Contouring
Having the right tools makes a significant difference in achieving flawless contouring. Here are some essential items you’ll need:
- Contours: Cream, liquid, or powder formulas with a few shades darker than your skin tone.
- Highlighters: Light-reflective products that brighten specific areas; can be cream, liquid, or powder.
- Foundation: A foundation that matches your skin tone to create an even base.
- Brushes: Angled brushes for contour application, fluffy brushes for blending, and small, precise brushes for detailed work such as the nose.
- Sponges: Makeup sponges for seamless blending of cream or liquid formulas.
- Setting Powder: A translucent powder to set your makeup and control shine.
Preparing Your Skin for Contouring
Preparation is key for successful makeup application. Here’s how to prep your skin before contouring:
- Cleanse: Start with a clean face to remove dirt and oil.
- Moisturize: Apply a lightweight moisturizer to hydrate your skin, ensuring a smooth application of makeup.
- Primer: Use a primer to create an even base and help your makeup adhere better.
- Foundation: Apply your foundation to even out your skin tone across your face. Blend well to ensure there are no visible lines.
The Contouring Process
Once your skin is prepped, you’re ready to start contouring. Here’s a step-by-step guide on how to contour your face:
Step 1: Determine Contour Placement
Referencing your face shape, decide where to place your contour. Typically, the following areas should be contoured:
- Under the cheekbones
- Along the jawline
- At the sides of the nose
- Along the hairline on your forehead
- Temples to define the forehead
Step 2: Apply Contour Product
Using your chosen contour product (cream, liquid, or powder), apply a thin layer using an angled brush or your fingers.
- For cheekbones, create a ‘3’ shape with the product, starting from your temples, going down under your cheekbones, and along the jawline.
- For the forehead, trace along the hairline.
- For the nose, use a small, precise brush to create a straight line down each side.
Step 3: Highlight the High Points
Highlighting is just as crucial as contouring. Apply highlighter on areas where light naturally hits, such as:
- Top of the cheekbones
- Bridge of the nose
- Forehead center
- Cupid’s bow (the center of your upper lip)
- Chin
Step 4: Blend, Blend, Blend
Using a clean, fluffy brush or a damp makeup sponge, blend the contour and highlight products thoroughly to eliminate harsh lines. Blending is critical for achieving a seamless finish.
Step 5: Set Your Makeup
To ensure longevity, finish with a light dusting of translucent setting powder. This helps to lock in your contour and highlight while preventing shine throughout the day.
Blending Tips for a Natural Look
A flawless blend is vital in contouring. Here are some tips to achieve a natural look:
- Start with less product and build gradually; it’s easier to add than to remove.
- Use circular motions to blend contour into foundation rather than straight strokes.
- When blending the nose, use a small brush to avoid making it look too broad.
- Pay attention to the lighting in your area. What looks good in one light may not work in another.
Common Contouring Mistakes to Avoid
Even experienced makeup enthusiasts can make mistakes when contouring. Here are some common pitfalls and how to avoid them:
- Too Much Product: Over-applying can lead to a cakey appearance. Use a light hand and gradually build up.
- Wrong Shades: Always choose contour shades that are cool-toned to mimic natural shadows, while highlights should be warm and luminous.
- Neglecting to Blend: Harsh lines can be very noticeable. Always ensure you blend, blend, blend!
- Ignoring Skin Type: Dry skin may require cream-based products for better adherence, while oily skin can benefit from powder formulas.
Contouring for Different Skin Tones
Contouring isn’t one-size-fits-all; it varies based on skin tones and undertones. Here’s how to select the right shades for your skin type:
Fair Skin
For fair skin, opt for powder or cream contours that are one to two shades darker than your skin tone. Cool-toned shades work best.
Medium Skin
Medium to olive skin can benefit from both cool and warm-toned contours. Look for darker shades of taupe or muted bronzers.
Dark Skin
Deep skin tones can use darker shades that offer definition and warmth. Look for rich chocolate browns and deep bronzers that won’t ash on the skin.
Contouring for Different Occasions
The way you contour can depend on the event or time of day. Here’s how to adapt your contour look:
Everyday Look
For a natural, daytime look, stick to a light contour that enhances rather than transforms. Focus on subtle cheekbone definition and a slight forehead contour.
Evening Look
For nighttime or special occasions, feel free to go bolder with your contouring. Add more definition to your cheekbones and jawline, and create a stronger highlight.
Photography
When being photographed, you may need to slightly over-contour and highlight as cameras can wash out colors. Ensure to use matte products to reduce shine.
Removing Contouring Makeup
At the end of the day, removing your makeup properly is just as important as applying it. Follow these steps:
- Oil-Based Cleanser: Use an oil-based cleanser to break down foundation and contour products.
- Second Cleanse: Follow up with a gentle foaming cleanser to remove any residue.
- Tone: Use a toner to restore balance and remove leftover impurities.
- Moisturize: Include a moisturizer to rehydrate your skin.
Conclusion: Your Next Steps to Master Contouring
Contouring is an art that takes practice, but with the right techniques and tools, you can achieve a flawless look. Remember to experiment with different products and styles to find what works best for you. Take your time, and don’t rush the process; makeup is meant to be fun!
Next, consider refining your skills by trying out some of the methods outlined in this guide. Whether you aim for a subtle day look or dramatic evening contouring, practice will help you achieve the perfect blend effortlessly. Be sure to explore more beauty guides and tutorials to deepen your makeup knowledge and skills!