
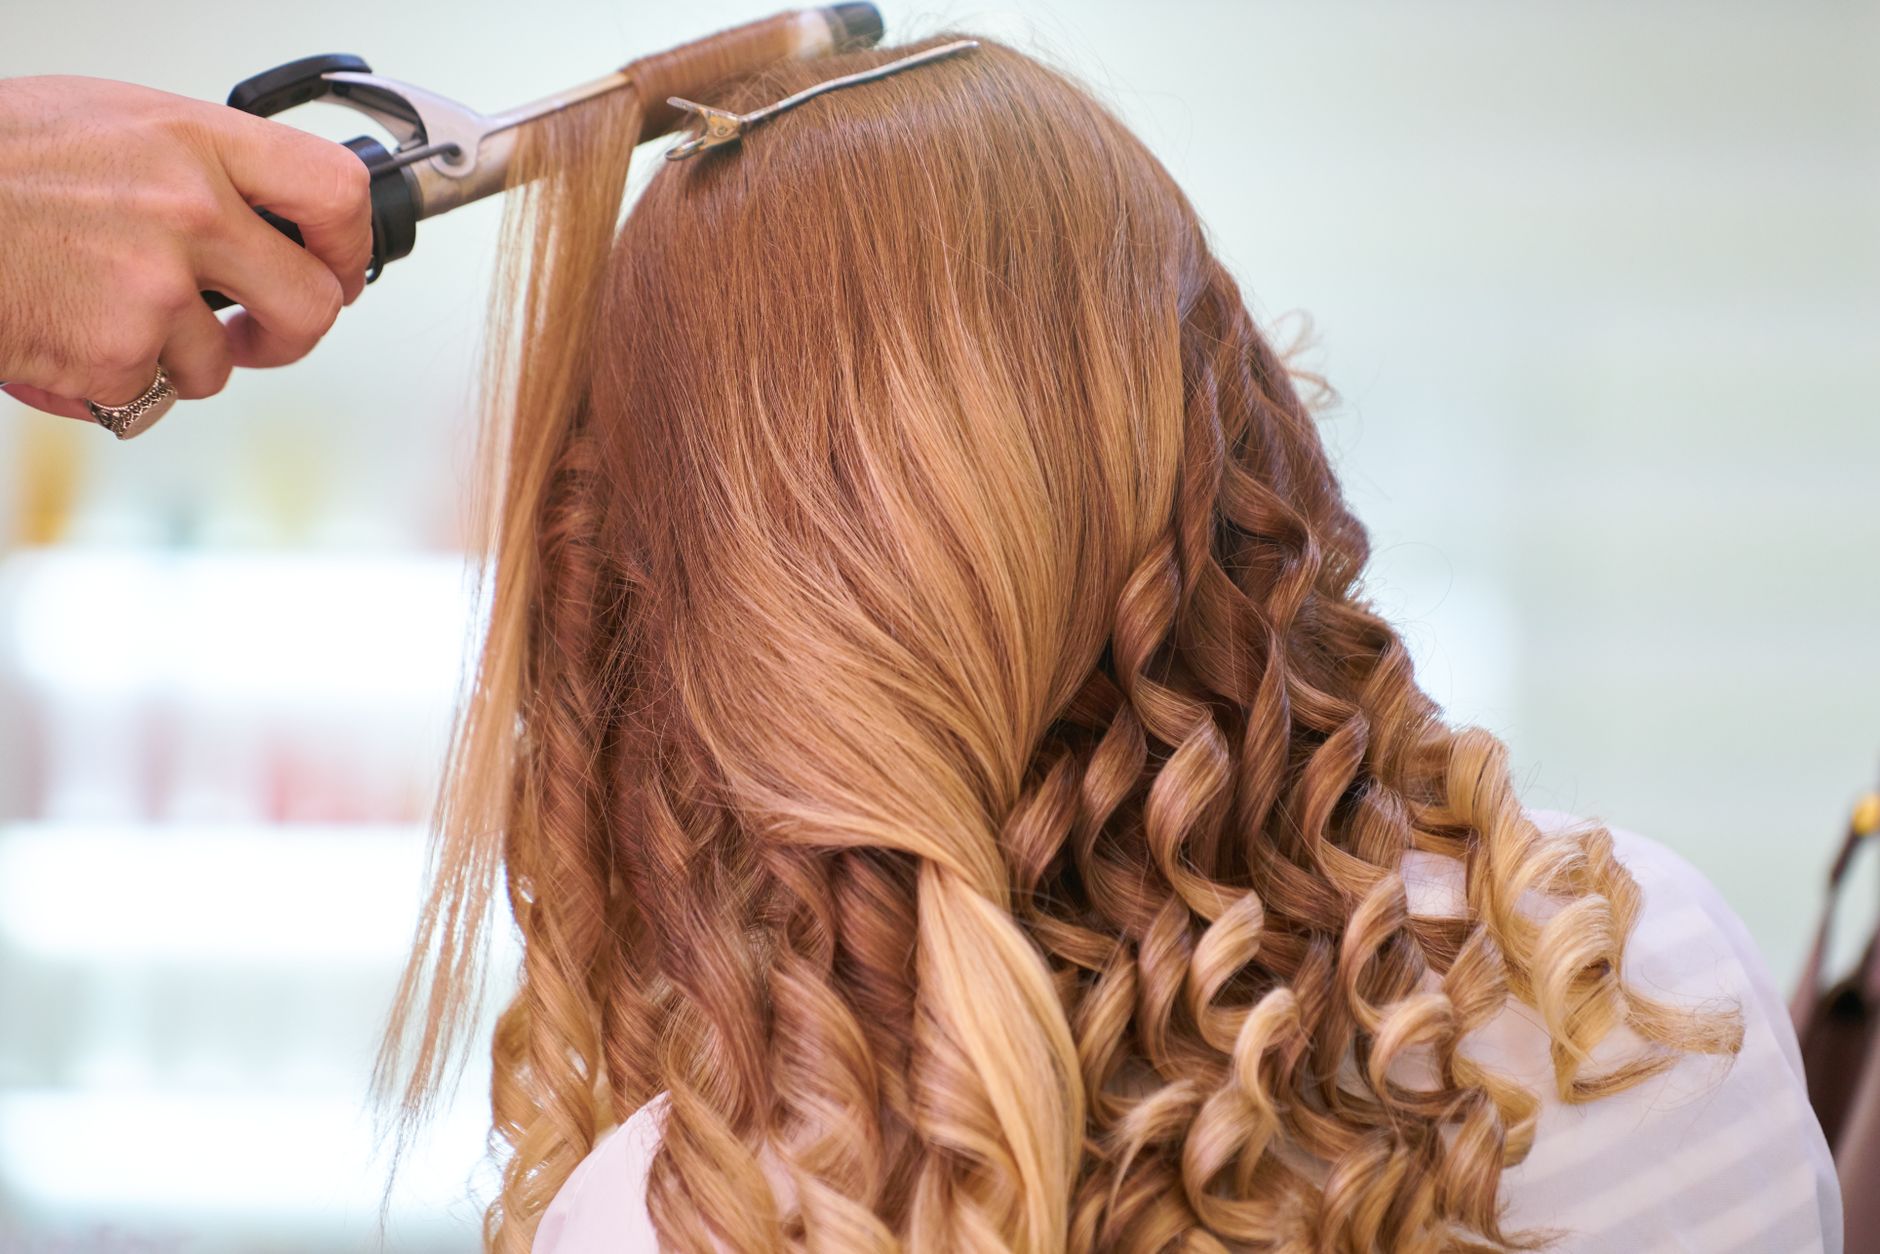
Using a curling iron can be an excellent way to style your hair and achieve beautiful waves or curls, but mastering this tool requires a bit of technique and attention to safety. From selecting the right iron to understanding the heat settings, this guide will walk you through everything you need to create stunning hairstyles with ease.
Whether you have straight, wavy, or textured hair, learning how to use a curling iron effectively can elevate your look. Read on to discover essential tips, step-by-step instructions, and safety precautions to ensure that your styling routine is both successful and safe.
How to Use a Curling Iron?
Using a curling iron involves preparing your hair, selecting the right heat settings, and following specific steps to achieve your desired curls. With the right technique, you can create long-lasting waves or defined curls without damaging your hair.
Selecting the Right Curling Iron
The first step in utilizing a curling iron effectively is choosing the right one for your hair type and styling preferences. Here are some key factors to consider:
- Barrel Size: The size of the barrel plays a crucial role in determining the type of curls you will achieve. Smaller barrels (3/8 inch to 1 inch) create tighter curls, while larger barrels (1.5 inches and above) produce loose waves. Choose a barrel size that fits the look you want to accomplish.
- Material: Curling irons come in various materials. Tourmaline and ceramic provide even heat distribution and reduce damage, making them ideal for most hair types. Titanium heats up quickly but can be harsh on fine or damaged hair.
- Temperature Settings: Look for an iron with adjustable heat settings. Different hair types require different temperatures; finer hair may need lower settings (around 300°F), while thicker, coarser hair may require higher temperatures (up to 400°F).
- Type of Curling Iron: There are traditional clamp curling irons, wand-style curling irons, and automatic curling irons. Wands allow for more creative styling without clamps, while automatic irons handle the curling process for you.
Preparing Your Hair
Before using a curling iron, it’s essential to prepare your hair properly to ensure the best results and minimize heat damage. Here’s how to prepare:
- Start with Clean Hair: Wash your hair with a gentle shampoo and follow up with a conditioner suited for your hair type. Rinse thoroughly to remove product buildup, which can hinder the curling process.
- Dry Your Hair: Ideally, style your hair when it is dry. You can either air-dry your hair or use a blow dryer, ensuring it’s completely dry before styling.
- Apply Heat Protectant: Use a heat protectant spray or serum to shield your strands from heat damage. Spray it evenly over your hair, focusing on the ends, and comb through for even distribution.
- Detangle Your Hair: Brush out any knots using a wide-tooth comb or a detangling brush. This will make the curling process easier and help create a smoother curl.
- Section Your Hair: Divide your hair into manageable sections, typically starting from the bottom. Use hair clips or ties to secure the upper sections to keep them out of the way while you work.
Using the Curling Iron
Now that you have your hair ready, it’s time to use the curling iron. Follow these steps for perfect curls:
- Heat the Curling Iron: Plug in your curling iron and set it to the desired temperature based on your hair type. Allow it to heat up fully, which usually takes about 5-10 minutes.
- Choose a Section: Take a section of hair that is about 1-inch wide. The thickness of the section can depend on how tight or loose you want your curls to be; thinner sections create tighter curls.
- Clamp the Hair: For a traditional curling iron, open the clamp and place the end of the hair section being curled under the clamp. Close the clamp gently without squeezing too tightly to avoid creasing the hair.
- Wrap the Hair: Rotate the curling iron away from your face and wrap the hair around the barrel, leaving the ends out for a more natural look. If using a wand-style curling iron, hold the hair on the barrel without using a clamp.
- Hold for 10-15 Seconds: Keep the hair wrapped around the barrel for 10-15 seconds. You can adjust this time based on your hair texture and the desired curl tightness. For fine hair, less time is usually sufficient.
- Release the Curl: Gently open the clamp (if using a clamp iron) and slide the curl off the barrel. Be careful to maintain the shape of the curl as you release it.
- Pin the Curl: For added longevity, you can pin the curl to your head with a bobby pin or hair clip to cool. This technique helps set the curl in place before releasing.
- Repeat the Process: Continue working through your hair section by section until all of your hair is curled. Alternate wrapping directions for a more natural, tousled look.
Finishing Touches
After curling your hair, you can enhance your look with a few finishing touches:
- Let Your Curls Cool: Allow your curls to cool completely before manipulating them. This will help them hold their shape longer.
- Apply Hair Spray: Use a light hairspray to set your curls and add hold. Avoid heavy products that can weigh down the curls, making them droop.
- Loosen Curls: If desired, gently run your fingers through the curls to break them up a bit for a more relaxed look. This step is especially great for achieving beachy waves.
- Add Shine: Finish with a shine serum or oil to enhance the luster of your curls. Apply sparingly to avoid greasiness.
Heat Settings and Hair Types
Selecting the right heat setting is crucial for effective curling, as different hair types react to heat differently:
- Fine or Damaged Hair: Use a lower temperature, around 300°F (149°C). Overheating can cause further damage and breakage.
- Medium Hair: A medium temperature of around 350°F (177°C) is usually effective. This type of hair can tolerate a bit more heat.
- Thick or Coarse Hair: Higher temperatures (up to 400°F or 204°C) are typically necessary for creating and holding curls in thicker hair.
Safety Tips While Using a Curling Iron
When using a curling iron, it is essential to follow safety tips to prevent burns and damage to both your hair and skin:
- Never Leave It Unattended: Always monitor your curling iron while it is plugged in to prevent accidents or overheating.
- Use Heat-Resistant Gloves: Consider wearing gloves designed for heat resistance to avoid burns while working with the iron.
- Keep Away from Water: Avoid using your curling iron near water to reduce the risk of electric shock.
- Allow It to Cool Down: After use, always unplug your curling iron and allow it to cool down completely before storing it.
- Store Safely: Use a heat-resistant mat or storage case for the iron when it’s hot to prevent accidents or damage to surfaces.
Common Mistakes to Avoid
While curling your hair may seem straightforward, mistakes can be made that result in less-than-perfect curls. Here are some common pitfalls to avoid:
- Using Too Much Product: Overapplying products can weigh down your hair and affect curl formation. Stick to lightweight formulations.
- Curling Wet Hair: Always ensure your hair is completely dry before using a curling iron to avoid heat damage and ineffective styling.
- Leaving Hair on the Iron Too Long: Holding your hair on the barrel for too long can lead to severe heat damage. Monitor the timing closely.
- Not Sectioning Hair Properly: Failing to divide hair into smaller sections can result in uneven curls. Proper sectioning is key to a more polished look.
- Forgetting to Adjust the Heat: Ignoring your hair type and not adjusting the heat can lead to poor results. Always adapt the temperature to suit your specific hair.
Maintaining Your Curling Iron
To keep your curling iron in optimal condition, regular maintenance is essential:
- Clean the Barrel: After each use, wipe down the barrel with a soft, damp cloth to remove any product buildup.
- Store Properly: Always store the iron in a cool, dry place. Avoid wrapping the cord tightly around the unit as it can cause damage.
- Check the Cord: Inspect the power cord regularly for signs of wear or damage to ensure safe operation.
- Replacement: Consider replacing the curling iron when it no longer heats evenly or functions properly.
Alternative Curling Methods
If you prefer a break from heat styling or want to vary your hairstyle routine, there are several heat-free methods for curling your hair:
- Flexi-Rods: These bendable foam rods can be used to curl hair without heat. Simply wrap small sections of damp hair around the rods and leave them overnight.
- Braiding: For loose waves, braid slightly damp hair and leave it overnight. When you unravel the braids in the morning, you’ll have beautiful waves.
- Pin Curls: Create pin curls by rolling small sections of hair and securing them with bobby pins. Let them set for a few hours or overnight for defined curls.
- Hair Rollers: Use large or medium rollers on damp hair and let them set. This method may take longer but can result in beautiful curls without heat.
Conclusion and Next Steps
Mastering the use of a curling iron can open up a world of styling possibilities. By selecting the right iron, using the proper techniques, and following safety precautions, you can achieve stunning curls that enhance your overall look. Remember to care for your hair and protect it from heat damage to enjoy beautiful results each time.
If you’re looking for more styling inspiration, check out how to use a curling iron and learn how to curl your hair for various styles and techniques.