
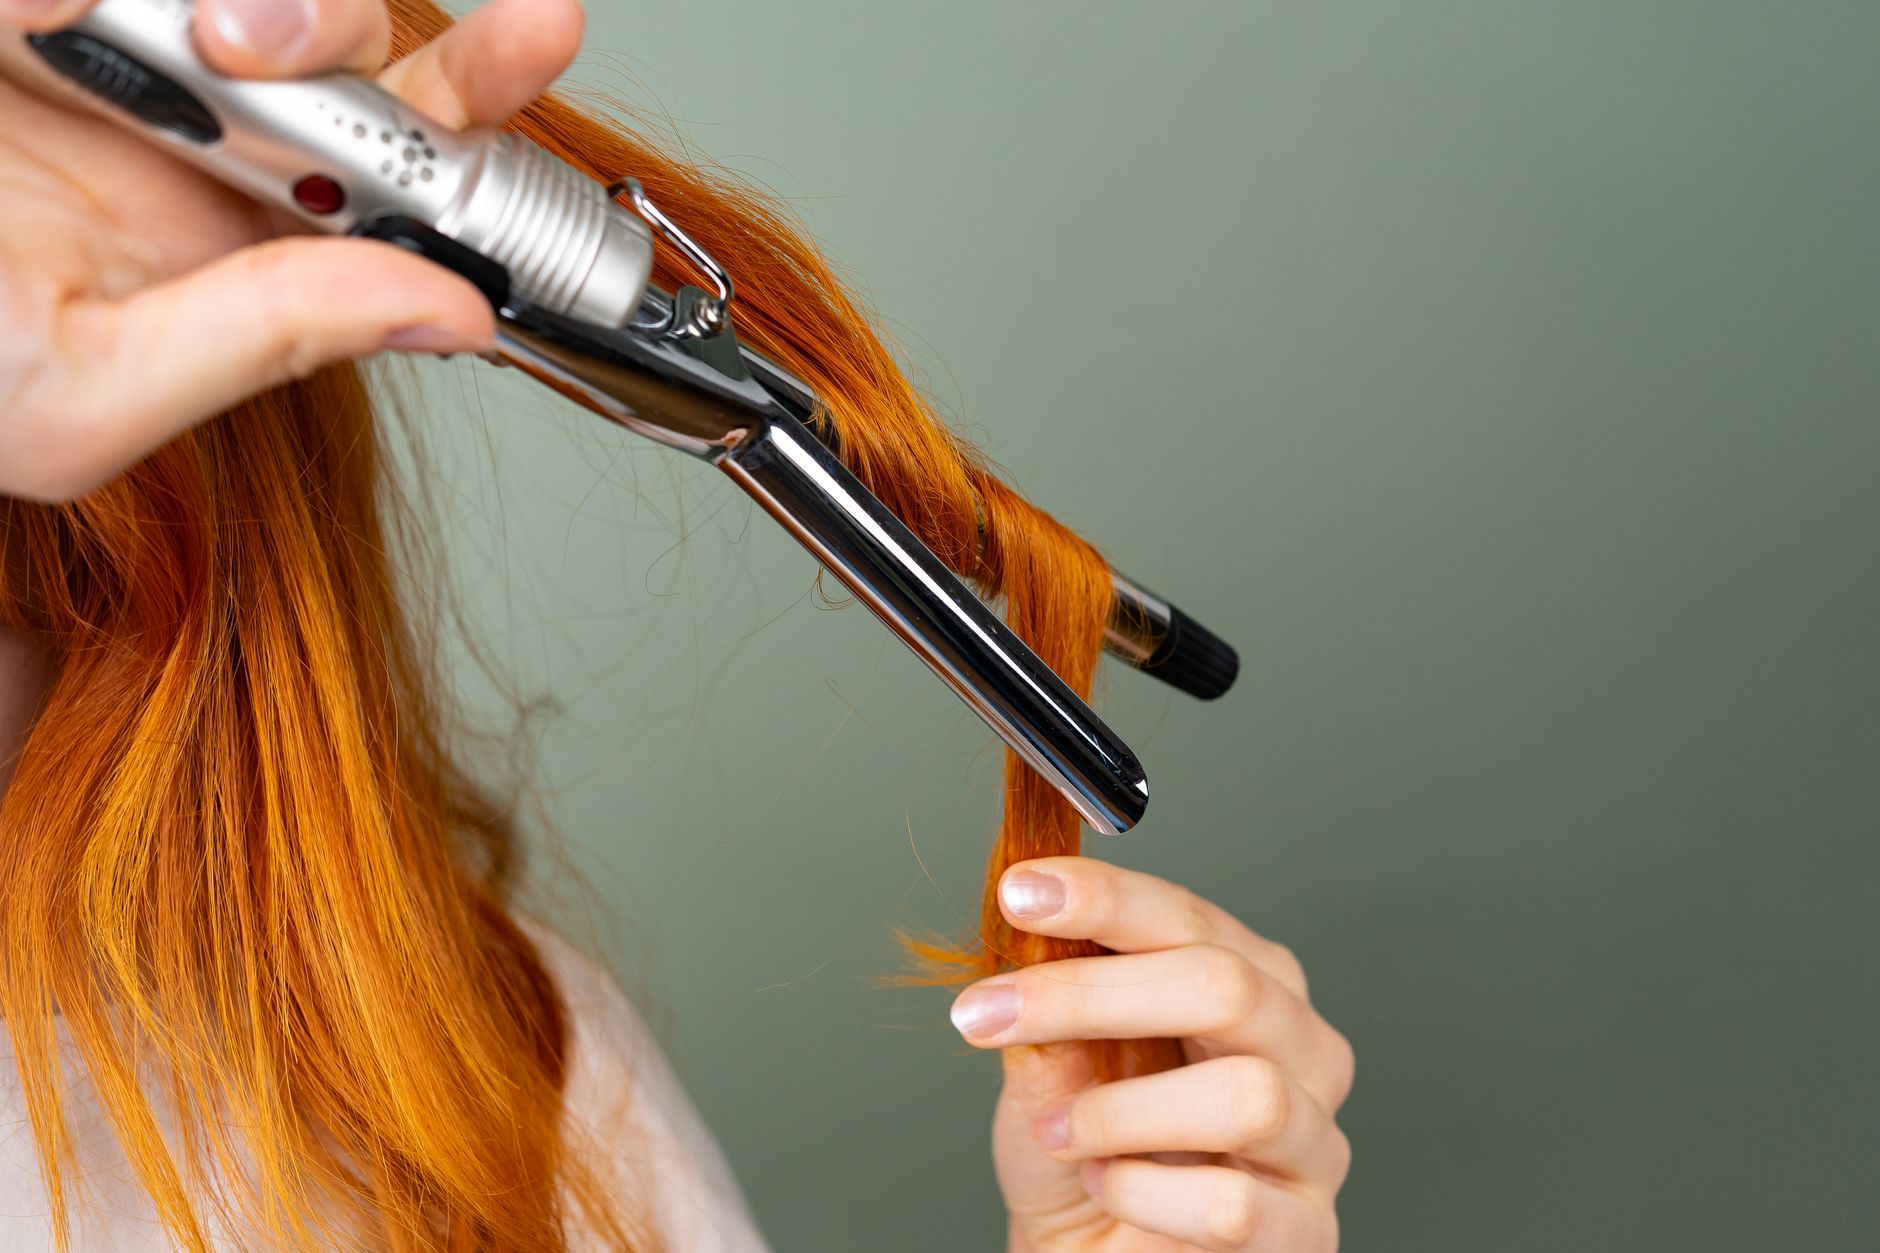
The art of curling hair with a flat iron is a skill that every beauty enthusiast should master. Not only does it allow for versatile styling options, but it also offers a quick and efficient way to achieve beautiful curls without the need for additional tools. In this detailed guide, we will explore the techniques for curling hair with a flat iron, tips for choosing the best flat iron for your needs, and common mistakes to avoid along the way.
Whether you have straight, wavy, or curly hair, this method can easily be adapted to suit your hair type and desired look. So get ready to elevate your hairstyling game and learn everything you need to know about curling your hair with a flat iron!
How to Curl Hair with a Flat Iron (Simple Steps That Work)
Curling hair with a flat iron involves a few straightforward steps that can yield stunning results. The technique works by using the heat from the flat iron to create curls or waves without compromising your hair’s integrity. Here’s how you can do it effectively:
- Preparation is Key: Start with clean, dry hair. If your hair has been freshly washed, allow it to fully dry before styling. Applying a heat protectant is essential to minimize damage from the heat of the flat iron. This step is crucial no matter your hair type.
- Section Your Hair: Divide your hair into manageable sections. Depending on your hair thickness, you may want to create 2 to 4 sections. Use clips for easier handling. This not only organizes your hair but also ensures every strand gets curled evenly.
- Choose the Right Temperature: Set your flat iron to a temperature suitable for your hair type. Generally, 300°F to 340°F is ideal for fine hair, while thicker and coarser hair can withstand temperatures of 350°F to 400°F. Always start with the lowest setting and adjust based on your hair’s needs.
- Begin Curling: Take a section of hair about 1 to 2 inches wide. Clamp the flat iron around the section at the root. Twist the iron away from your face (for a soft, romantic look) while simultaneously pulling the flat iron down the length of your hair. The speed at which you pull it down affects the tightness of the curl – slower pulls will create tighter curls, while quicker motions will yield looser waves.
- Release and Set: Once you’ve pulled the flat iron through to the ends, gently release the curl into your palm. Pin it up with a clip to set it while it cools, which helps to hold the shape. Alternatively, you can use your fingers to allow it to fall naturally.
- Repeat and Fine-Tune: Continue curling the remaining sections of your hair, alternating the direction of the twist for a more natural look. After you have completed all sections, run your fingers through your curls or use a wide-tooth comb for a softer finish.
- Finish with Hairspray: To ensure your curls last, use a light-hold hairspray to maintain the style throughout the day. Avoid over-spraying, as this can create a stiff look.
Choosing the Right Flat Iron for Curling
Not all flat irons are created equal, and choosing the right one is key to successful curling. Here are some features to consider:
- Plate Material: Ceramic plates are excellent for even heat distribution, while titanium plates heat up quickly and are great for thicker hair. Tourmaline plates provide additional smoothing benefits and reduce frizz.
- Width of Plates: For curling, a 1-inch to 1.5-inch plate is typically recommended. Thinner plates create tighter curls, whereas wider plates create looser waves.
- Temperature Control: Look for a flat iron with adjustable heat settings so you can tailor it to your hair type.
- Swivel Cord: A swivel cord prevents tangling and gives you more flexibility while styling.
- Lightweight Design: A lightweight flat iron will be easier to maneuver and handle, especially when curling multiple sections.
Common Mistakes When Curling with a Flat Iron
Even seasoned stylers can make mistakes that hinder the curling process. Here are a few pitfalls to avoid:
- Hair Is Too Wet or Oily: Always start with dry hair. Moisture can cause the heat to not distribute properly, leading to uneven curls.
- Using Too Much Product: While a heat protectant is essential, using heavy styling products can weigh down your curls and prevent them from holding their shape.
- Holding the Iron Too Long: It can be tempting to hold the flat iron on your hair for too long, thinking it will create better curls. However, this can lead to heat damage. Stick to a few seconds as needed for the desired effect.
- Pulling Too Fast: Rushing the curling process can result in less defined curls. Allow the flat iron to create a bend in the hair before releasing it.
- Not Setting Curls: Allow your curls to cool before releasing them fully. This helps them hold their shape better.
Adapting the Technique for Different Hair Types
Understanding how to adapt your technique based on your hair type is crucial for achieving the best results. Here’s a brief guide:
Straight Hair
For those with naturally straight hair, using the flat iron on moderate to high heat will yield beautiful curls. Consider teasing the roots a bit before curling to add volume.
Wavy Hair
If you have wavy hair, you may find it easier to curl only the mid-lengths and ends. Focus on twisting the hair gently to enhance your natural texture without taking anything away from it.
Curly Hair
Those with naturally curly hair can straighten first if desired or simply enhance their curls with a flat iron. Using the flat iron on low heat with a quick flick will help tame frizz while preserving bounce.
Coarse Hair
Coarse hair can benefit from higher temperatures and larger sections. The key is to curl smaller sections at a time to ensure the heat penetrates thoroughly with each curl.
Fine Hair
Fine hair needs lower heat settings to avoid damage, and smaller sections help create curls that hold longer. Be sure to use a volumizing product to give your curls body without weighing them down.
Advanced Techniques for Curling with a Flat Iron
Once you’ve mastered the basic technique, you can start experimenting with advanced styles:
- Beachy Waves: For a relaxed beachy wave look, twist the flat iron away from your face and leave the ends straight instead of curling them. This gives a soft, tousled appearance.
- Vintage Glamour: For more defined, vintage curls, use smaller sections and wrap the hair completely around the flat iron, holding it longer for a tighter curl.
- Inverted Curls: Clamp the flat iron at the ends, then twist towards your face while curling the hair upward to achieve an inverted curl.
Post-Curling Hair Care
After you’ve curled your hair, it’s essential to treat it with care to maintain its health and style:
- Use a Silk or Satin Pillowcase: Sleeping on a silk or satin pillowcase can reduce friction and help curls stay intact longer.
- Limit Heat Use: While curling your hair can be fun, try to limit heat styling to avoid damage. Give your hair breaks to recover.
- Incorporate Hydrating Treatments: Regularly use hair masks and treatments to hydrate and nourish your hair, keeping it healthy despite heat exposure.
- Adjust Your Products: Utilize lightweight styling products to maintain volume and bounce without weighing your curls down.
Conclusion and Final Tips
Mastering how to curl hair with a flat iron is all about practice, technique, and the right tools. With the tips and steps outlined in this article, you will be well on your way to creating stunning curls tailored just for you. Remember to be patient and have fun while experimenting with different styles.
The next step you can take is to practice your curling technique on different hair sections and styles. For more beauty-related guides, check out how to curl your hair, or visit our tutorial on how to curl your hair with a straightener for more options!