
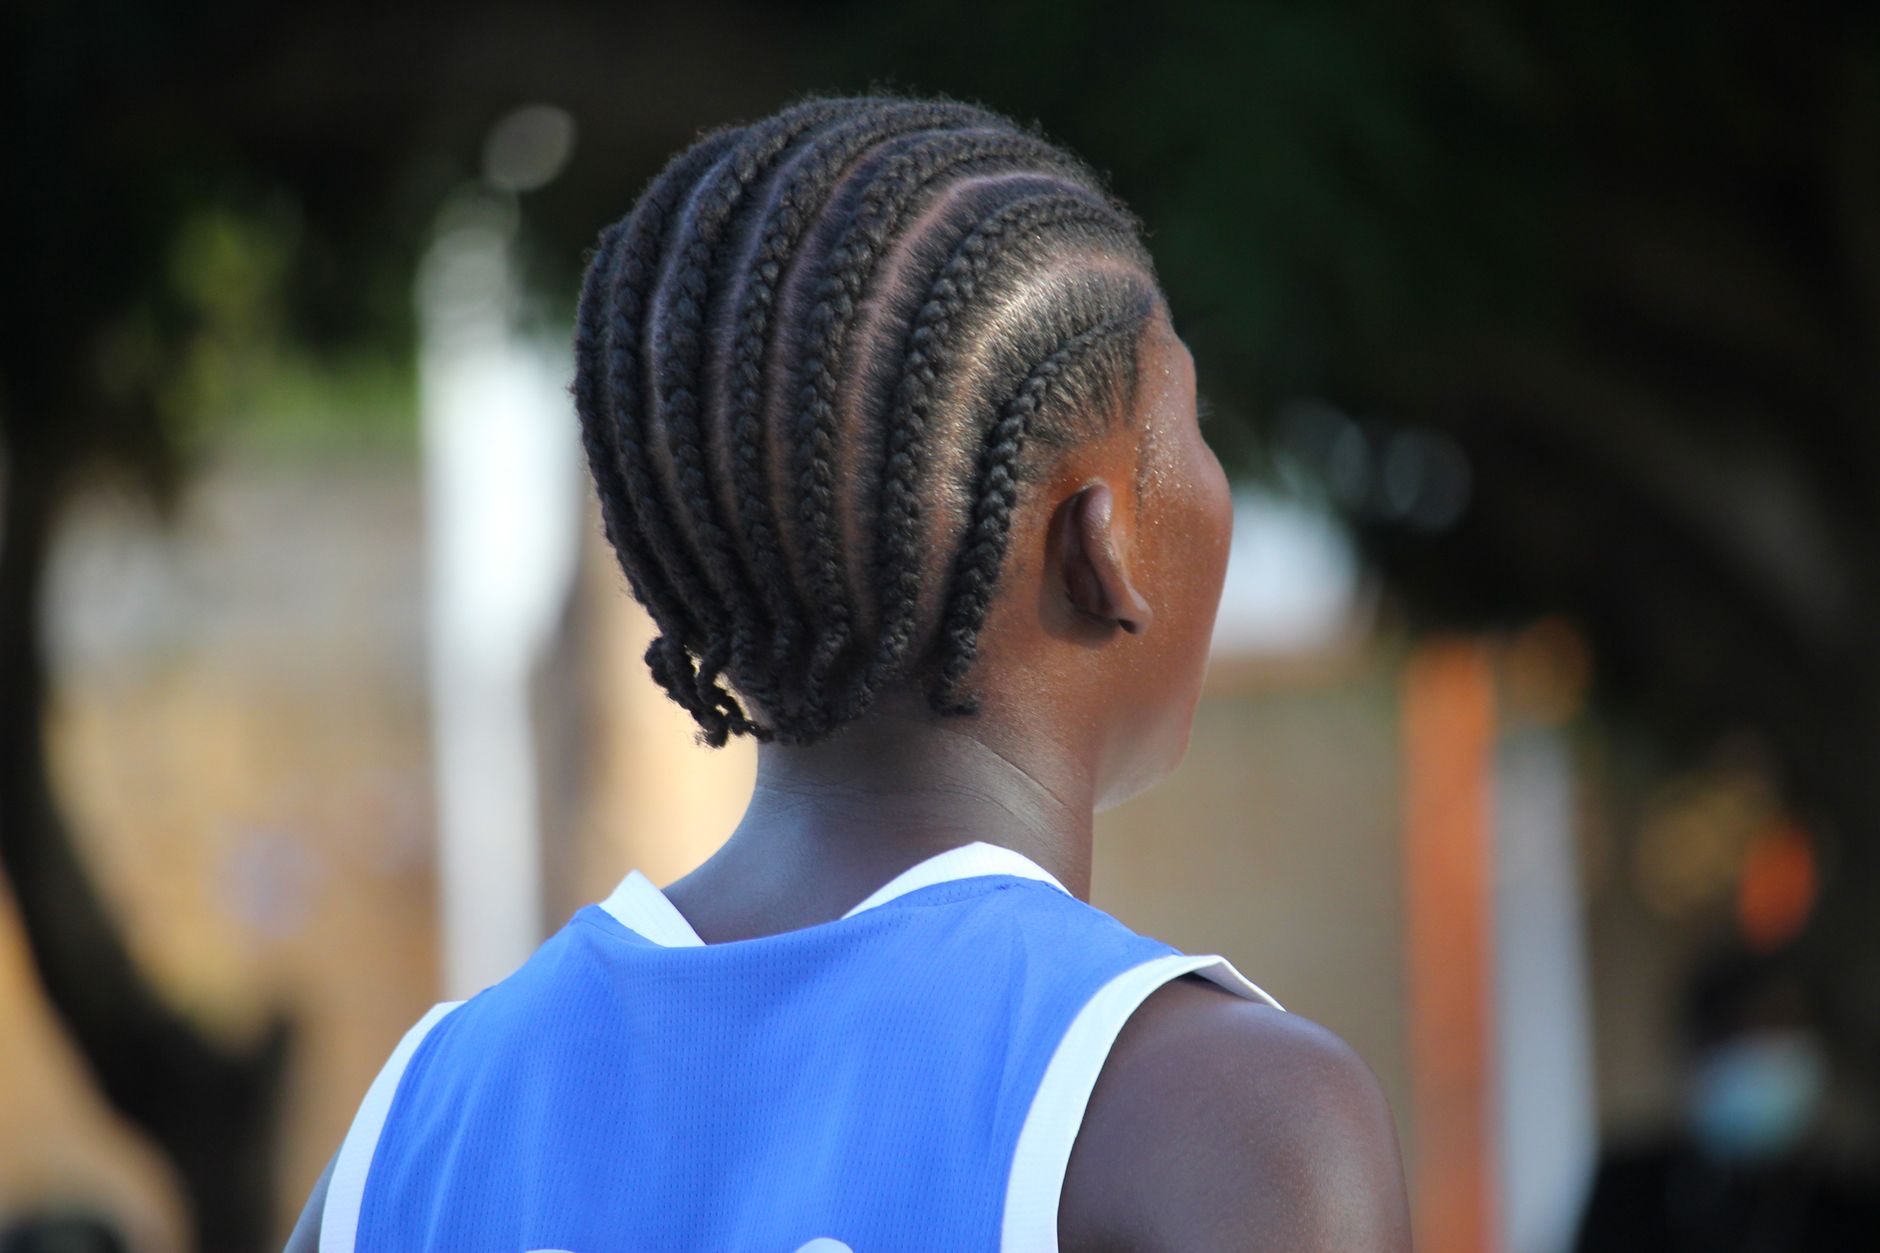
Cornrows are a classic and versatile hairstyle rooted in African culture. They provide a stylish, low-maintenance option that can last for weeks with proper care. If you’re a beginner looking to master this technique, you’re in the right place! In this guide, we’ll explore how to create cornrows step-by-step, ensuring your result is both neat and beautiful.
Whether you have natural, textured hair or straight hair, cornrowing can be adjusted to suit your unique hair type. With some patience and practice, you’ll be able to create stunning designs that elevate your look.
How to Do Cornrows?
To cornrow effectively, you’ll need basic braiding skills, some tools, and a little bit of practice. Here are the steps to create beautiful cornrows:
Tools and Products You’ll Need
- Wide-tooth comb
- Rat-tail comb for parting
- Hair elastics or clips
- Moisturizing cream or leave-in conditioner
- Edge control or gel (optional, for neat edges)
- Scissors (to trim excess hair, if necessary)
- A spray bottle filled with water (optional)
Preparing Your Hair
Properly preparing your hair is crucial for successful cornrowing. Follow these steps:
- Wash and Condition: Start with clean hair. Use a gentle shampoo followed by a hydrating conditioner suited to your hair type. Rinse thoroughly.
- Detangle: After conditioning, detangle your hair using a wide-tooth comb. Start from the tips and work your way to the roots to avoid breakage.
- Moisturize: Apply a leave-in conditioner or hair cream evenly throughout your hair. This will keep your braids nourished and minimize dryness.
- Part Your Hair: Use a rat-tail comb to create the desired parting for your cornrows. You can go for straight lines or more creative patterns depending on your style.
Basic Cornrowing Technique
Now that your hair is prepped, follow these steps to create your cornrows:
- Section Your Hair: Use the rat-tail comb to create a small section of hair at the front where you want to start your first cornrow. Clip away the rest of your hair to keep it out of the way.
- Divide the Section: Split the chosen section into three equal parts. This will be the base of your braid.
- Start Braiding: Begin braiding in a traditional three-strand braid. Cross the right section over the middle, then the left section over the new middle strand.
- Add Hair: As you braid, start adding small sections of hair from the roots of your scalp to the braid. Each time you cross a section over, incorporate hair into the braid from the scalp. Make sure to keep your grip firm but not too tight to avoid tension on the hair.
- Continue Braiding: Repeat the process, adding hair from the scalp until you reach the end of your section. When you have no more hair to add, complete the braid in a traditional three-strand style.
- Secure the Braid: Use a small hair elastic to secure the end of the braid. You can choose to braid it a bit further down before securing.
Creating Multiple Cornrows
To create a full head of cornrows, simply repeat the steps above for each section of hair. Here are a few pointers to keep in mind:
- Consistently size your sections for a uniform look.
- Feel free to change the direction of your cornrows for a more intricate design.
- If you’re struggling with keeping tension even, take breaks between sections to ease your grip.
Styling and Finishing Touches
Once you have completed all your cornrows, you can add the finishing touches:
- Moisturize: Apply a bit of oil or hair serum to the ends of your cornrows to maintain moisture and shine.
- Style Your Edges: If desired, you can use edge control or a gel to smooth down your edges for a polished look.
- Wrap Your Hair: At night, wrap your hair in a silk or satin scarf to protect it and minimize frizz.
Common Mistakes to Avoid
While cornrowing can be easy once you get the hang of it, there are common pitfalls to watch for:
- Pulling Too Tight: Avoid excessive tension on your scalp, as this can lead to discomfort or hair loss.
- Inconsistent Tension: Aim for an even tension across each braid. Uneven tensions can lead to uneven-looking styles.
- Forgetting About Moisture: Keeping your hair moisturized is essential to maintaining healthy braids.
Maintaining Your Cornrows
To keep your cornrows looking fresh, follow these maintenance tips:
- Cleansing: Keep your scalp clean by using a diluted shampoo or dry shampoo. Apply it to your roots and gently massage your scalp.
- Moisturizing: Every few days, apply a light oil or a leave-in conditioner to keep your hair hydrated.
- Wear Protection: As mentioned earlier, protect your hair at night with a silk or satin scarf or a bonnet.
When to Remove Cornrows
Keep an eye on your scalp health while wearing cornrows. If you notice excessive irritation, frizz, or your hair is starting to look tangled, it’s time to remove them. Typically, cornrows last from two to eight weeks, depending on hair texture and care.
Alternatives to Traditional Cornrows
For variety, you might want to explore some alternative styles to traditional cornrows such as:
- Feed-In Braids: This technique blends additional hair seamlessly into your braid for a fuller look.
- Box Braids: Individual braids that can be larger and offer different styling options.
- Ghana Braids: Incorporate a blend of cornrow and box braid styles with added thickness for a dynamic look.
Helpful Resources
If you’re seeking more guidance on related topics, check out the following:
With practice and patience, cornrowing can become a fun and rewarding hairstyling experience. Remember, it’s all about the technique and finding what works best for your hair type. Embrace your creativity, and soon, you’ll be mastering cornrows like a pro!
If you’re interested in learning more about hair care or other styling techniques, feel free to explore more beauty guides and tutorials. From braiding techniques to mastering your edges, there is always something new to learn in the world of beauty.