
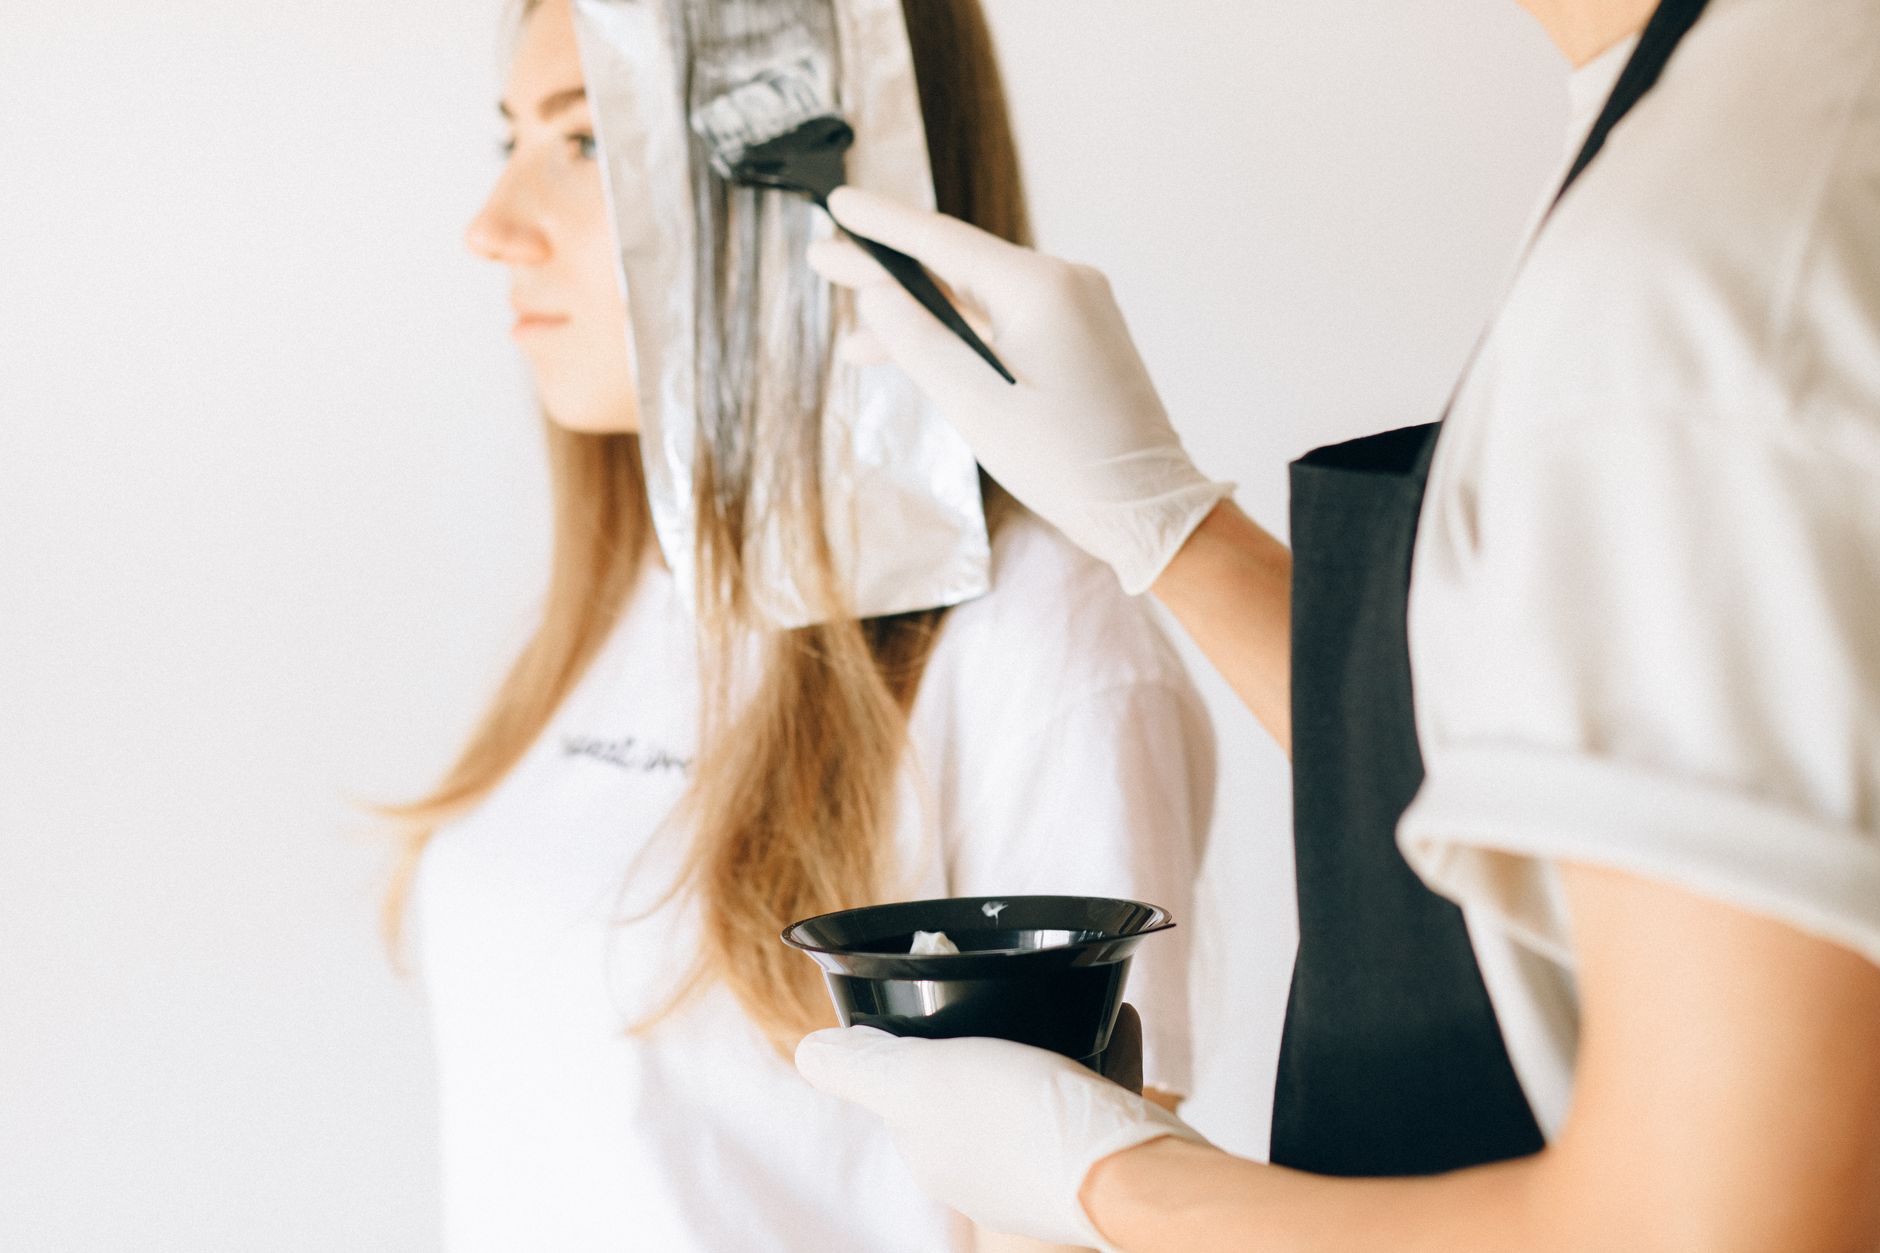
Highlighting your hair at home can be a fun and satisfying way to transform your look without the salon price tag. With the right tools, products, and techniques, you can achieve beautiful, sun-kissed highlights that enhance your natural hair color. This guide will cover everything from preparation and application steps to safety tips and aftercare recommendations.
Whether you’re new to highlighting or experienced in at-home color, this article will provide you with the knowledge you need to achieve stunning results. Read on to discover how to highlight hair at home.
How to Highlight Hair at Home?
To highlight hair at home, gather tools and products, choose the right technique for your hair type, and follow a systematic application process. Ensure safety by performing a patch test and adhering to manufacturer instructions. Aftercare is essential for maintaining your highlights and hair health.
Essential Tools and Products Needed
Gathering the right tools and products is crucial for successful highlighting. Here’s what you will need:
- Hair Bleach or Highlighting Kit: Choose a reputable brand; kits usually come with developer and instructions.
- Gloves: Protect your hands from bleach and hair dye.
- Plastic Bowl and Brush: For mixing and applying bleach or dye evenly.
- Hair Foils or Meche: To section and separate highlighted strands.
- Comb: For sectioning and detangling your hair.
- Clips: To hold sections of your hair away while you work.
- Towel: To protect your clothes from spills.
- Timer: To keep track of your processing time.
- Shampoo and Conditioner: To wash and care for your hair post-highlighting.
- Deep Conditioning Treatment: For aftercare to maintain moisture and shine.
Preparation Steps Before Highlighting
Preparing your hair and space is just as important as the actual highlighting process. Follow these steps to ensure everything goes smoothly:
- Select a Day: Choose a day when you have sufficient time for the process. Avoid highlighting on a busy day.
- Perform a Patch Test: Apply a small amount of the bleach or dye on a hidden area of skin to check for allergic reactions. Wait 48 hours.
- Wash Hair: Clean hair a day or two before highlighting, but don’t wash it right before. Natural oils protect the scalp.
- Gather Materials: Ensure all tools and products are within reach to avoid running back and forth.
- Protect Clothing and Skin: Wear an old t-shirt you don’t mind ruining and apply petroleum jelly around your hairline to shield your skin from bleach.
Choosing the Right Highlighting Technique
There are several techniques for highlighting hair at home, and choosing one depends on the look you want to achieve. Here are the most popular methods:
1. Foil Highlights
This technique involves painting bleach or dye onto small sections of hair and wrapping them in foil. This method produces defined, noticeable highlights and is suitable for all hair types.
2. Balayage
Balayage is a freehand painting technique that creates a more natural sun-kissed look. It involves sweeping the color onto sections of hair without using foils.
3. Cap Highlights
A cap highlight involves pulling strands of hair through a perforated cap using a hook. This method is less commonly used today but can be beneficial for beginners seeking easy sectioning.
Step-by-Step Instructions for Highlighting Hair
Once you’ve prepared your hair and chosen a technique, follow these step-by-step instructions for effective highlighting:
For Foil Highlights
- Mix the Bleach: Follow the instructions on your highlighting kit to mix the bleach and developer in a plastic bowl.
- Section Your Hair: Divide your hair into four sections (two at the front and two at the back) and secure them with clips.
- Start at the Back: Begin with the back section. Take a 1-inch section of hair, hold it away from the scalp, and apply the bleach with the brush.
- Wrap in Foil: Fold the foil over the section to ensure it stays separate from the rest of your hair.
- Repeat: Continue the process and move to the front sections, taking smaller or larger sections based on your desired look.
- Set a Timer: Follow the time guidelines on your bleach kit; usually, 30-45 minutes is standard.
- Check Progress: Periodically check the highlights by gently unfolding a foil to see if the lightening is as desired.
- Rinse Out:** Once you reach the desired level of lift, remove the foils and rinse your hair thoroughly with cool water.
For Balayage
- Prepare the Bleach: Mix the bleach according to the instructions.
- Section Your Hair: Divide hair into sections, similar to foil highlights, but you will be working on larger pieces.
- Paint on Bleach: Start at the mid-length of the hair and sweep the brush upward towards the roots, avoiding the scalp. Then, lightly paint down the ends.
- Blend:** Use your fingers to blend the product for a softer transition.
- Check Timing: Set a timer and check your progress throughout.
- Rinse:** Rinse your hair with cool water once the desired lightness is achieved.
For Cap Highlights
- Prepare the Cap: Place the cap on your head and secure it appropriately.
- Pull Hair Through:** Use the hook to pull strands of hair through the holes where you want highlights.
- Apply Bleach: Once the hair strands are pulled through the cap, apply bleach to them, ensuring even coverage.
- Set Timer and Rinse:** Follow timing instructions before rinsing with cool water.
Safety Tips to Keep in Mind
Highlighting can carry some risks, especially if you are using bleach. Here are essential safety tips:
- Always conduct a patch test before using new products.
- Use gloves during the entire process to protect your hands.
- Work in a well-ventilated area to minimize inhalation of fumes.
- Follow the instructions carefully to avoid over-processing.
- Have a friend help if possible; they can help apply bleach evenly or check areas you cannot see.
Post-Highlighting Aftercare
Proper aftercare is crucial for keeping your highlights vibrant and healthy. Follow these aftercare tips after highlighting:
- Wash Gently: Use a sulfate-free shampoo formulated for color-treated hair to keep your highlights looking fresh.
- Condition Regularly: Use a nourishing conditioner or a deep-conditioning mask once a week to maintain moisture levels.
- Avoid Heat Styling: Limit heat tools for at least a week after highlighting to prevent damage.
- Protect from the Sun: Wear a hat or use hair products with UV protection to avoid fading.
- Regular Touch-ups: Plan to touch up your roots every six to eight weeks, depending on your hair growth.
Common Mistakes to Avoid
Avoiding common mistakes can make your highlighting experience smoother and more successful. Here are some pitfalls to watch out for:
- Skipping the patch test can lead to unexpected allergic reactions.
- Over-processing hair by exceeding recommended timings can cause damage and breakage.
- Using the wrong developer strength may lead to unsatisfactory results.
- Forgetting to section hair properly results in uneven highlights.
Realistic Expectations for Home Highlights
While highlights can be stunning, it’s essential to have realistic expectations about the process. Remember that:
- The final color may be different than expected due to natural pigments in your hair.
- Your hair’s texture, porosity, and overall health influence how well it will lift.
- Maintaining highlights requires ongoing care and may involve additional products and regular salon visits for professional touch-ups.
Conclusion
Highlighting hair at home can be easy and rewarding with careful preparation, attention to safety, and proper technique. By following the steps outlined in this guide, you can achieve beautiful results while maintaining your hair’s health. Remember to prioritize aftercare to keep those highlights looking fresh and vibrant for longer. Your hair journey is personal, and with patience and practice, you’ll become more adept at achieving your desired look.
For even more tips, check out related guides like how to do highlights at home or learn how long to leave bleach in hair for the best results.