
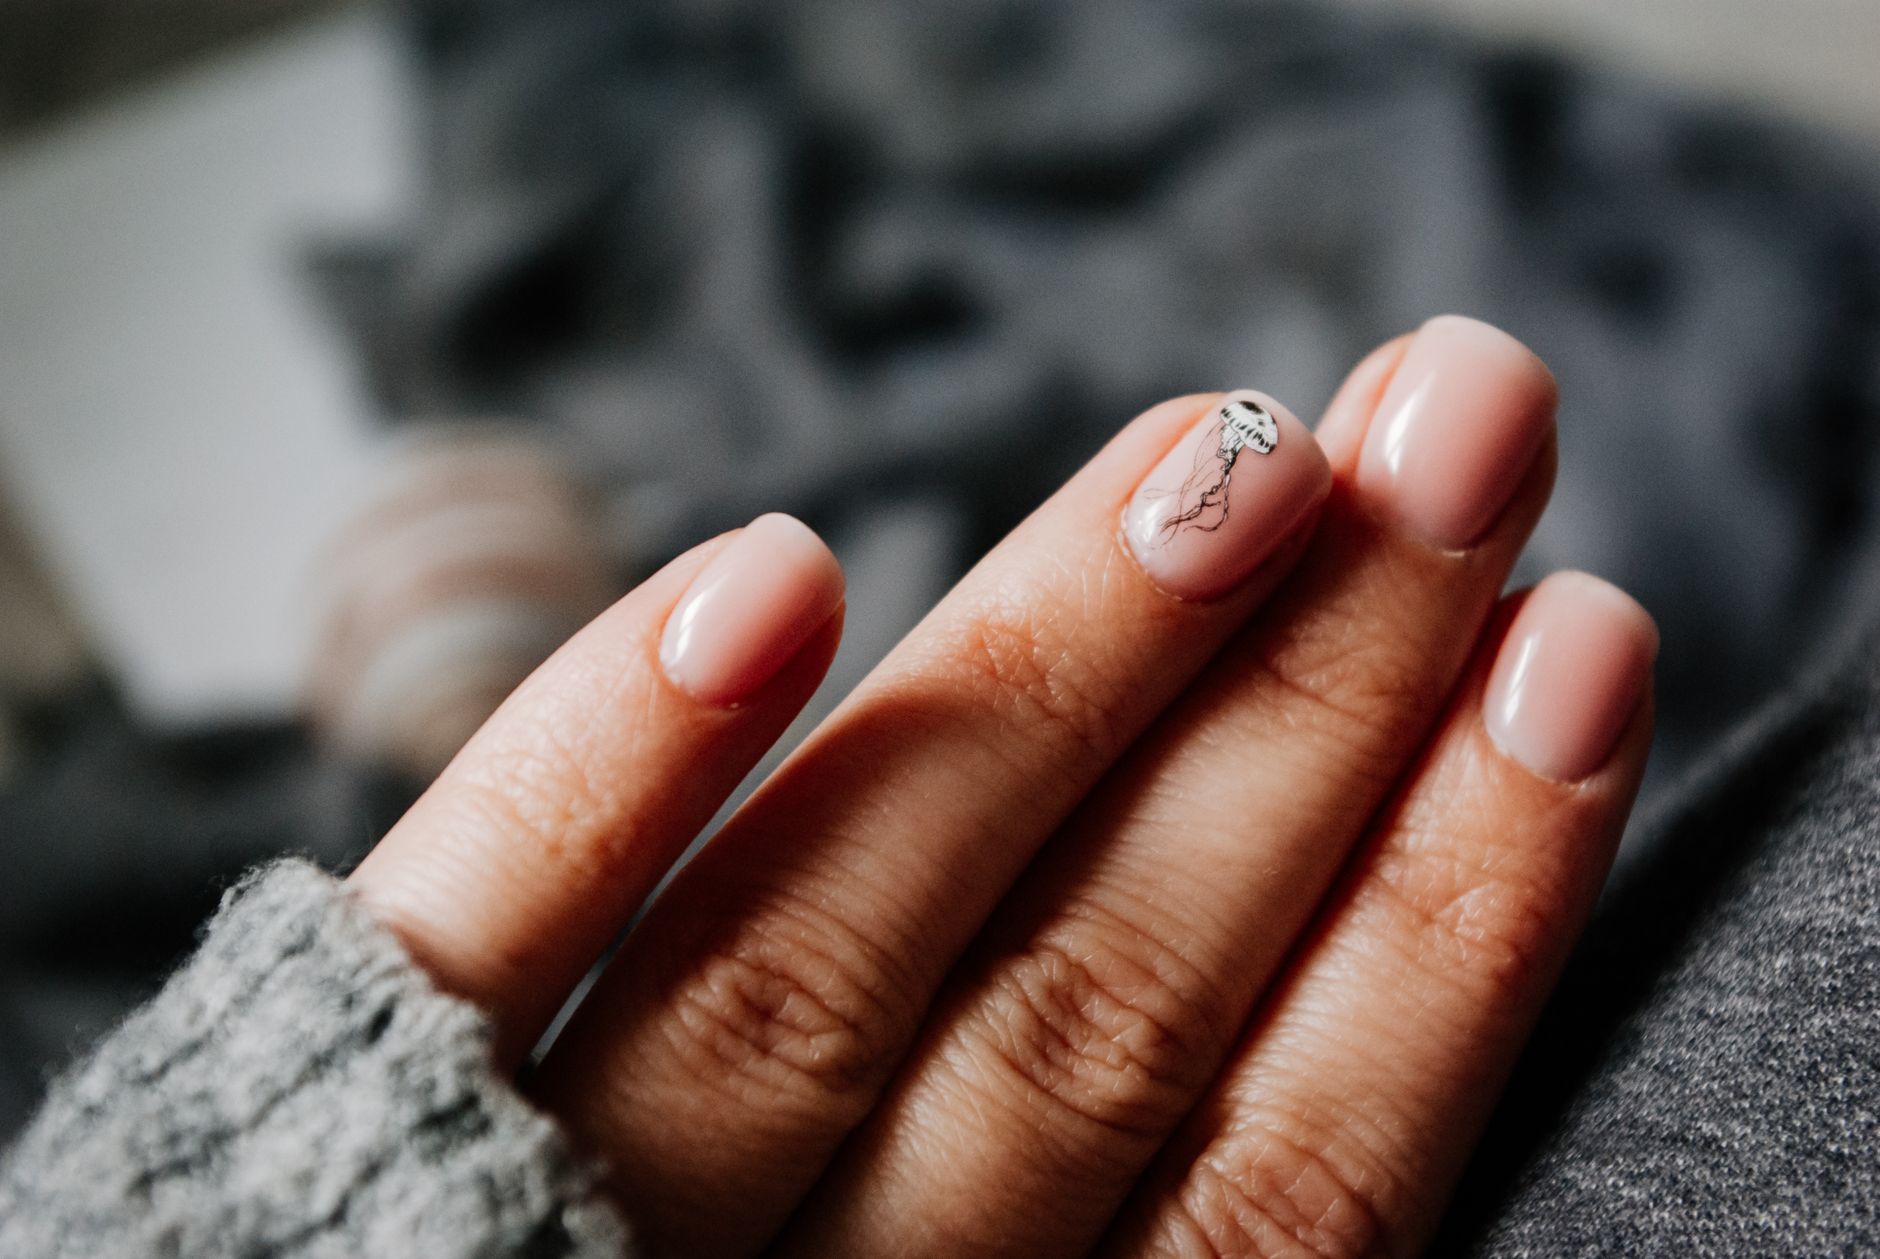
Gel-X nails have become popular for their durability and stunning appearance. However, when the time comes to remove them, you might feel uncertain about the process. Fortunately, with the right tools and knowledge, you can safely remove Gel-X nails at home without causing damage to your natural nails.
In this guide, we’ll walk you through the step-by-step process of removing Gel-X nails at home. You’ll also learn about nail care and safety tips to ensure your nail health is maintained throughout the process.
How to Remove Gel-X Nails at Home?
To remove Gel-X nails at home, you will need specific materials and to follow a systematic approach. Here’s a succinct answer: Soak your nails in acetone or use a gentle nail remover, buff the shine off the top layer, and carefully lift the gel with a wooden stick. This should be done with care to avoid damaging your natural nails.
Essential Tools and Supplies
Before you begin the removal process, it’s essential to gather all necessary tools and supplies. Having everything ready will help the process go smoothly and efficiently. Here’s what you’ll need:
- Acetone or gel polish remover
- Nail file or buffing block
- Cotton balls or pads
- Aluminum foil or nail clips
- Wooden cuticle stick or orange stick
- Cuticle oil
- Small glass bowl
- Protective gloves (optional)
Preparation Steps
1. Choose a Well-Ventilated Area
Remove Gel-X nails in a space with good ventilation. Acetone has a strong odor, and proper airflow will make the experience more pleasant and reduce any potential inhalation issues.
2. Gather Your Supplies
Collect all of the essential items listed above. Make sure to have everything within reach before starting, as you don’t want to interrupt the removal process once it has begun.
3. Prepare Your Natural Nails
Start by ensuring your natural nails are clean and free from any oils or residues. Wash your hands thoroughly with soap and water before beginning the removal process.
Step-by-Step Guide to Remove Gel-X Nails
Here’s a detailed step-by-step guide to safely remove Gel-X nails at home:
-
Buff the Surface of the Gel-X Nails
Using a nail file or buffing block, gently buff the shiny top layer of your Gel-X nails. This action helps to break the seal of the gel and will allow the acetone to penetrate more effectively. Be careful not to file too deeply; you only want to remove the shiny gel top layer.
-
Soak Cotton Balls with Acetone
Soak cotton balls or pads in acetone or gel polish remover. Ensure they are saturated but not dripping wet. You can also place some acetone in a small glass bowl and dip your cotton balls directly.
-
Apply the Cotton Balls
Place the acetone-soaked cotton balls directly onto your nails. Ensure the entire nail is covered with the cotton ball for effective soaking.
-
Wrap with Aluminum Foil or Use Nail Clips
Wrap your fingers with aluminum foil, ensuring the cotton ball stays in place, or use nail clips specifically designed for this purpose. This step helps to keep the acetone from evaporating and ensures that it stays in contact with the nails longer.
-
Wait for 10-15 Minutes
Allow the nails to soak for about 10 to 15 minutes. You may need to adjust the timing depending on how thick the Gel-X nails are. If you find that it is not breaking down after the initial time, you may need to let them soak for a few extra minutes.
-
Check Progress
After the soaking time has elapsed, check one nail to see if the gel has started to lift. You can gently push the gel with a wooden cuticle stick. If it comes off relatively easily, you can continue with the rest. If not, reapply the cotton and let it soak a little longer.
-
Gently Remove the Gel
Once the gel has sufficiently softened, use a wooden cuticle stick to gently lift the edges of the Gel-X. Start from one end and carefully push it away from your natural nail. Avoid forcing it off, as this can damage your natural nails.
-
File Away Any Residue
If you encounter stubborn areas where the gel hasn’t lifted completely, lightly file them away with a nail file until your nails are smooth. Make sure not to file down to your natural nail.
-
Wash Your Hands
After the Gel-X has been removed, wash your hands thoroughly with soap and warm water to remove any acetone residue.
-
Hydrate Your Nails
Once clean, apply cuticle oil to your nails and around your cuticles. This step helps replenish moisture that was lost during the removal process.
Nail Care After Removal
After successfully removing your Gel-X nails, it’s important to care for your natural nails and surrounding skin. Here are some nail care tips to ensure healthy regrowth:
- Apply Cuticle Oil: Regularly use cuticle oil to keep the cuticles and nails hydrated.
- Avoid Nail Enhancements: Give your natural nails a break by avoiding any artificial enhancements for a few weeks.
- Moisturize: Use a good hand cream to keep the skin around your nails soft and supple.
- Keep Nails Short: Consider trimming your nails to reduce the risk of breakage while they recover.
- Use a Nail Strengthener: Apply a nail strengthener or hardener to promote healthy nail growth and minimize brittleness.
Safety Tips for Removing Gel-X Nails
While removing Gel-X nails at home is possible, it’s crucial to follow safety tips to protect both your natural nails and overall nail health:
- Do Not Rush: Take your time during the removal process to reduce the risk of damaging your natural nails.
- Avoid Skin Contact: Be careful not to let acetone come into contact with your skin. It can cause dryness or irritation.
- Do a Patch Test: If using a new product, perform a patch test on a small area of skin to check for allergic reactions.
- Use Quality Products: Invest in good-quality acetone or gel polish remover for effective and safe removal.
- Don’t Force Off the Gel: If the gel isn’t coming off easily, reevaluate the soaking process rather than forcing it, which can lead to injury.
Common Mistakes to Avoid
While removing Gel-X nails can be straightforward, there are common mistakes that can lead to unsatisfactory results or damage to your natural nails:
- Skipping the Buffing Step: Not buffing the top layer makes it harder for acetone to penetrate.
- Over Soaking: Soaking for too long can weaken nails, leading to breakage.
- Using Non-Acetone Removers: These might not be effective on Gel-X, potentially making removal much harder.
- Neglecting Post-Removal Care: Failing to moisturize and care for your nails afterward can lead to dryness and brittleness.
- Not Seeking Help When Needed: If you encounter difficulties, don’t hesitate to seek professional help rather than risking damage.
Final Thoughts
Removing Gel-X nails at home can save you time and money, but it’s essential to do so carefully to maintain the health of your natural nails. Following the right steps and tips can help ensure that the process is efficient and safe. Remember to take care of your nails post-removal to promote healthy growth.
For more in-depth information on nails, be sure to explore our guides on how to remove Gel-X nails and how to remove gel polish at home for comprehensive tips and techniques.