
Straightening curly hair can be a game changer for many, offering a sleek and polished look that contrasts beautifully with natural curls. Whether you’re heading to a special event or simply want to change up your everyday style, understanding how to straighten curly hair effectively is essential. This guide provides beginner-friendly techniques and tips to achieve smooth, straight locks.
Curly hair varies in texture, type, and thickness, so finding a method that works for your unique hair is important. With the right tools and techniques, you can enjoy temporarily straightened hair without damaging your curls. Let’s explore how to straighten curly hair!
How to Straighten Curly Hair?
Straightening curly hair primarily involves the use of heat tools like flat irons or blow dryers, along with the right products. The process can also include techniques for those looking to avoid heat. Understanding your hair type will guide you in choosing the best method and products to achieve smooth, straight hair while taking care of your curls.
Essential Tools for Straightening Curly Hair
Before getting started, ensure you have the following tools needed for straightening curly hair:
- Flat Iron: A ceramic or tourmaline flat iron is ideal for straightening as it distributes heat evenly.
- Blow Dryer: A powerful blow dryer with a nozzle attachment is useful for drying hair straight before using a flat iron.
- Heat Protectant Spray: This product helps shield your hair from heat damage.
- Comb or Brush: A wide-tooth comb is best for detangling, while a paddle brush can help with blow-drying.
- Sectioning Clips: These keep your hair organized while straightening.
- Round Brush: If you use a blow dryer, a round brush can help smooth the hair while drying.
Choosing the Right Products
Using the right products is crucial for straightening curly hair. Here are some recommendations:
- Smoothing Shampoo and Conditioner: Opt for products designed to tame frizz and smooth the hair cuticle.
- Leave-In Conditioner: This adds moisture and protects against frizz, making straightening easier.
- Serum or Cream: A lightweight smoothing serum or cream can help improve manageability and shine.
- Hair Oil: Apply a small amount to the ends of your hair after straightening for added shine and moisture.
Step-by-Step Guide to Straightening Curly Hair
Here’s a simple step-by-step guide on how to straighten curly hair effectively:
- Wash and Condition: Start by washing your hair with a smoothing shampoo and apply a conditioner. Rinse thoroughly to remove any product buildup.
- Towel-Dry Hair: Gently blot hair with a microfiber towel to remove excess water. Avoid rubbing as this can create frizz.
- Apply Heat Protectant: Once your hair is towel-dried, apply a heat protectant spray evenly throughout your hair. This is crucial to minimize heat damage.
- Detangle Hair: Use a wide-tooth comb to gently detangle your hair. Start from the ends and work your way up to avoid breakage.
- Section Your Hair: Divide your hair into four to six sections using sectioning clips. This makes it easier to manage while straightening.
- Blow Dry (Optional): For a smooth finish, blow dry your hair using a round brush while pulling your hair straight. This step can help cut down on the amount of time needed with a flat iron.
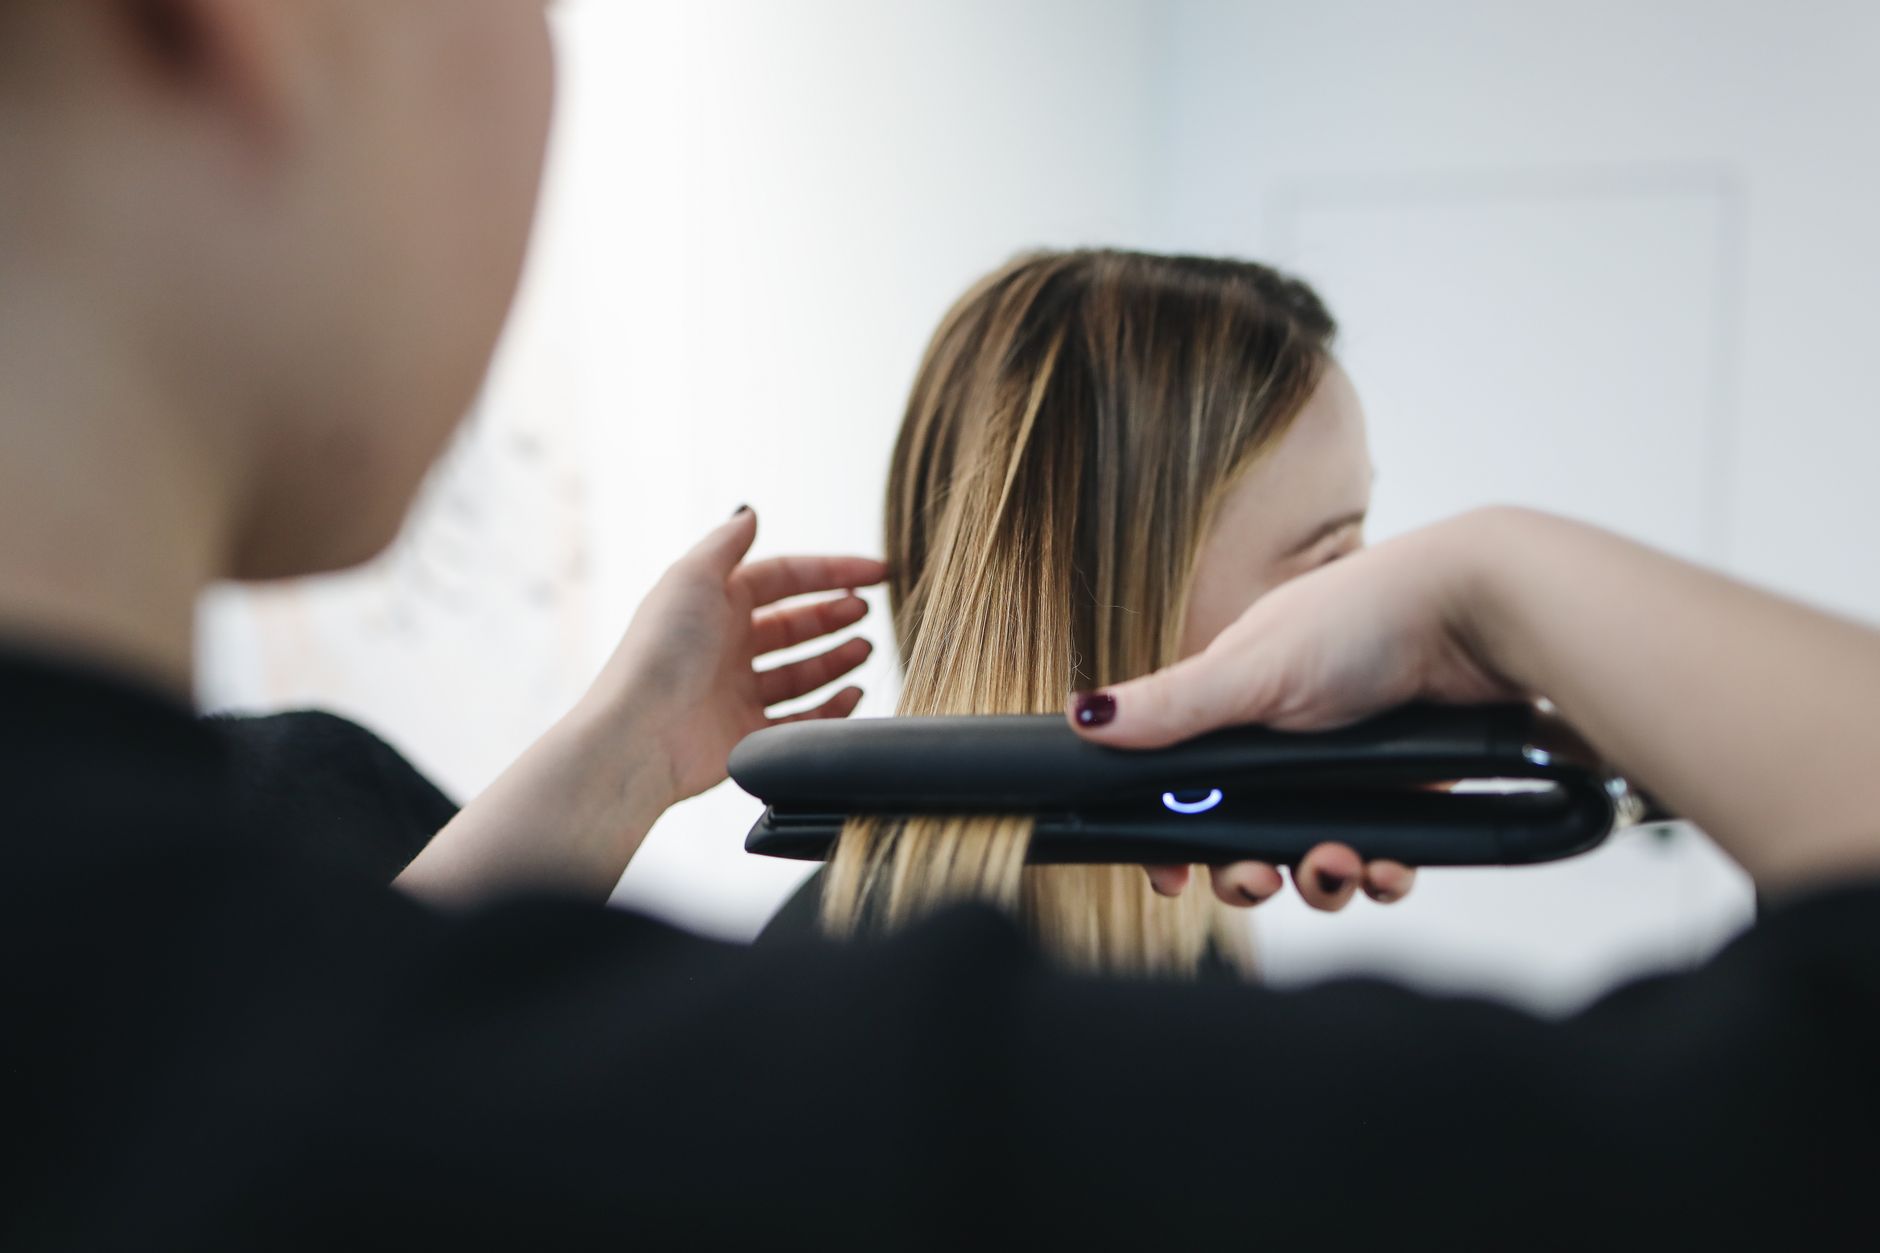
- Flat Iron Time: Starting with one section, take small subsections of hair and run the flat iron from root to tip. Aim to do this slowly and evenly for the best results. Don’t go over each section too many times to prevent damage.
- Repeat on All Sections: Continue straightening the rest of your hair, section by section, until all parts are smooth and straight.
- Finish with Serum: Once your entire head is straightened, apply a small amount of serum or hair oil to the ends for shine and to combat any frizz.
Heat-Free Methods for Straightening Curly Hair
If you prefer to avoid heat, there are alternative methods for straightening curly hair. These techniques take longer but can be a healthier option for your hair:
1. Wrapping Method
This technique involves wrapping your hair around your head and securing it. Here’s how to do it:
- After washing and conditioning, apply a leave-in conditioner.
- Divide your damp hair into sections.
- Start wrapping each section around your head, securing it in place with pins or a headband.
- Leave it in place until your hair is completely dry (this might take several hours or overnight).
- Once dry, undo the wrap and comb through for smooth results.
2. Braid-Out Method
This method involves braiding damp hair for a straighter look once it dries:
- Apply leave-in conditioner to damp hair.
- Divide the hair into sections and create braids.
- Allow the braids to dry completely (about 6-8 hours or overnight).
- Once dry, carefully undo the braids and separate them gently.
Tips for Maintaining Straight Hair
Once you’ve achieved straight hair, it’s useful to know how to maintain your look:
- Limit Moisture Exposure: Avoid heavy humidity to keep your hair looking straight. If you expect a humid day, consider wearing a hat or using an anti-humidity spray.
- Avoid Damp Environments: Be cautious when entering places with high humidity, as they can lead your curls to revert.
- Wrap Hair at Night: Use a silk or satin scarf to wrap your hair at night to help preserve the straightness.
- Don’t Wash Too Frequently: Try to limit washing your hair to every two to three days to maintain the straight style.
- Touch Up as Needed: Use a flat iron or blow dryer on select sections if your hair begins to curl again over time.
Common Mistakes to Avoid
While straightening curly hair, it’s easy to run into pitfalls. Here are some common mistakes to avoid:
- Using Too Much Heat: Excessive heat can lead to damage and breakage. Always use a heat protectant and set your flat iron to the appropriate temperature for your hair type.
- Not Drying Hair Completely: Straightening damp hair can cause frizz and lead to damage. Make sure your hair is completely dry before using a flat iron.
- Skipping the Heat Protectant: Never straighten without this essential product. It helps prevent damage caused by heat styling.
- Using the Wrong Tools: Invest in good quality tools that suit your hair type for the best results.
- Not Sectioning Properly: Straightening large sections can lead to uneven results. Take your time to section your hair appropriately.
Expectations After Straightening
After straightening your curly hair, it’s important to maintain realistic expectations. Understand that results will vary based on your hair texture, type, and the products used. Remember that the straights might not last if exposed to humidity or moisture and that some curls may still show through. However, with proper care and the right techniques, you can enjoy sleek, straight hair for days!
Final Thoughts
Straightening curly hair is a skill that can enhance your beauty routine and offer versatility to your styling options. With the right tools, products, and techniques at your disposal, achieving straight hair can be easy and enjoyable. Take your time, and remember to protect your natural curls during the process.
Now that you know how to straighten curly hair, consider exploring more hair care tips, such as how to straighten hair without heat or learning how to curl hair with a flat iron for added styles!