
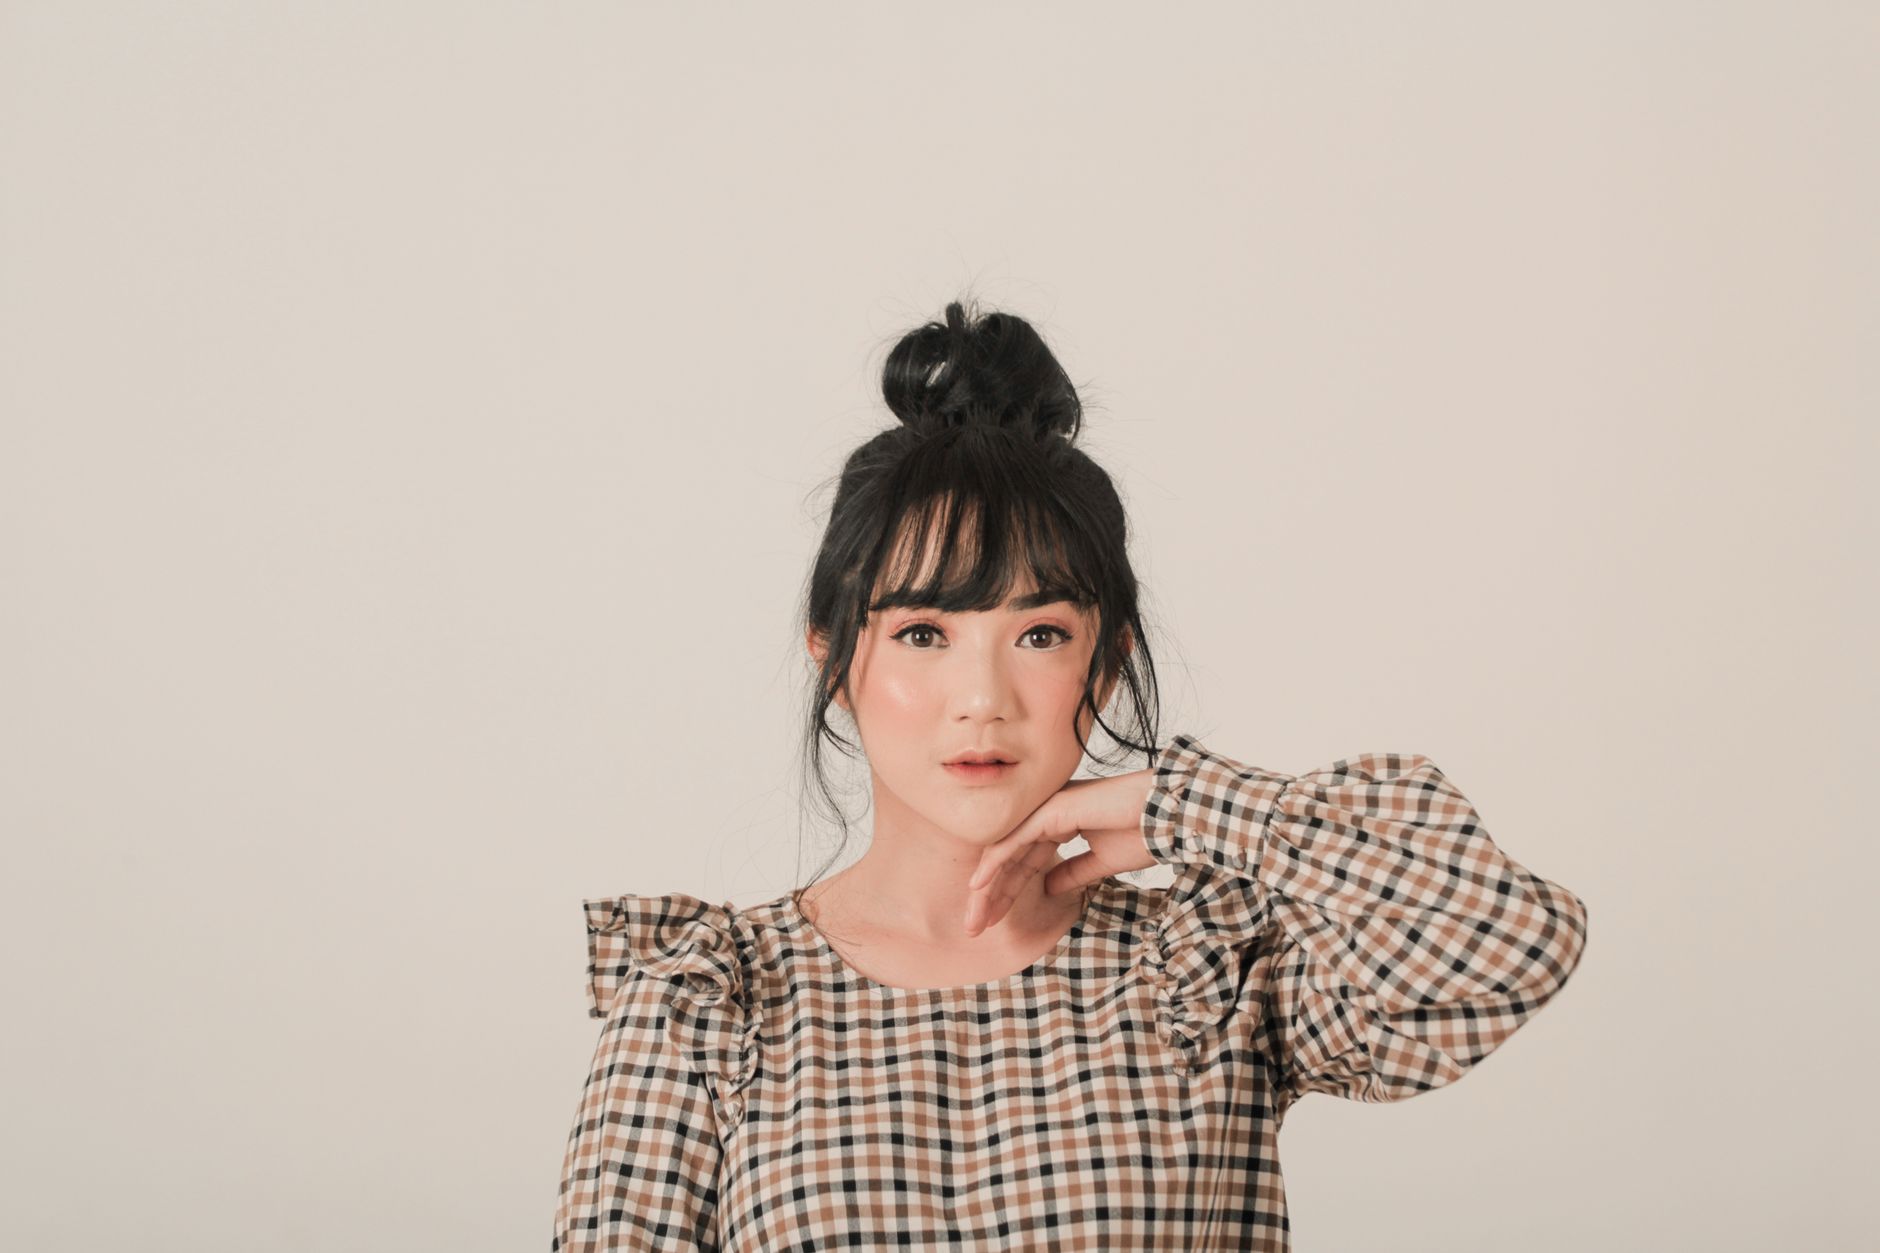
Tying a bun is one of the most versatile and practical hairstyles, suitable for various occasions, whether you’re heading to work, hitting the gym, or attending a formal event. In this guide, we’ll cover the step-by-step process of tying different types of buns and address common mistakes people often make while doing so.
The beauty of a bun lies in its simplicity and elegance. With just a few tools and techniques, you can create a chic look that keeps your hair neat and off your face. Let’s dive into how to tie a bun, explore various styles, and highlight best practices to achieve the perfect finish.
How to Tie a Bun?
Tying a bun involves gathering your hair and securing it at the back or top of your head. The method can vary depending on the type of bun you want to achieve—be it a messy bun, sleek bun, or a top knot. Follow our comprehensive guide to get it right!
Essential Tools
Before we begin, gather the following tools to help you achieve the perfect bun:
- Hairbrush or comb
- Hair ties (preferably strong and elastic)
- Bobby pins or hairpins
- Hair gel or pomade (optional for a sleek finish)
- Hair spray (optional for extra hold)
Step-by-Step Guide to Tying a Bun
Below is a simple guide to creating a classic bun. We’ll add variations later, so stay tuned!
- Prepare Your Hair: Brush your hair to remove any tangles. If your hair is slightly dirty or has some texture, it might hold the bun better.
- Gather Your Hair: Using your hands, gather your hair into a ponytail at your desired height. This can be at the nape of your neck for a low bun or at the crown for a high bun.
- Secure the Ponytail: Use a hair tie to firmly secure the ponytail. Make sure it’s tight enough to hold the hair but not so tight that it causes discomfort.
- Twist the Ponytail: Start twisting the ponytail around the base of the hair tie. The tighter you twist, the neater the bun will look.
- Wrap the Hair: Once the ponytail is fully twisted, wrap it around the base of the hair tie to form a circular shape.
- Secure the Bun: Use bobby pins to secure the bun in place. Make sure to tuck in any loose strands and use multiple pins for extra hold.
- Finish with Hair Spray: If desired, use hair spray to lock in your style and add shine. This step is especially useful for those with fine hair.
- Adjust as Necessary: Check for any irregularities or loose bits, and adjust as necessary for a polished look.
Variations on the Classic Bun
Now that you know how to create a basic bun, let’s explore different styles you can try.
1. Messy Bun
The messy bun is relaxed and effortlessly chic. Here’s how to achieve it:
- Follow the steps above until step 3.
- Before securing the ponytail, pull out a few strands around your face for a softer look.
- Secure the ponytail in a loose manner.
- Twist the ponytail but do not wrap it tightly; allow it to loop loosely around the base.
- Use a few bobby pins to secure the bun in place, leaving it slightly tousled.
2. Sleek Bun
The sleek bun is polished and sophisticated, perfect for formal events:
- Apply hair gel or pomade to smooth out flyaways.
- Gather your hair into a low ponytail and secure it tightly with a hair tie.
- Twist the ponytail and wrap it around the base as described in the classic bun steps.
- Use bobby pins to secure the bun, making sure to tuck in all stray hairs.
- Finish with hair spray for extra hold.
3. Top Knot
The top knot is a trendy, high bun that’s great for casual outings:
- Brush your hair and gather it at the crown of your head.
- Secure it with a hair tie.
- Twist the ponytail and wrap it into a bun, ensuring it sits high atop your head.
- Use bobby pins to secure any loose ends.
4. Braided Bun
Add a touch of elegance with a braided bun:
- Start with a high ponytail.
- Braid the ponytail tightly, then wrap the braid around the base to create a bun.
- Secure it with bobby pins and use hair spray if desired.
Common Mistakes When Tying a Bun
While tying a bun can seem straightforward, there are several common pitfalls that many encounter. Avoid the following mistakes for the best results:
- Skipping Detangling: Always ensure your hair is tangle-free before styling.
- Using the Wrong Hair Tie: Avoid using thin, fragile hair ties that can snap or damage your hair.
- Over-tightening: While a secure bun is essential, too much tension can lead to headaches and hair breakage.
- Neglecting Bobby Pins: Failing to use enough bobby pins can lead to the bun falling apart throughout the day.
- Not Adjusting: Take time to step back and assess your bun for any irregularities or unevenness.
Tips for a Perfect Bun
Having a few tricks up your sleeve can help you create a flawless bun every time. Here are some tips to keep in mind:
- Practice with Different Textures: Experiment with different hairstyles on both clean and second-day hair for varying effects.
- Use Accessories: Consider adding a decorative hair tie or pin for a personal touch.
- Take Your Face Shape into Account: Adjust the height and style of your bun according to your face shape for the most flattering look.
- Consider Hair Type: Fine hair can benefit from volumizing products, while thick hair may need more securing with bobby pins.
- Stay Calm: If your first attempt doesn’t go as planned, take a deep breath and try again. Hair styling often requires practice.
Maintenance and Care
To keep your hair healthy, especially after styling, incorporate the following care practices:
- Regular Conditioning: Use a good conditioner to keep your hair hydrated.
- Limit Heat Styling: Try to minimize heat exposure by opting for styles that don’t require excessive heat.
- Sleep Protection: Use a silk or satin pillowcase to reduce friction on your hair while sleeping.
- Gentle Detangling: Always detangle your hair gently using a wide-toothed comb.
Conclusion
Tying a bun is a practical and stylish option for any occasion. With the simple steps outlined above and an awareness of common mistakes, you’ll be able to create various bun styles that suit your personality and events. Remember to adjust your techniques based on your hair texture and thickness for optimal results.
If you’re looking to expand your hairstyling repertoire, check out our guides on how to do a bun and how to use a hair pin for more tips and tricks! Enjoy experimenting with different bun styles and have fun with your hair.