
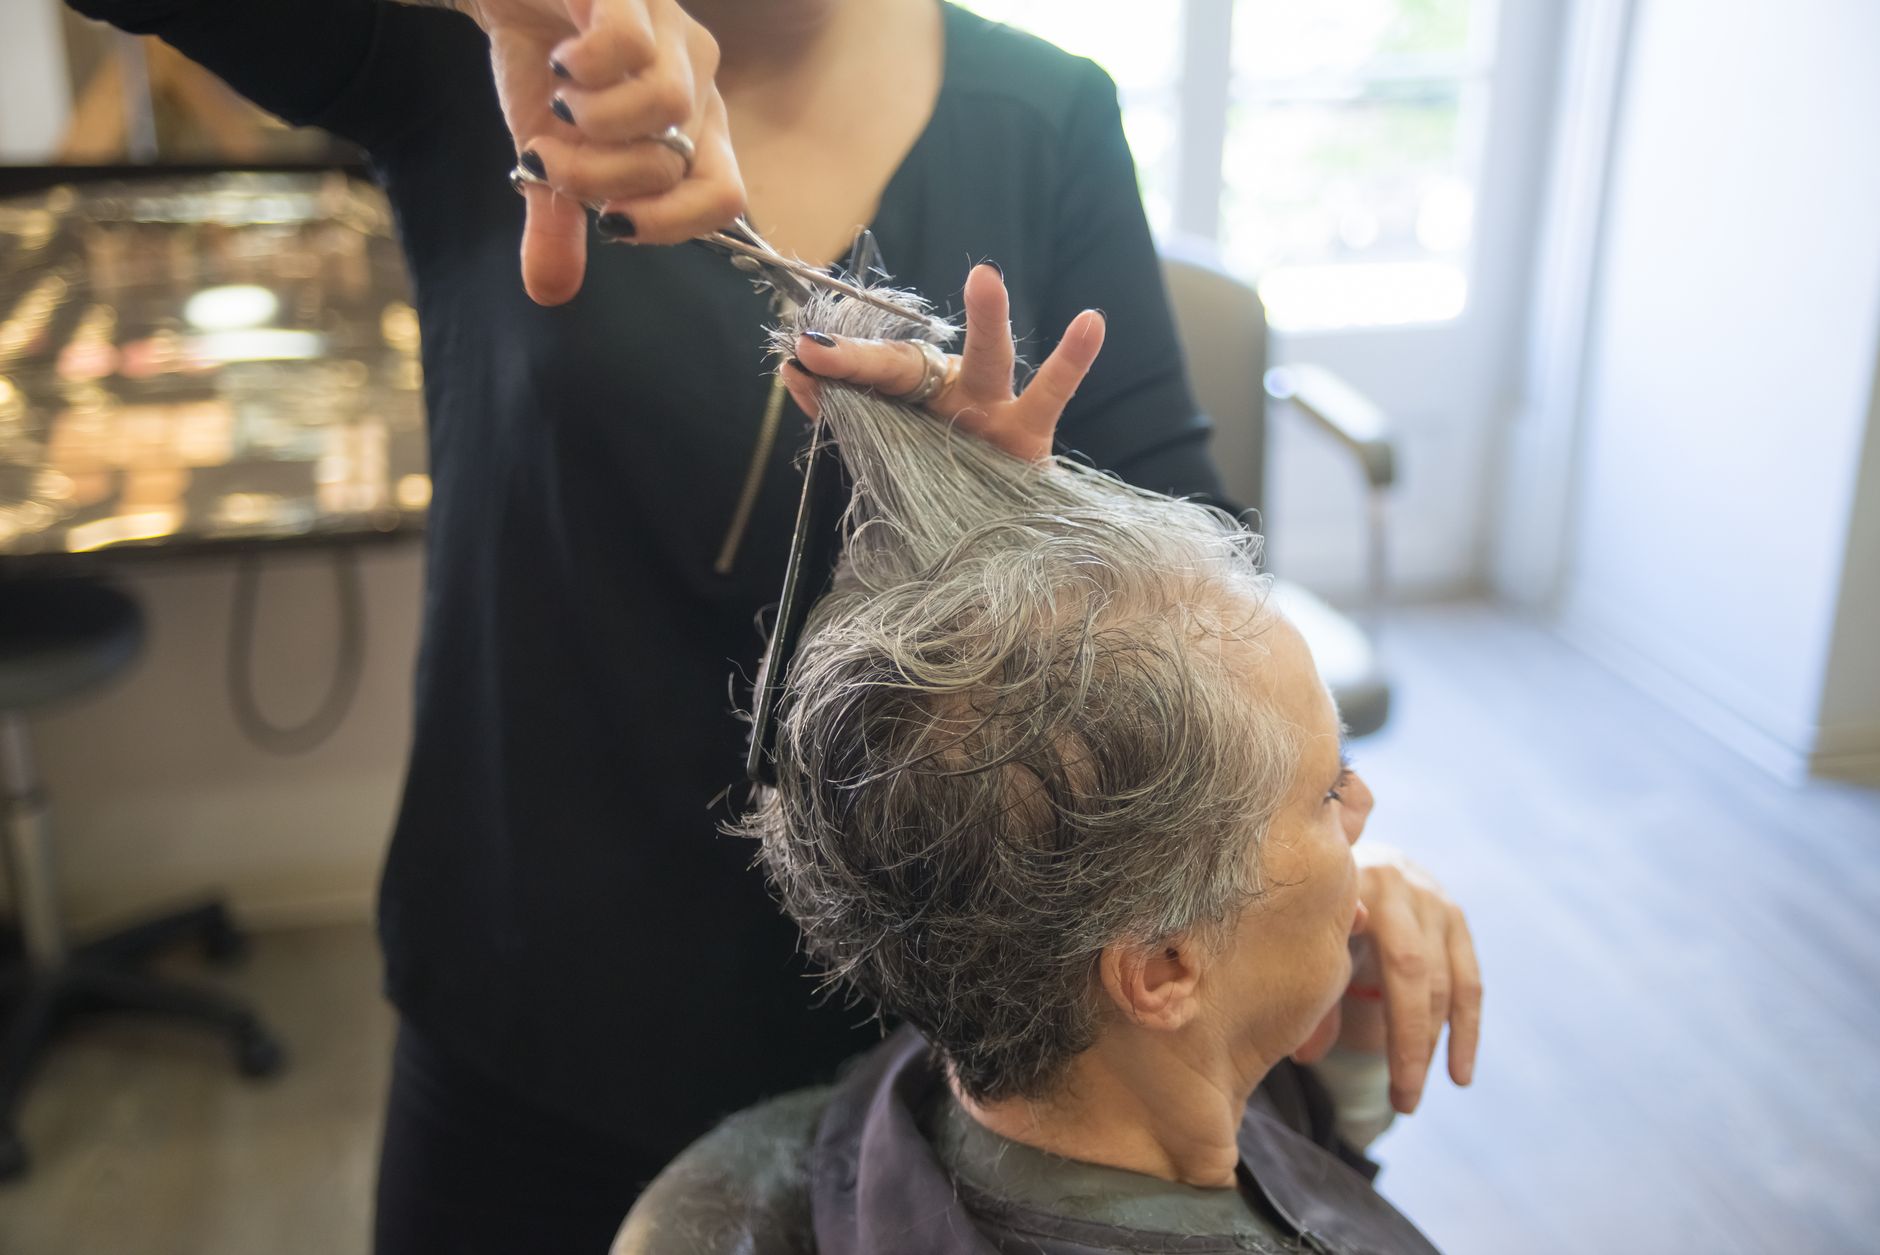
Cutting layers in hair can add movement, dimension, and versatility to your hairstyle. Whether you’re looking to create soft, face-framing layers or bold, choppy cuts, understanding the right techniques and avoiding common mistakes is essential for achieving the look you desire.
This guide will take you through the steps required to cut layers effectively, suitable for both seasoned hairstylists and beginners. Grab your tools and let’s get started!
How to Cut Layers?
Cutting layers involves shaping the hair into varying lengths to create texture and volume. Follow these steps to achieve beautifully layered hair that enhances your natural beauty and suits your style.
Essential Tools for Cutting Layers
Before diving into the layering technique, gather the necessary tools. Having the right tools will make the process smoother and ensure a professional-looking finish. Here’s a list of essentials:
- Sharp hair cutting scissors or shears
- Thinning shears (optional)
- Comb
- Hair clips
- Mirror (preferably a handheld one for back-view checking)
- Spray bottle with water
- Hairbrush
- Protective cape or towel
Preparing for Your Haircut
Preparation is crucial for a successful haircut. Follow these steps to ensure you’re ready to begin:
- Wash and dry your hair: Clean hair is easier to cut. You may choose to cut wet or dry hair, but wet hair allows for more precise cuts.
- Detangle: Use a brush to eliminate any knots, ensuring a smooth, even cut.
- Section your hair: Divide your hair into manageable sections using clips. This helps in working systematically and avoiding any unevenness.
Steps to Cut Layers
Now that you’re equipped and ready, it’s time to cut your layers. The method can vary depending on the kind of layers you wish to achieve, but here’s a straightforward process for beginners:
1. Determine the Layer Length
Before cutting, figure out how long or short you want your layers to be. Keep in mind that shorter layers will create a more dramatic effect, while longer layers offer a more subtle change. Mark the desired length in your mind or with a hair tie as a reference.
2. Cutting the Base Length
If you’re starting from scratch, begin by determining the base length of your hair. Follow these steps:
- Release the first section of hair from the clip, starting with the back.
- Hold the hair straight down and cut it to your desired length, cutting a small amount at a time. This helps avoid cutting too much and losing length.
3. Creating Layers
With the base length established, it’s time to create layers:
- Release one section of hair from the clips. This section should be about one inch wide.
- Hold the section of hair at a 45-degree angle and decide where you want the layer to fall.
- Begin cutting at the point where you want the layer to start, angling the scissors upward to create a softer blend.
- Repeat this process for the rest of your sections, always holding your hair at a consistent angle.
4. Blending the Layers
To avoid harsh lines, it’s essential to blend the layers:
- Using thinning shears, softly go through the ends of each layer. This helps soften the edges and create a more natural look.
- Work your way around the head, blending all layers as you go.
5. Checking for Evenness
After you’ve finished cutting, it’s crucial to check for evenness:
- Using your mirror, assess your layers from the front and back. Ensure there are no visible lines between layers.
- If any areas appear uneven, take small amounts off until you achieve your desired look.
Common Mistakes to Avoid When Cutting Layers
While cutting your layers, several common pitfalls can occur. Being aware of these can help you avoid them:
- Cutting too much hair: Always start with small cuts. You can always take off more, but adding length back is impossible!
- Ignoring the angle: Cutting at the wrong angle can lead to uneven layers. Maintain consistent angles throughout the cutting process.
- Not sectioning properly: Make sure your hair is well-sectioned to avoid missing sections and creating inconsistencies.
- Forgetting to blend: A harsh line can make layers look artificial. Always take extra time to blend layers together.
- Using dull scissors: Dull tools can cause split ends and an uneven cut. Always use sharp, high-quality scissors.
Styling Your Layers
Once you’ve successfully cut your layers, styling them can enhance the overall effect. Here are a few tips for styling layered hair:
- Use a volumizing mousse: This will help give your layers a lift and enhance their texture.
- Try a curling iron: Adding waves to layers can create movement and depth. Aim for loose waves to keep it natural.
- Experiment with products: Texturizing sprays or sea salt sprays can enhance the separation and definition of your layers.
- Blow-dry carefully: Use a round brush while blow-drying to create volume and bounce. Focus on lifting at the roots and curling the ends slightly inward.
Maintaining Your Layers
Regular maintenance will keep your layers looking fresh and prevent split ends. Here are tips for maintaining your layers:
- Regular trims: Schedule a trim every 6-8 weeks to keep your layers looking healthy.
- Conditioning: Use a good leave-in conditioner or hair oil to keep the ends hydrated.
- Avoid excessive heat: Limit the use of heat styling tools to prevent damage. When you do, always use a heat protectant.
Conclusion
Learning how to cut layers can be a skill that enhances your hair styling toolkit. With the right tools and techniques, you can create beautiful layers tailored to your style. Remember to take your time and avoid common mistakes, and don’t forget to enjoy the creative process.
If you’re interested in further improving your hair cutting skills, check out our guides on cutting your own hair and cutting layers in hair. Embrace the confidence that comes with beautifully layered hair!