
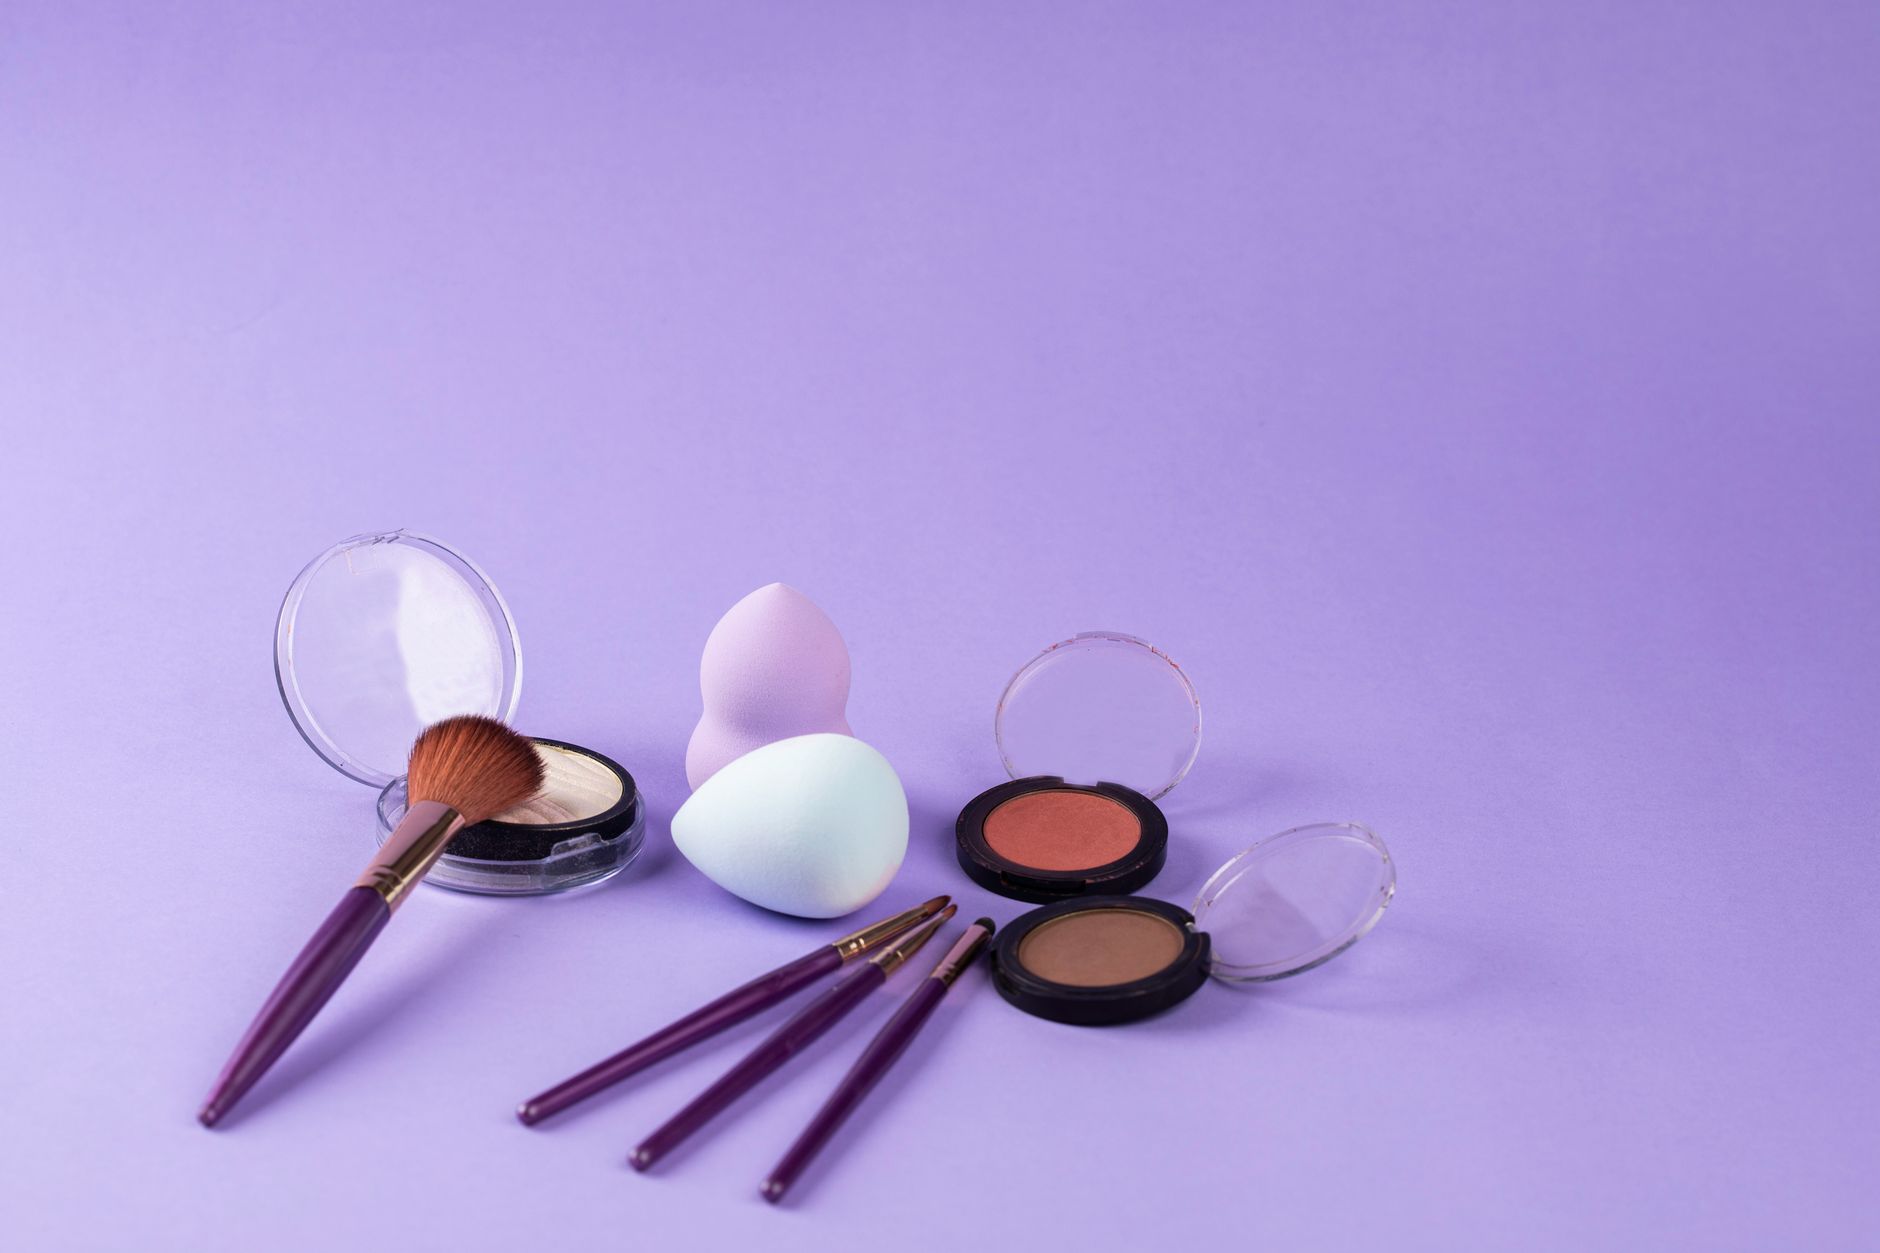
Makeup sponges are essential tools for achieving a flawless complexion. However, like any other beauty tool, they require regular cleaning to ensure optimal performance and maintain hygiene. This guide delves into why it’s essential to clean makeup sponges, how to do it effectively, and tips for maintaining their pristine condition.
Keeping your makeup sponges clean not only enhances makeup application but also helps prevent skin issues such as breakouts and irritation. Discover the safe, simple steps to remove makeup residue and bacteria while ensuring your product longevity.
How to Clean Makeup Sponges (Safe, Simple Removal Steps)
Cleansing your makeup sponges effectively involves a few straightforward steps. By creating a routine for cleaning your sponges, you’ll enhance their longevity and keep your skin healthy.
Why is Cleaning Makeup Sponges Important?
Regular cleaning of makeup sponges is important for several reasons:
- Hygiene: Sponges can harbor bacteria, which can lead to skin irritations, breakouts, or infections.
- Application: Clean sponges provide a smooth and flawless application of makeup, preventing streaks and uneven coverage.
- Product Longevity: Regular maintenance can extend the life of your sponges, saving you money in the long run.
- Saves Skin: Using a clean sponge minimizes exposure to old product residue, which can congest pores and lead to skin issues.
How Often Should You Clean Your Makeup Sponges?
The frequency of cleaning your makeup sponges largely depends on how often you use them. Here are some general guidelines:
- If you use your sponge daily, aim to clean it at least once a week.
- If you only use it occasionally, a deep clean after several uses may suffice.
- For sponges used for specific products (like creams or oils), consider cleaning them immediately after use to prevent buildup.
Supplies Needed for Cleaning Makeup Sponges
To effectively clean your makeup sponges, gather the following supplies:
- Mild Cleanser: Options include liquid soap, gentle dish soap, or makeup brush cleaner.
- Warm Water: Helps to dissolve makeup residues.
- Small Bowl or Sink: For soaking the sponge.
- Towels: For drying the sponge afterward.
- Optional: Olive oil or coconut oil (for deep cleaning).
Step-by-Step Guide on Cleaning Makeup Sponges
Follow these simple steps to ensure your makeup sponges are clean and ready for use:
- Wet the Sponge: Start by rinsing your makeup sponge under warm water. Make sure it’s completely soaked, as this will help to loosen the makeup within.
- Apply Cleanser: Put a small amount of mild cleanser directly onto the sponge. Avoid using harsh detergents, as they may degrade the sponge material.
- Massage Gently: Use your fingers to gently massage the cleanser into the sponge, focusing on areas with heavy makeup buildup. You can also gently squeeze and release the sponge to help work the cleanser in.
- Rinse Thoroughly: Hold the sponge under running water and squeeze it to remove all the soap and makeup residue. Repeat until the water runs clear.
- Deep Cleaning (Optional): For deep cleaning, especially if the sponge has an odor, soak it in warm, soapy water with a few drops of olive or coconut oil for about 10-15 minutes before rinsing.
- Dry the Sponge: After rinsing, gently squeeze out excess water without twisting the sponge, as this can damage its structure. Place it on a clean towel or in a well-ventilated area to air dry. Do not place it in direct sunlight, as this can degrade the material.
Alternatives for Cleaning Makeup Sponges
If you’re looking for alternatives to traditional cleaning methods, you have a few options:
- Micellar Water: A gentle option that can effectively break down makeup.
- Baby Shampoo: A mild, soap-free option that can clean without causing damage.
- Homemade Cleanser: Mix equal parts of water and white vinegar for a natural cleaner; however, be cautious and rinse thoroughly, as vinegar’s scent can linger.
Common Mistakes to Avoid When Cleaning Makeup Sponges
To ensure you are caring for your sponges properly, avoid these common mistakes:
- Using Hot Water: Hot water can break down the sponge material and cause it to deteriorate.
- Neglecting to Rinse Well: Not rinsing thoroughly can leave soap residue that may irritate the skin.
- Cleaning with Harsh Chemicals: Avoid bleach or alcohol-based cleaners that can damage the sponge and irritate your skin.
- Using a Washing Machine: While it may seem convenient, using a washing machine can ruin the sponge’s shape and integrity.
Signs Your Makeup Sponge Needs to Be Replaced
Even with regular cleaning, makeup sponges will not last indefinitely. Here are some signs that it may be time to replace your sponge:
- Visible Damage: Cracks, tears, or changes in texture indicate that the sponge has reached the end of its life.
- Unpleasant Odor: A lingering smell despite cleaning can indicate that bacteria have built up.
- Stains or Discoloration: Persistent stains that do not wash out are a sign that the sponge is no longer performing well.
- Reduced Performance: If the sponge is not blending or applying makeup smoothly, it might be time for a replacement.
Tips for Maintaining Your Makeup Sponges
Proper maintenance can ensure your makeup sponges last longer. Consider the following tips:
- Avoid Sharing: To prevent the spread of bacteria, avoid sharing your makeup sponges with others.
- Store Properly: Keep your sponges in a clean, dry area, ideally in a breathable container to prevent moisture buildup.
- Rotate Sponges: If you use multiple sponges, rotate them to reduce wear and allow for regular cleaning.
- Follow a Schedule: Establish a cleaning schedule to keep your sponges in optimal condition.
Conclusion
Maintaining clean makeup sponges is crucial for healthy skin and seamless makeup application. By incorporating these cleaning steps into your beauty routine, you’ll not only extend the life of your sponges but also enhance your overall beauty experience. Remember to keep an eye out for signs that it’s time to replace your sponge and maintain proper cleaning frequency for the best results.
For further beauty tips and techniques, check out our guides on cleaning makeup brushes and how to maintain your beauty tools. Regular upkeep of your beauty tools can help you achieve the desired effects and keep your routine effective.