
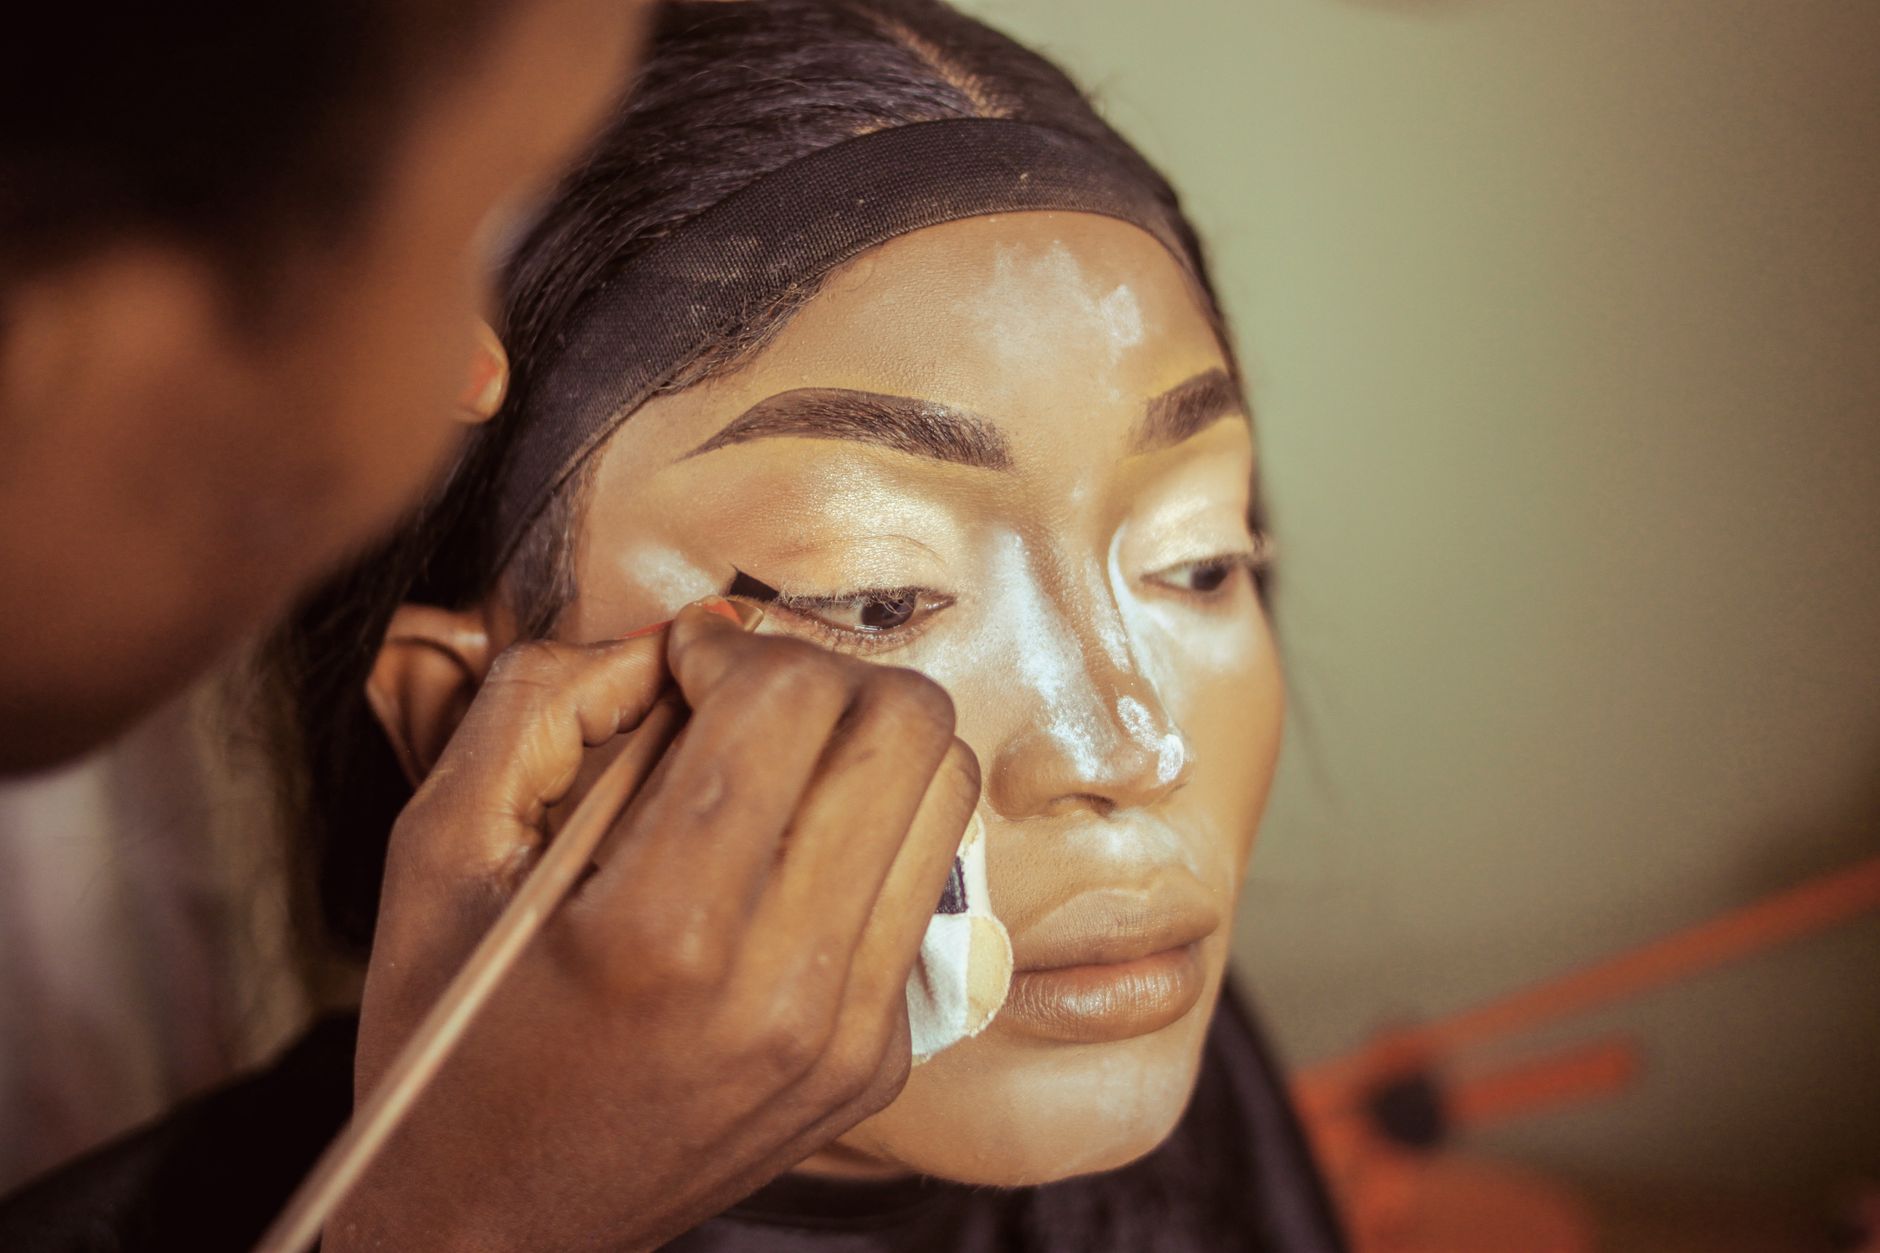
Contouring is an essential makeup technique that can enhance your facial features, create shadows, and add depth to your overall look. Knowing where to put contour is crucial for achieving a natural and flattering effect. This guide will break down contour placement based on face shapes, how to blend it effectively, and provide tips for all skill levels.
Whether you are a beginner or a seasoned pro, understanding the right areas to contour can dramatically change your makeup game. From the cheekbones to the jawline, let’s explore important contour placement strategies that will help you achieve that coveted sculpted look.
Where to Put Contour?
Contour should be placed strategically to define and enhance your facial structure. Primarily, the contour product should be used in areas where natural shadows occur. This involves applying contour in places like the hollows of your cheeks, along your jawline, and on your forehead. The aim is to create a more sculpted appearance by adding depth where it’s naturally needed.
The Anatomy of Contouring: Mapping Your Face
To effectively contour your face, it helps to visualize a face map with areas to highlight and shadow. Below are key areas where contour should be applied:
Cheekbones
To accentuate your cheekbones, apply contour in the hollows beneath them. This area is typically located just under the cheekbones, starting from your ear towards the middle of your cheek.
Jawline
For a defined jawline, apply contour along your jawbone. Be sure to blend well to avoid a harsh line that can look unnatural.
Forehead
Reducing the size of a larger forehead is common, and contour can achieve this by applying it along the hairline at your temples and across the top of the forehead.
Nose
Contouring on the nose can slim it down or enhance its shape. A light application on the sides of the nose can provide definition without looking overly heavy.
Temple and Hairline
Adding contour to your temples and along the hairline can create the illusion of a smaller face and balance the forehead area.
Step-by-Step: How to Apply Contour
- Prep Your Skin: Begin with a clean, moisturized face. If you wear foundation, apply it evenly for a smooth base.
- Select Your Contour Product: Choose a cream, liquid, or powder contour that suits your skin tone. For a natural look, pick a shade that is 1-2 shades darker than your foundation.
- Identify Your Face Shape: Understanding your face shape (oval, round, square, heart, etc.) will help determine contour placement. For instance, round faces can benefit from contouring the sides of the face to create more definition.
- Apply Contour: Using a brush or sponge, apply your product to the areas previously discussed. Start with a small amount and build up the product gradually.
- Blend, Blend, Blend: Use a clean brush or sponge to blend the contour lines into your foundation. The goal is to create soft shadows, so there shouldn’t be any visible lines.
- Set with Powder: If you used cream or liquid contour, set it with a translucent powder to ensure it lasts all day.
Blending Techniques for a Seamless Finish
Blending is critical to achieving a polished look. Here are some techniques to help you blend effectively:
- Use the Right Tools: Brushes can provide different levels of coverage, while sponges can give you a softer finish. Use what feels best for your application style.
- Work in Light Layers: It’s always easier to add more product than to take it away. Start with a small amount, blending as you go.
- Use Circular Motions: When blending, use circular motions to diffuse the color into the foundation, avoiding harsh lines.
- Check Your Angles: Don’t forget to check your makeup in different lighting. This will help you identify areas that may need more blending.
Contouring for Different Face Shapes
Each face shape has its unique contouring needs. Here’s a brief guide to contouring different face shapes:
Oval Face
With an oval face, contouring is typically used to refine the forehead and jawline slightly. Focus contour on the temples and beneath the jawline.
Round Face
For round faces, the goal is to create the illusion of length. Apply contour to the sides of your face, along the forehead, and under the jawline to elongate the appearance.
Square Face
Contour the corners of your forehead and jawline to soften angular features. A little contour on the cheeks can also help balance out sharp edges.
Heart-Shaped Face
To soften a heart-shaped face, apply contour on the sides of the forehead and along the jawline to create balance. Focus on the chin and cheeks.
Choosing the Right Contour Product
There are several types of contour products available, and each serves a different makeup style and finish. Here’s what to consider:
Contour Sticks
These are excellent for precision and are easy to blend. Perfect for on-the-go touch-ups and suitable for all skin types, especially for those who prefer cream products.
Powder Contours
Powder contours are great for a matte finish and can be layered for more intensity. Ideal for those with oily skin or who prefer a longer-lasting finish.
Liqiud or Cream Contours
These formulas provide a dewy finish and blend seamlessly into the skin. They are versatile and work well for all skin types, especially dry skin as they add hydration.
Contour Palettes
Contouring palettes typically include a mix of contour and highlighter shades. They’re convenient for those who enjoy experimenting with different looks.
Common Contouring Mistakes to Avoid
Even experienced beauty enthusiasts make mistakes. Let’s look at some common pitfalls and how to avoid them:
- Using Too Much Product: Less is more when it comes to contouring. Start with a light hand and build up as needed.
- Choosing the Wrong Shade: Avoid contour shades that are too orange or too cool. The best contour should mimic natural shadows.
- Neglecting Blending: Harsh edges are a dead giveaway that you’ve contoured. Always blend thoroughly for a seamless look.
- Not Using Settings Products: Always set your makeup with powder if you’ve used creams or liquids, ensuring your hard work stays in place.
How to Remove Contour
At the end of the day, it’s essential to remove your contour just as carefully as you applied it. Here’s how:
- Use a Makeup Remover: Oil-based makeup removers work best to dissolve heavy products like cream contour.
- Follow with Cleanser: After removing your makeup, cleanse your skin with your regular face wash to remove any residue.
- Moisturize: After cleansing, always follow up with a good moisturizer to replenish your skin.
Final Touches: Highlighting and Setting
Contouring pairs perfectly with highlighting for a complete look. Here’s how to apply highlight after contouring:
- Top of the Cheekbones: Apply highlighter to the highest points of your cheekbones for a radiant glow.
- Bridge of the Nose: A small amount on the nasal bridge can enhance your nose’s shape.
- Inner Corners of the Eyes: Brighten your eyes by placing a bit of highlighter in the inner corners.
- Cupid’s Bow: Adding highlight here can create the illusion of fuller lips.
Finally, set all your makeup with a setting spray for longevity, ensuring everything stays in place throughout the day.
Contouring can transform your look by enhancing your natural beauty—allowing your features to shine through. By understanding where to put contour and mastering the blending technique, you can achieve that perfect sculpted look. Remember, practice makes perfect, so don’t hesitate to experiment until you find what works best for you.
Now that you know where to put contour, why not enhance your makeup routine with additional skills? Check out our guide on how to contour or learn where to apply bronzer to further refine your beauty look!