
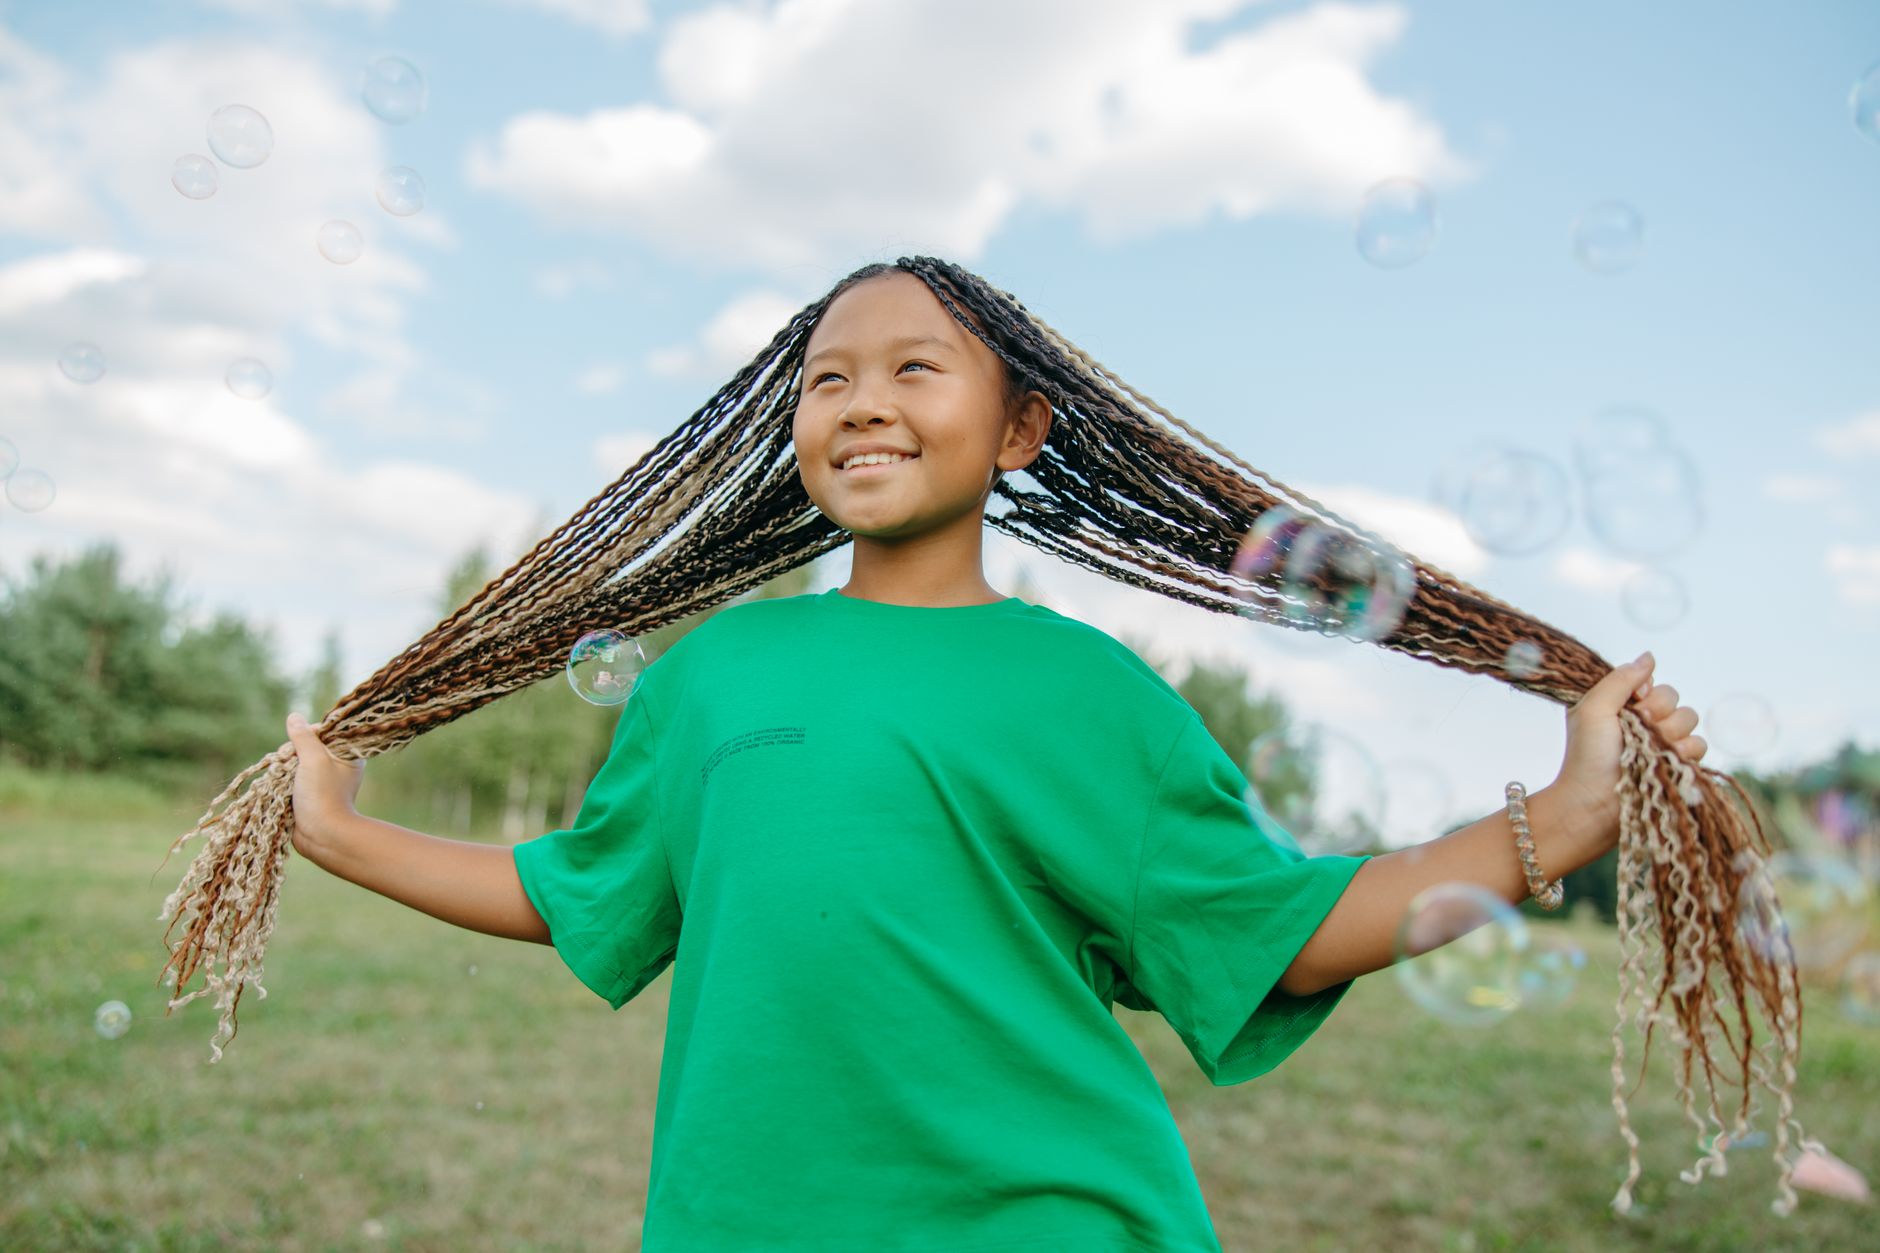
Bubble braids are a fun, playful hairstyle that can elevate any look, whether you’re dressing up for an occasion or simply adding flair to your everyday routine. This trendy style creates a beautiful, voluminous effect and is suitable for all hair types and lengths. By following this simple step-by-step guide, you can master bubble braids in no time.
In this guide, we will break down everything from the tools you’ll need to step-by-step instructions on creating enchanting bubble braids. Whether you’re preparing for a party, a casual outing, or want to try something new, this hairstyle is both stylish and surprisingly simple.
How to Do Bubble Braids?
To create bubble braids, start with clean, detangled hair. The process involves sectioning the hair into desired parts, securing those sections, and then manipulating the segments to achieve a bubble effect. Here’s how to do it step by step.
Tools and Products Needed
Before diving into the bubble braiding process, gather the following tools and products to ensure a seamless experience:
- Hairbrush or comb
- Hair ties (clear or colored)
- Hair elastics or scrunchies
- Hairspray (optional for holding the style)
- Mini rubber bands (for securing bubble sections)
- Hair accessories (optional for added flair)
- Lightweight serum or pomade (optional for slicking down edges)
Preparing Your Hair
Start with clean, dry, and detangled hair for the best results. If your hair tends to get frizzy or puffy, consider applying a lightweight serum or heat protectant to smooth the strands. Here are the preliminary steps:
- Wash and condition your hair, then towel dry to remove excess moisture.
- Brush your hair thoroughly to eliminate knots and tangles.
- If desired, apply a small amount of serum or pomade to polish your hair for a smooth look.
Step-by-Step Guide to Creating Bubble Braids
Now, let’s take a closer look at how to create bubble braids effectively. Follow these detailed steps to achieve gorgeous results.
Step 1: Section Your Hair
Decide how many bubble braids you want to create. You can choose to do two side braids, one single braid at the back, or even smaller bubble braids scattered throughout. Here’s how to section your hair:
- Use the hairbrush to create a clean part down the middle or to one side of your head.
- Divide your hair into 2 to 4 equal sections, depending on how thick or thin you prefer your bubble braids to be.
- Secure each section with a hair tie or clip to keep them separate.
Step 2: Create the First Bubble
Start with one section of hair. Here’s how to form the first bubble:
- Gather the section into a ponytail at your desired height (the higher the ponytail, the bouncier the bubble!).
- Secure it with a hair tie and adjust it to your preferred tightness.
- Leave some hair below the hair tie to create the first bubble.
Step 3: Form the Bubble Effect
Now that you have your first ponytail, it’s time to create that bubble shape:
- Take a small piece of hair directly beneath the ponytail and gently pull it upwards to create a bubble look.
- Secure the small piece with a mini rubber band to keep the bubble in place.
- Repeat this process down the length of the ponytail, leaving space between each bubble. The size of the section determines how big the bubble appears.
Step 4: Repeat for Additional Sections
Once you complete the bubbles in the first section, move onto the next section of hair:
- Repeat steps 2 and 3 for the remaining sections of hair.
- Adjust the tightness of the bubbles as you go for a uniform look or experiment with varying sizes for a playful style.
Step 5: Finishing the Look
Once all sections are complete, you can finalize your style:
- Lightly tug on the bubbles to fluff them out and create a fuller effect.
- Smooth any flyaways using serum or pomade.
- Consider finishing with a light hairspray to keep everything in place, especially if your hair tends to fall flat.
Styling Tips for Perfect Bubble Braids
Now that you’ve mastered the basics of bubble braids, consider these additional tips to enhance your style:
- Experiment with different heights for your ponytails; high styles can create a more whimsical vibe, while lower ponies can look more polished.
- Add accessories like hair clips, flowers, or ribbons for a personalized touch.
- For a more relaxed style, lightly tug on sections of the bubble braids to create an artful mess.
- Utilize glitter or hair chalk for an eye-catching effect on special occasions.
Common Mistakes to Avoid
As with any hairstyle, some common pitfalls can hinder your bubble braid game. Here’s what to watch out for:
- Over-tightening the ponytails can lead to discomfort and make the bubbles less flattering.
- Forgetting to fluff the bubbles can result in a flat appearance—always adjust and shape as you go.
- Using heavy products can weigh down the hair, leading to droopy bubbles. Opt for lightweight formulas instead.
How to Remove Bubble Braids
After rocking your bubble braids, you’ll need to know how to safely remove them without damaging your hair:
- Gently undo the rubber bands from each bubble starting from the bottom to the top.
- Work through the sections slowly to avoid breakage, using your fingers or a wide-tooth comb to detangle.
- Wash your hair thoroughly to remove any product buildup and apply conditioner for softness.
Alternate Styles Using Bubble Braids
Bubble braids can also be adapted into other fun hairstyles. Consider trying these variations:
- Bubbly half-up, half-down: Create bubble braids only in the upper half of your hair for a romantic look.
- Side bubble braid: Gather your hair to one side and create a single bubble braid for a trendy asymmetrical style.
- Pigtail bubble braids: For a playful and youthful look, try two pigtail bubble braids secured with colorful rubber bands.
Bubble Braids for Different Hair Types
Bubble braids can be tailored to various hair types and textures.
Straight Hair
Straight hair tends to hold styles well, creating clean, defined bubbles. Ensure you apply a lightweight product, so the style stays intact.
Wavy Hair
Wavy hair adds a beautiful texture to bubble braids. Embrace the natural waves as they will enhance the bubble effect. Consider using a texture spray for added volume.
Curly Hair
For curly hair, bubble braids provide a fun contrast to your curls. Start with stretched curls for clearer bubbles, or leave your natural curl pattern for a bouncy look. Hydration is key, so ensure your hair is well-moisturized before styling.
Conclusion
Bubble braids are an enjoyable and easy style that can add a playful touch to any look. With simple tools and a straightforward technique, you can create eye-catching bubble braids that suit any occasion. So gather your hair tools, unleash your creativity, and get braiding!
Looking for more hairstyle inspiration? Explore our guides on how to braid your own hair or learn how to do a French braid for additional styling options.