
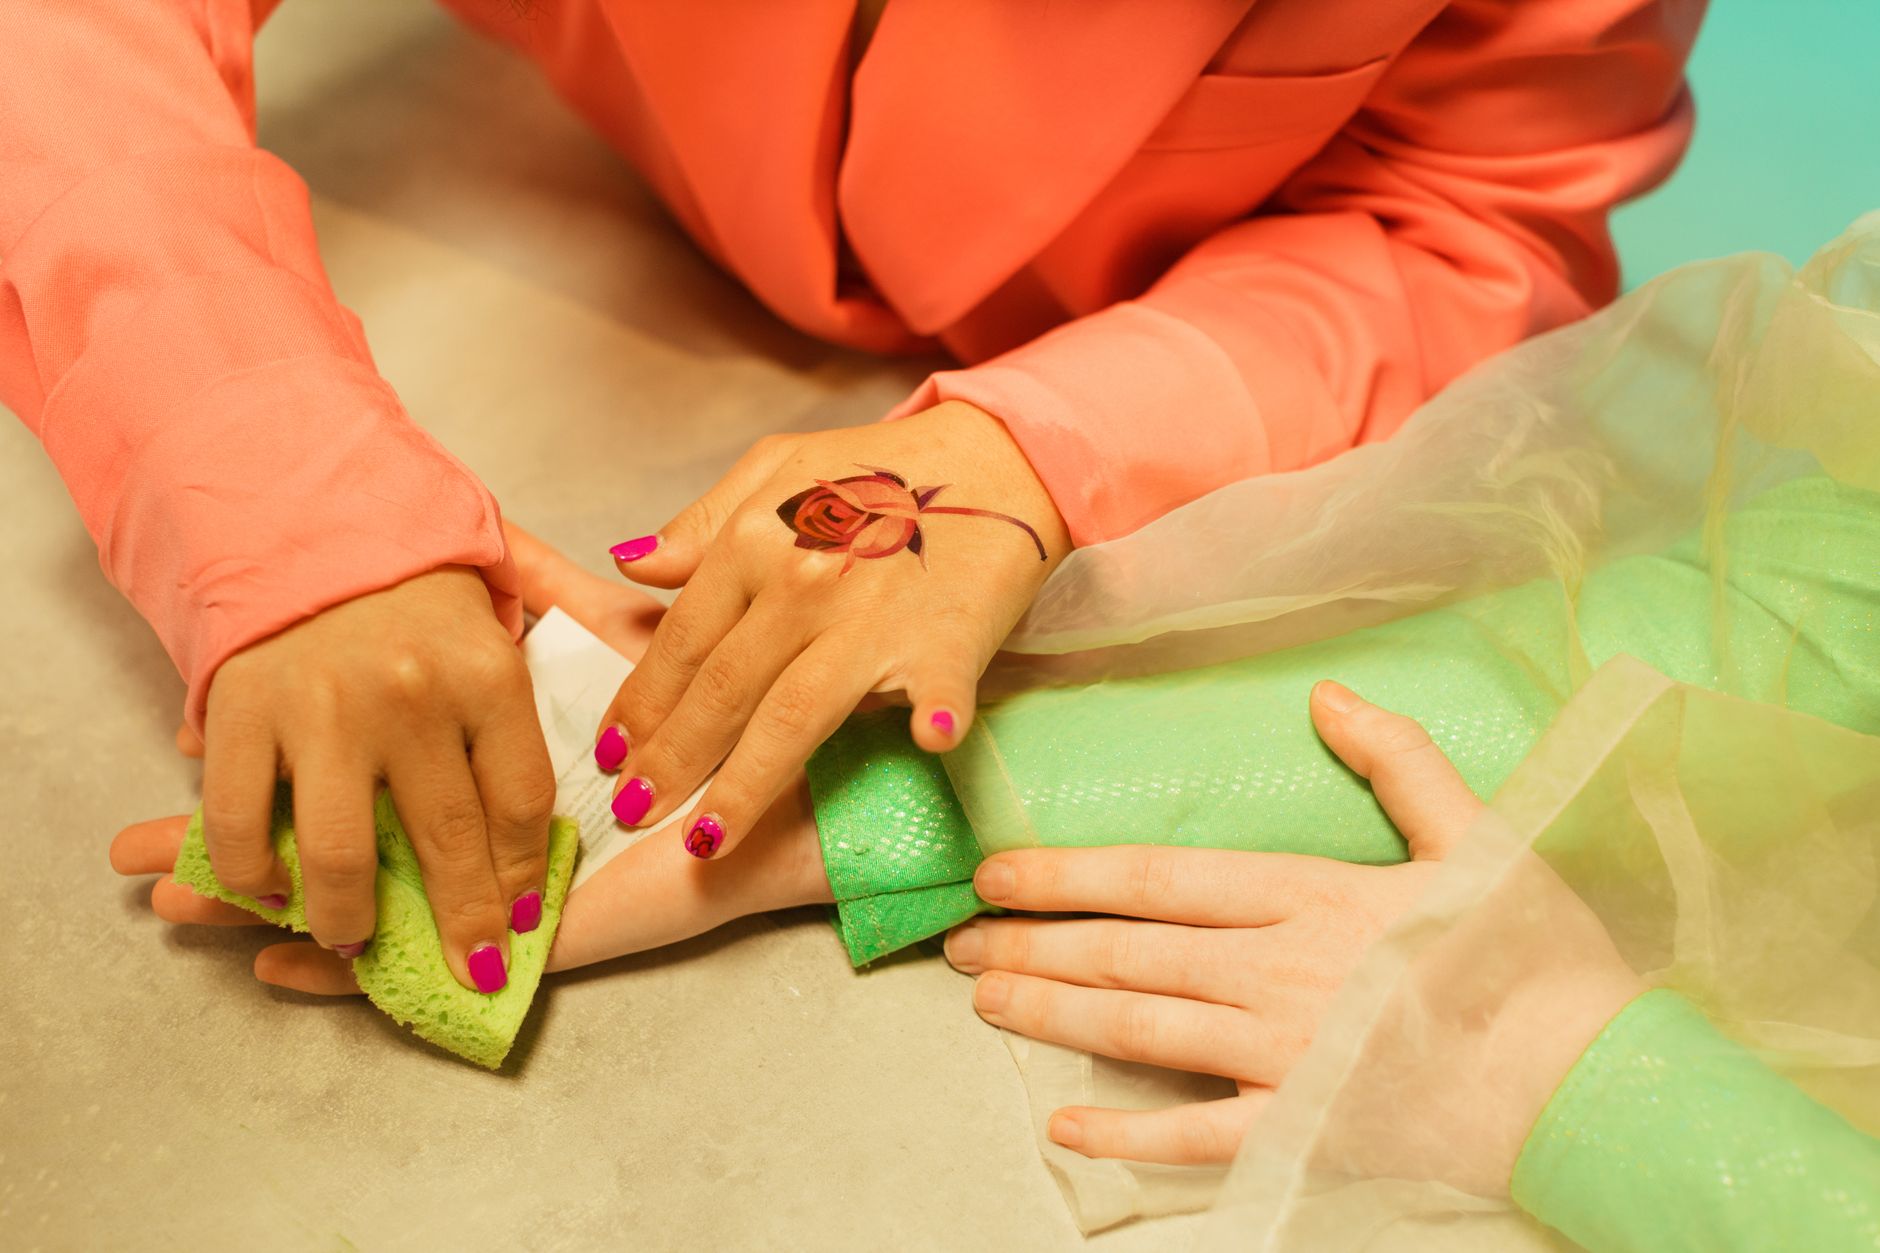
Press on nails have become a popular choice for quick and stylish nail enhancements. They allow you to achieve that salon-fresh look from the comfort of your home. However, when it’s time to say goodbye to your press-on manicure, it’s essential to remove them properly. Doing so helps to protect your natural nails from damage and ensures they remain healthy.
In this guide, we will walk you through the gentle steps of removing press-on nails without harming your natural nails. You’ll learn about the tools you’ll need, the methods you can use, and tips to keep your nails in top condition post-removal.
How to Remove Press on Nails?
To effectively remove press-on nails, you can follow a simple process that includes soaking, gently lifting, and caring for your natural nails afterward. Using the right tools and techniques is crucial for a safe and effective removal.
Understanding Press On Nails
Press-on nails are plastic or acrylic nails that are designed to be attached to your natural nails using adhesives. They come in various shapes, sizes, and designs, making them a versatile option for many occasions. While they can last several days or even weeks, removal should be done cautiously to avoid damaging your nails.
Common Types of Press On Nails
- Acrylic Press-Ons: Made from acrylic material for strength and durability.
- Gel Press-Ons: Offer a glossy finish and can last longer when cared for properly.
- Reusable Press-Ons: Designed to be removed and reapplied multiple times.
Tools You Will Need
Having the right tools on hand will make the removal process smoother. Here are some essentials:
- Nail file or buffer
- Cuticle stick or orange wood stick
- Cotton pads or balls
- Acetone or nail polish remover
- Warm water (optional)
- Moisturizing cuticle oil or hand cream
Steps to Remove Press On Nails
Here’s a step-by-step guide to help you remove your press-on nails gently and effectively:
- Prepare Your Area: Find a comfortable space with adequate lighting. Keep all your tools easily accessible.
- Trim Your Nails: If your press-on nails are long, it’s best to trim them to reduce the risk of snagging. Use nail scissors or a clippers to gently cut them down.
- File the Surface: Using a nail file, gently buff the surface of the press-on nails to remove any top coat. This step helps the acetone penetrate better.
- Soak Cotton Pads: Soak cotton pads or balls with pure acetone or nail polish remover. If you prefer a less harsh approach, a warm water soak for 10 to 15 minutes is also an option.
- Apply Acetone: Place the soaked cotton against your nail, ensuring the pad covers the entire nail surface. You can use aluminum foil to wrap around your fingertip, holding the cotton in place.
- Wait: Allow the acetone to sit for about 10-15 minutes. The acetone will break down the adhesive, making the press-on nails easier to remove.
- Gently Lift Off the Press-On Nail: After soaking, check if the press-on nails are lifting. Use a cuticle stick or wooden stick to gently pry the edge of the nail starting from one side. If the nail does not lift off easily, re-soak the cotton pad and try again.
- Repeat If Necessary: For stubborn nails, you may need to repeat the soaking process until they come off effortlessly.
- Clean Your Natural Nails: Once all press-on nails are removed, wash your hands thoroughly to remove any residue from the acetone or adhesive.
- Moisturize: Apply cuticle oil or a rich hand cream to hydrate your nails and cuticles. This step is crucial for restoring moisture after acetone exposure.
Aftercare for Your Natural Nails
Once your press-on nails are off, it’s essential to focus on caring for your natural nails. Here are some tips for aftercare:
- Hydration Is Key: Ensure you apply moisturizing products regularly to protect your nails and cuticles.
- Avoid Nail Products: Give your nails a break from nail polish and other products for at least a few days to help them recover.
- Consider a Nail Strengthener: Using a strengthener can fortify your nails, helping to prevent breakage.
- Regular Trimming: Keep your natural nails at a manageable length by trimming them regularly.
Common Mistakes to Avoid
Even though removing press-on nails can seem straightforward, there are some common mistakes that can lead to damaged natural nails.
- Forcing Removal: Avoid pulling or yanking off the press-on nails; this can lead to tearing or bleeding.
- Using Non-Acetone Products: Non-acetone removers may not be effective for press-on nails, leading to a longer process.
- Skipping Moisturizing: Forgetting to moisturize afterward can leave your nails brittle and weak.
Alternative Removal Methods
Besides the acetone soaking method, there are several other options for removing press-on nails. Here are a few gentler approaches:
Warm Water Method
This method is less harsh and might take a little longer but helps protect your natural nails:
- Fill a bowl with warm (not hot) soapy water.
- Soak your fingertips for about 10-15 minutes.
- Gently use a cuticle stick to lift the edges of the press-on nails.
Use of Dental Floss
If you want to avoid acetone altogether, dental floss can serve as an alternative approach:
- Wedge the dental floss between the press-on nail and your natural nail.
- Gently slide the floss down to create space, slowly lifting the press-on nail off.
Signs of Nail Damage
After removing your press-on nails, be on the lookout for signs of damage to your natural nails:
- Peeling or flaking nails
- Discoloration, such as yellowing or white spots
- Increased brittleness or cracks
If you notice any of these signs, consider giving your nails a longer rest before applying any new enhancements and consult a dermatologist if needed.
Conclusion
Removing press-on nails doesn’t have to be tricky. With the right tools and techniques, you can do it safely and effectively. Remember to prioritize the health and hydration of your natural nails post-removal. For best results, treat your nails gently, avoid harsh chemicals, and consider letting them breathe between applications.
If you’re interested in learning more about nail care or how to remove other types of nail enhancements, check out our guides on how to remove gel nail polish and how to remove Gel-X nails.