
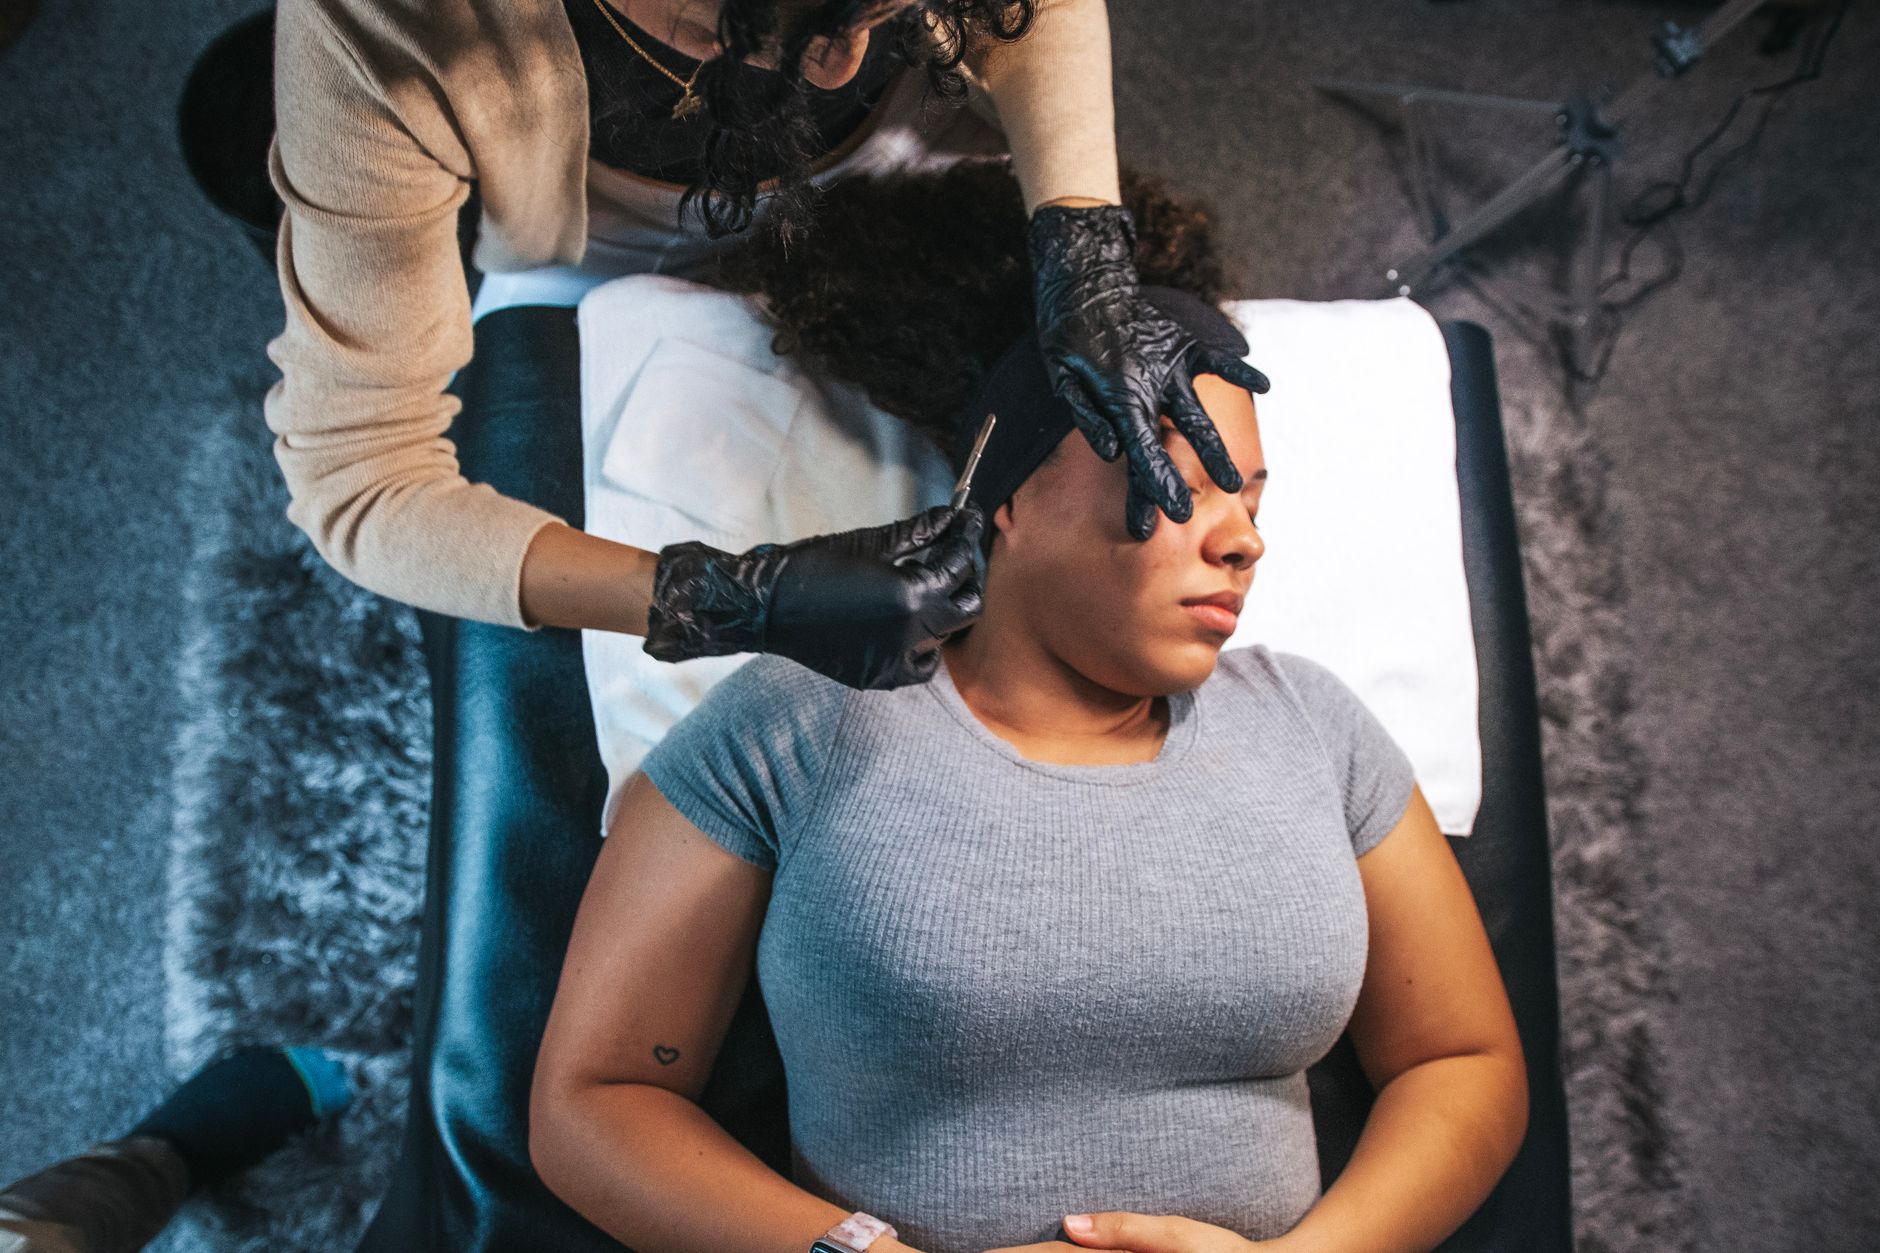
Dermaplaning is an innovative skincare technique that gently exfoliates the skin by removing dead skin cells and vellus hair (often referred to as peach fuzz). This process not only helps improve skin texture and appearance but also allows skincare products to penetrate deeper and makeup to apply smoother. With a few simple steps, you can easily dermaplane at home and enjoy the benefits of this popular treatment.
In this guide, we’ll walk you through the essentials of dermaplaning at home, including the tools you need, the steps to follow, expert tips to ensure a safe experience, and common mistakes to avoid. Let’s get started on your journey to smoother, glowing skin!
How to Dermaplane at Home?
Dermaplaning at home involves using a specialized tool to gently exfoliate the surface of your skin. This method removes dead skin cells and fine hairs, enhancing your skin’s smoothness and radiance. Follow the detailed steps below for a successful at-home dermaplaning experience.
What You’ll Need for Dermaplaning
Before you begin, gather the necessary tools and products. Here’s what you’ll need:
- Dermaplaning tool or facial razor designed for dermaplaning.
- Gentle cleanser to prepare your skin.
- Sanitizing wipes or rubbing alcohol to disinfect the tool.
- Moisturizer or nourishing serum for post-treatment hydration.
- Optional: soothing facial mist or oil for added comfort.
Preparing Your Skin
Preparation is key to ensuring a smooth and effective dermaplaning session. Here’s how to prep your skin:
- Cleansing: Start with a gentle cleanser to remove makeup, dirt, and oils from your skin. This step helps create a clean canvas for dermaplaning.
- Pat Dry: After cleansing, gently pat your skin dry with a clean towel. Avoid rubbing, as this can irritate your skin.
- Disinfect Your Tool: Use sanitizing wipes or rubbing alcohol to disinfect your dermaplaning tool. This is crucial for preventing infection and irritation.
Step-by-Step Guide to Dermaplaning at Home
Now that your skin is prepped, follow these steps to dermaplane at home:
- Choose the Right Angle: Hold the dermaplaning tool at a 45-degree angle to your skin. This angle allows for effective exfoliation without causing damage.
- Start with Small Sections: Begin at the top of your face and work your way down in small sections. You can start with your forehead, moving towards your cheeks.
- Gentle Strokes: Use smooth, gentle strokes while gliding the tool against your skin. Avoid pressing too hard; let the tool do the work.
- Follow the Contours: Follow the natural contours of your face, moving in downward strokes on cheeks and upward strokes on the neck. Be cautious around the sensitive areas, such as your eyes.
- Wipe Away Residue: Periodically wipe the blade on a clean tissue to remove any buildup of dead skin or hair. This helps maintain efficient scraping.
- Finish and Clean: Once you’ve finished dermaplaning, across your entire face, gently cleanse your skin again to remove any remaining debris and ensure a fresh surface.
Post-Dermaplaning Care
After dermaplaning, your skin may feel sensitive or slightly irritated. Proper aftercare is essential for soothing and hydrating your skin:
- Hydration: Apply a nourishing serum or moisturizer to help hydrate your skin. Look for products with ingredients like hyaluronic acid or ceramides to lock in moisture.
- Avoid Exfoliants: Skip any harsh exfoliants or active ingredients (like retinol or AHA/BHA) for 24-48 hours post-treatment, as your skin will be more sensitive.
- Protect Your Skin: Always apply sunscreen with at least SPF 30 before heading outdoors, as your skin will be more susceptible to sun damage after exfoliation.
Expert Tips for Successful Dermaplaning
To ensure you get the most out of your dermaplaning session, consider the following expert tips:
- Choose the Right Time: Dermaplane when your skin is clean and dry, ideally at night before bed, allowing time for recovery.
- Frequency: Aim to dermaplane every 3-4 weeks, or whenever you feel your skin needs a refresh.
- Skin Type Consideration: If you have sensitive skin, consult a skincare professional before attempting dermaplaning, or consider trying at a salon first.
- Be Cautious with Active Acne: Avoid dermaplaning over active breakouts or inflamed skin to prevent irritation.
Common Mistakes to Avoid
Dermaplaning can be a straightforward process, but there are a few common pitfalls to be aware of:
- Pressing Too Hard: Let the tool glide smoothly rather than applying excessive pressure, which could lead to nicks or cuts.
- Not Cleansing Properly: Failing to clean your skin thoroughly can lead to clogged pores, irritation, or infection after dermaplaning.
- Skipping Aftercare: Neglecting post-treatment skincare can leave your skin vulnerable; always hydrate and protect.
- Using Dull Blades: Ensure that your dermaplaning tool is sharp. Dull blades may not effectively exfoliate and can cause skin irritation.
(Optional) When to Seek Professional Help
If you’re unsure about dermaplaning at home or have specific skin concerns, consulting a professional is always a great option. A licensed esthetician can provide a tailored treatment suited to your skin type and goals.
Additionally, if you have certain skin conditions, such as severe acne, active rosacea, or eczema, it’s best to avoid dermaplaning until a qualified professional evaluates your skin.
Conclusion
Dermaplaning at home offers a convenient and effective way to enhance your skincare routine, promoting smoother and brighter skin. Remember to prioritize cleanliness, use the right tools, and follow proper aftercare. In no time, you’ll achieve that radiant complexion you desire!
For more detailed information, you might want to check out our guides on how to dermaplane and what dermaplaning is. Enjoy your skin journey!