
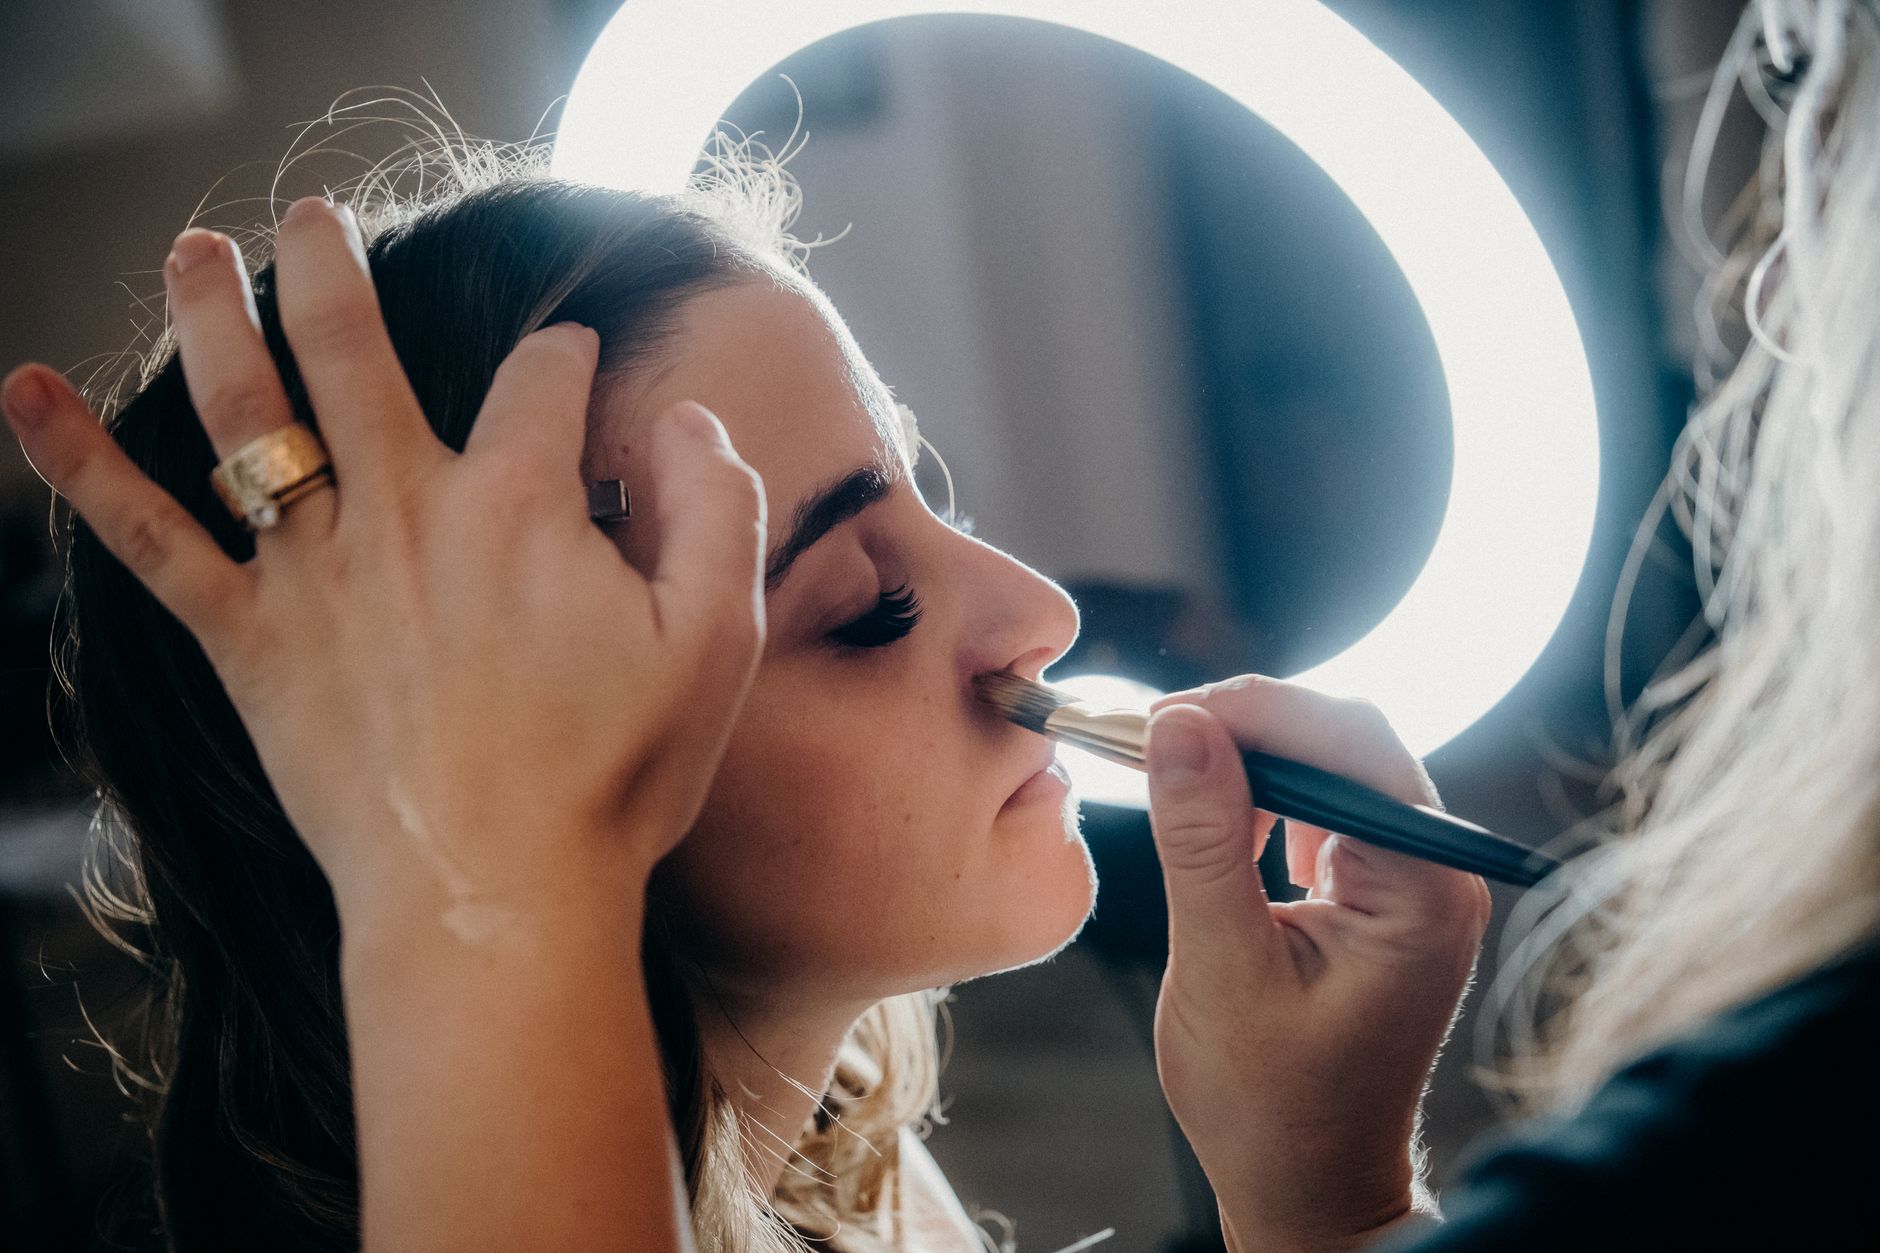
Contouring has become a beloved technique in the makeup world, allowing us to enhance our features with just a few simple products. One of the most popular areas to contour is the nose, as it can create the illusion of a more refined and sculpted profile. This guide will outline easy steps and pro tips for contouring your nose with confidence.
Whether you’re a makeup novice or a seasoned beauty enthusiast, you’ll find valuable insights on choosing the right products, application techniques, and common pitfalls to avoid. Let’s dive into how to contour your nose effectively!
How to Contour Nose?
To contour your nose, the basic concept is to create shadows and highlights that enhance its natural shape. This is achieved using a combination of matte and shimmery products to define and lift your nose. With the right techniques, anyone can achieve a beautifully contoured nose!
Understanding Nose Shapes
Before diving into the application process, it’s vital to recognize that contouring can vary based on individual nose shapes. Popular shapes include:
- Straight Nose: Mostly even in width, this shape can benefit from subtle highlighting and contouring.
- Curved Nose: May require more definition on the bridge to create a straight effect.
- Button Nose: A shorter nose that can look fabulous with a little contouring on the tip.
Essential Tools for Contouring Your Nose
Having the right tools can significantly impact your contouring results. Here’s what you’ll need:
- Foundation or concealer in your skin tone.
- Contour product—cream or powder that’s a few shades darker than your skin tone.
- Highlighter in a shade that complements your skin tone.
- Small, precise makeup brushes or makeup sponges.
- A mirror for close-up application.
Step-by-Step Guide to Contouring Your Nose
Now that you have the tools let’s walk through the steps to contour your nose effectively:
- Prep Your Skin: Start with freshly cleansed and moisturized skin. Apply foundation to create an even canvas across your face and nose.
- Map Out Where to Contour: Using a makeup pencil or a light eyeliner, mark two vertical lines along the sides of your nose. This will guide your contour placement.
- Apply Contour: With your contour product, use a small brush to apply it along the lines you mapped out. For a more straightforward look, you can use a contouring stick directly.
- Blend It Out: Use a clean brush or sponge to blend the contour into your foundation. Make sure there are no harsh lines, and the color transitions smoothly.
- Add Highlight: Apply your highlighter on the bridge of your nose and a little on the tip if you want to enhance the look.
- Final Touch: Set your makeup with a translucent powder to ensure it lasts all day. If you prefer a dewy finish, you can skip this step, but keep in mind that a setting spray can help lock in your look.
Pro Tips for Flawless Contour
Here are some expert tips to help you achieve the best results when contouring your nose:
- Choose the Right Shades: The contour shade should be cool-toned to create realistic shadows. Your highlighter should be warm or neutral to brighten without looking ashy.
- Practice Makes Perfect: If you’re new to contouring, practice often. Adjust the amount of product used based on how dramatic or subtle you want your look to be.
- Avoid Over-Contouring: Less is often more. It’s better to build up your contour gradually than to apply too much at once.
- Tailor to Your Face Shape: Adapt the contouring technique to fit your unique features. For example, if you have a wider nose, you may want to contour the sides more than the center.
- Use Natural Light: Whenever possible, do your makeup in natural light to ensure you can see how it will look in real life.
Common Mistakes to Avoid
Even experienced makeup enthusiasts can run into issues when contouring their noses. Here are a few mistakes to steer clear of:
- Skipping the Blend: Blending is key. Harsh lines signal poor application.
- Using the Wrong Tools: Using a brush that is too big can lead to blending in areas you want to keep clear.
- Choosing the Wrong Shade: Be careful with contour shades that are too warm, as they can create an unnatural look.
How to Remove Contour Makeup
Removing your makeup properly is just as vital as application. Here’s a simple process:
- Use a Gentle Makeup Remover: Begin with a cleansing oil or micellar water to break down the makeup.
- Wipe with a Cotton Pad: Gently wipe away the makeup, avoiding tugging at the skin to prevent irritation.
- Follow with Cleanser: Use your regular facial cleanser to ensure all makeup residue is gone.
- Hydrate: After cleansing, apply a moisturizer to keep your skin soft and hydrated.
Contouring for Different Skin Types
Different skin types may require slightly altered techniques or products. Here’s what to consider:
- Oily Skin: Opt for powder contours to avoid excess shine throughout the day. Ensure you set your makeup with powder or spray.
- Dry Skin: Cream formulas can be more forgiving and hydrating. Always prep your skin with moisturizer to ensure a smooth application.
- Sensitive Skin: Choose hypoallergenic products that won’t irritate your skin. Always do a patch test before applying new makeup.
- Combination Skin: You can mix both cream and powder products; just be mindful of the areas that get particularly oily or dry.
Adjusting Contour Techniques for Different Occasions
Depending on the event, you may want to modify your contouring technique. Here are some suggestions:
- Daytime Look: Go for a more natural and subtle contour, using less product and ensuring you blend well. Aim for soft, illuminated features.
- Evening Makeup: Use slightly heavier contouring to make your features stand out in dimmer lighting. Don’t be afraid to use a stronger highlight too!
- Special Occasions: Consider using a makeup setting spray and long-wearing formulas to ensure your contour lasts all day and night.
Enhancing Your Contour with Other Makeup Techniques
To elevate your nose contour, consider integrating other makeup techniques:
- Highlight Your Eyes: Bright eyes can draw attention away from imperfections. Use a shimmery eyeshadow or eyeliner to emphasize your gaze.
- Defined Brows: Well-groomed brows can accentuate your facial structure. Use a brow gel or pencil to define your arches.
- Lip Contouring: Pair your nose contour with lip contouring to further enhance your facial symmetry.
When to Experiment and When to Keep It Simple
Contouring is a beautiful form of self-expression, but knowing when to experiment is vital. For daily wear, keep it simple with basic techniques. However, special occasions are perfect for trying out bold looks or new techniques.
Frequently Asked Questions About Nose Contouring
What is the difference between cream and powder contour?
Cream contour tends to provide a more natural, dewy finish and is excellent for dry skin, while powder contour offers a matte finish and is great for oily skin.
Can I contour my nose if I wear glasses?
Yes! Just ensure your contour blends well and doesn’t interfere with the temples of your glasses. It’s also essential to highlight where the frame might cast shadows.
Is there a quick way to contour my nose?
If you’re short on time, you can use a multitasking palette that includes foundation, contour, and highlight in one. Emphasize ease and speed over perfection.
Conclusion
Mastering the art of nose contouring can elevate your makeup game and enhance your overall look. By following these steps and tips, you’ll be able to create a beautifully defined nose that complements your features. Don’t forget to practice and adapt the techniques to your unique face shape!
For more makeup insights, check out our guide on how to contour and learn where to apply bronzer in our article where to apply bronzer. Discover the techniques that work best for you and enjoy the process of enhancing your beauty!