
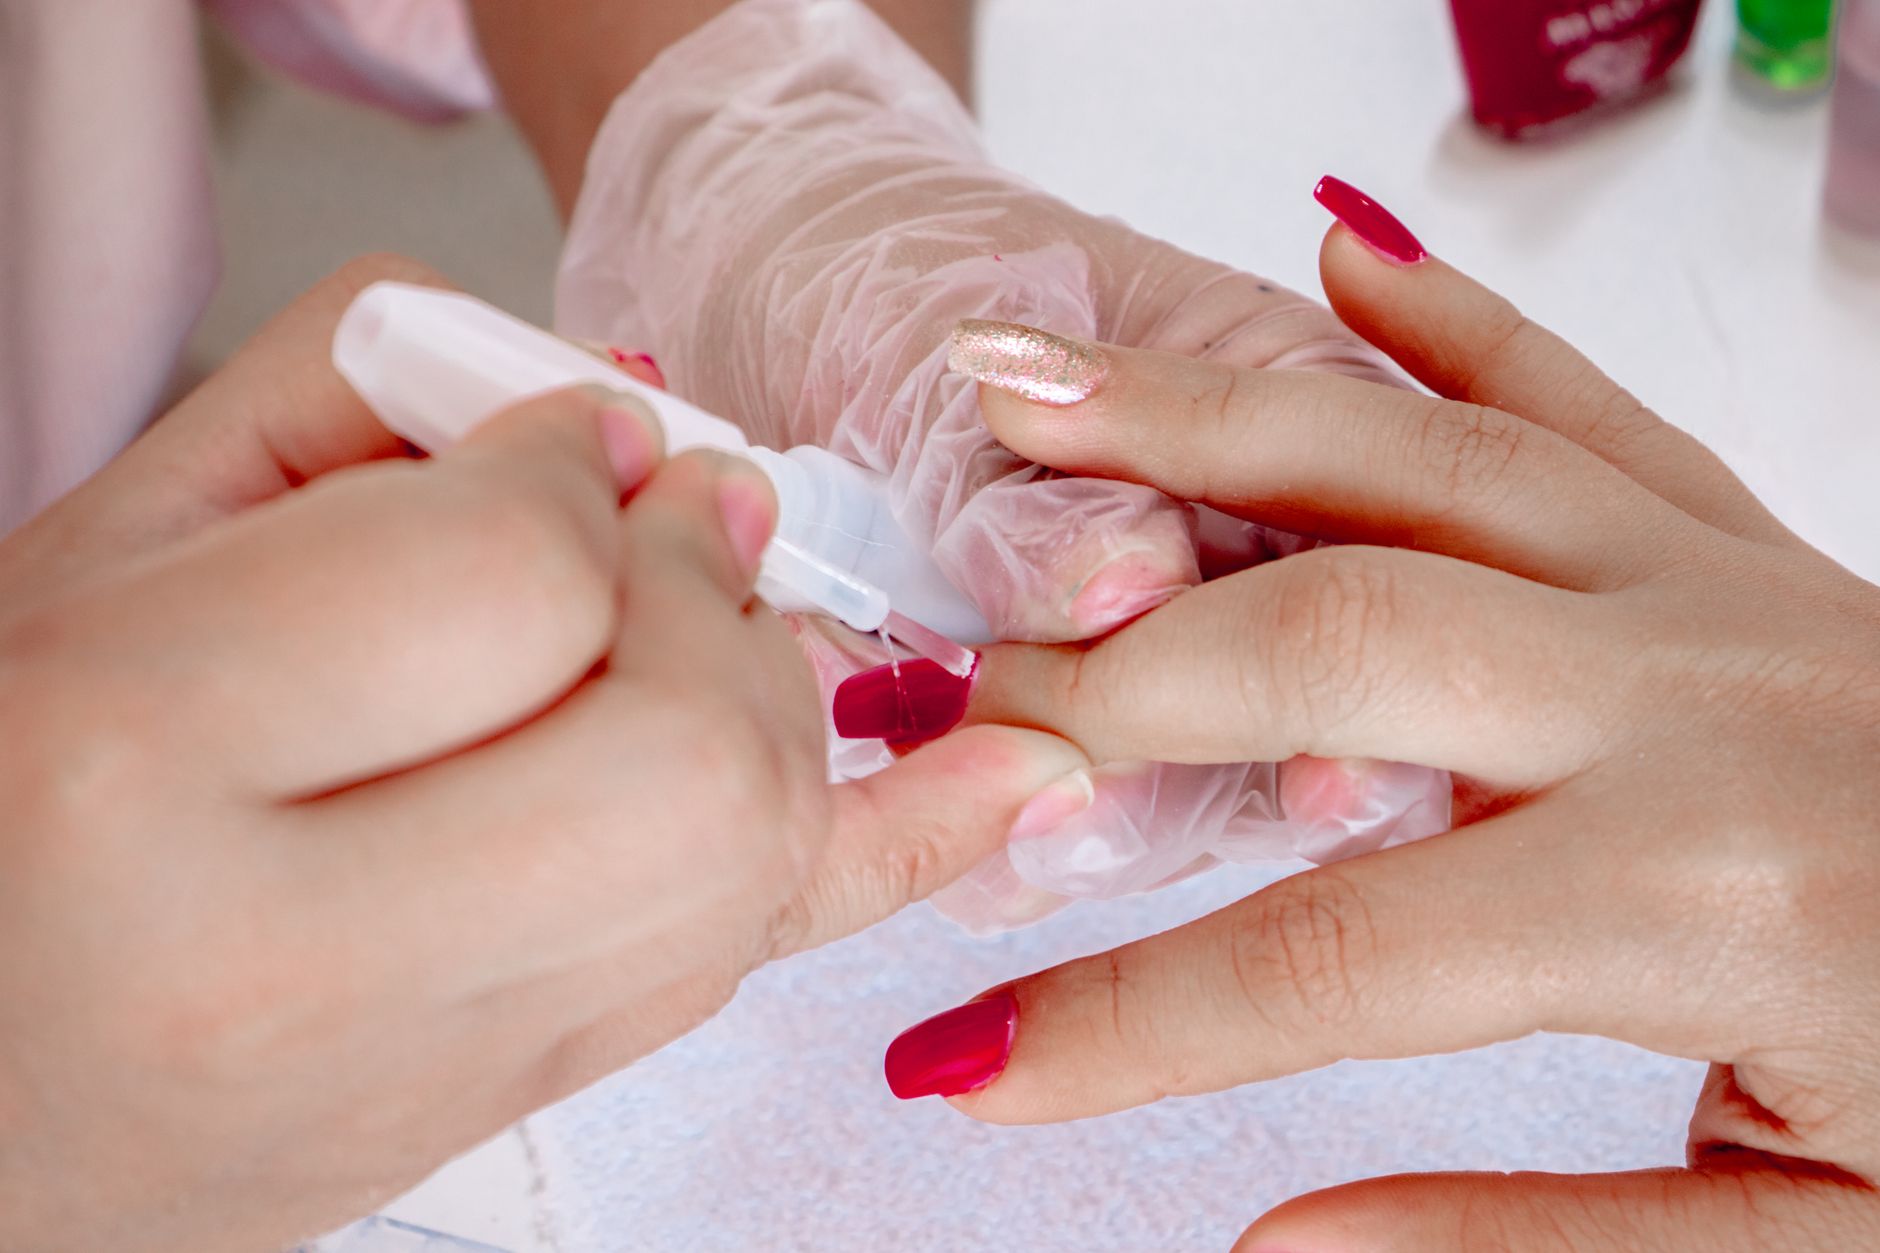
Builder gel for nails is a versatile and durable gel product used primarily in nail enhancements. It offers greater strength than standard gel polish and is ideal for creating length, shape, and structure for both natural and artificial nails. This unique formula allows for flexibility in application, making it a popular choice in nail salons and among at-home enthusiasts.
The primary purpose of builder gel is to enhance the natural nail or create stunning nail art designs. Whether you are looking to strengthen your existing nails, achieve longer lengths, or experiment with various designs, understanding builder gel’s uses and application techniques can elevate your nail game. Let’s dive into the specifics of builder gel, its various uses, and some handy application tips!
What Is Builder Gel for Nails?
Builder gel is a thick, viscous gel that provides structure and strength to the nails. Unlike regular gel polish, which is primarily for color and shine, builder gel is designed to sculpt and reinforce nails. It can be applied over natural nails, as well as used in conjunction with nail forms or tips for added length.
This gel comes in various formulations, including clear, colored, and even glitter options. It is cured under a UV or LED lamp, ensuring a hard and durable finish. Builder gel typically adheres well to the natural nail and can withstand everyday wear, making it a popular choice for those who want lasting nail enhancements.
Uses of Builder Gel for Nails
Builder gel offers a multitude of applications in the world of nail care. Here are some of its primary uses:
- Nail Extensions: Builder gel can be used to create extensions, providing a strong base that allows for longer nails without the risk of breaking.
- Strengthening Natural Nails: For individuals with weak or brittle nails, builder gel provides an additional layer of protection and strength.
- Correcting Nail Shape: Builder gel can be molded and sculpted to achieve the desired nail shape, correcting any imperfections in the natural nail.
- Nail Art Base: It provides a solid foundation for intricate nail art designs, ensuring the artwork lasts longer than standard polish.
- Repairs: Builder gel can effectively repair broken or split nails, offering a temporary solution until the nail grows out.
Benefits of Using Builder Gel
Choosing builder gel has several benefits, making it a preferred choice for many nail enthusiasts:
- Durability: Builder gel is highly resistant to chipping, wear, and tear, allowing for longer-lasting wear compared to traditional nail polish.
- Flexibility: Builder gel can provide a range of finishes, from matte to glossy, depending on the desired look.
- Lightweight: Despite its strength, builder gel is lightweight, making it comfortable to wear, especially in extended applications.
- Easy to Apply: With practice, builder gel can be applied smoothly for professional-looking results without the need for advanced skills.
- Customizable: It offers various colors and finishes, enabling nail artists to create unique looks tailored to individual preferences.
How to Apply Builder Gel
Applying builder gel requires some preparation and technique. Here is a comprehensive guide to successfully applying builder gel for nails:
Tools and Products Needed
Before starting, gather the following tools and products:
- Builder gel
- Nail file and buffer
- Cuticle pusher
- Nail primer
- Base coat
- Top coat
- UV or LED lamp
- Nail forms or tips (if extending the nails)
- Lint-free wipes
- Nail cleanser or alcohol
Step-by-Step Application Process
- Prepare Your Nails: Start by cleaning your hands and removing any existing nail polish. Use a cuticle pusher to gently push back the cuticles and file the nails to your desired shape.
- Buff the Nail Surface: Lightly buff the surface of the natural nail. This helps the builder gel adhere better. Be cautious not to buff too deeply to avoid damaging the nail.
- Apply Nail Primer: Use a nail primer to dehydrate the nail bed. This will ensure better adhesion of the builder gel.
- Apply a Base Coat: Apply a thin layer of base coat and cure it under the UV or LED lamp according to the product instructions.
- Building the Nail: If you’re using forms or tips, attach them securely. Begin applying the builder gel in small amounts. Use a brush to spread the gel evenly, creating the shape you desire. Remember to build up the apex for strength.
- Cure the Builder Gel: After shaping the gel, cure it under the lamp for the recommended time. This typically ranges from 30 seconds to 2 minutes, depending on the lamp and gel brand.
- File and Shape: Once cured, use a nail file to refine the shape of the nails. Smooth out any rough edges and create the desired nail finish.
- Apply Top Coat: Finish with a top coat for added shine and protection. Cure it again under the lamp.
- Cleansing: Wipe off the sticky residue or inhibition layer with a lint-free wipe and nail cleanser or alcohol for a clean finish.
Application Tips for Builder Gel
While the application process may seem straightforward, here are some tips to enhance your builder gel experience:
- Work in Thin Layers: Applying builder gel in thin layers can help avoid bulkiness and ensure even curing.
- Choose the Right Gel: Select a builder gel that suits your nail type and desired look. Some gels are thicker and better for lifting, while others are ideal for achieving intricate designs.
- Use Quality Tools: High-quality brushes and tools will provide more precise application and control over the shape you create.
- Be Patient: Take your time during application. Rushing can lead to mistakes or uneven surfaces.
- Practice Makes Perfect: If you’re new to builder gel, practice on a few practice fingers or a practice hand before attempting your nails.
Common Mistakes to Avoid
There are several common mistakes that can occur during the application of builder gel. To ensure a successful application, keep these tips in mind:
- Not Preparing the Nail: Skipping the preparation steps can result in poor adhesion and lift.
- Over-Curing or Under-Curing: Ensure you adhere to the recommended curing times, as both can negatively impact the durability and finish of your nails.
- Applying Too Much Product: Excess product can lead to a bulky appearance and prolong the curing process. Work in thin layers for the best results.
- Neglecting Nail Health: Regular use of builder gel without giving your nails time to breathe can result in damaged or weakened nails.
How to Remove Builder Gel
Proper removal of builder gel is essential to maintain nail health. Here’s how to do it safely:
- File the Surface: Gently file the shiny topcoat off the builder gel using a coarse nail file. Be careful not to file down to the natural nail.
- Soak in Acetone: Soak a cotton ball in acetone and place it on each nail. Wrap each fingertip in aluminum foil to keep the cotton from drying out.
- Wait: Allow the acetone to sit for about 10-15 minutes. The builder gel should soften and begin to lift.
- Gently Scrape Off: After soaking, use a wooden stick or cuticle pusher to gently scrape off the softened builder gel.
- Wash and Nourish: Once removed, wash your hands thoroughly and apply cuticle oil or a nourishing hand cream to keep your nails healthy.
Special Considerations for Builder Gel
While builder gel is a popular choice, there are some considerations to keep in mind:
- Allergies: Always check the ingredient list for potential allergens, especially if you have sensitive skin or nails.
- Professional vs. DIY: If you’re new to using builder gel, consider visiting a professional nail technician for your first application until you’re confident in your skills.
- Time Commitment: Applying builder gel can take time, so factor in sufficient time for both application and removal.
Realistic Expectations of Builder Gel
Builder gel can significantly enhance the appearance and durability of nails, but it is essential to have realistic expectations. While many may achieve beautiful results, individual experiences can vary depending on factors such as nail type, application technique, and care afterward.
Expect that nail growth will naturally occur, and you may need maintenance every few weeks, depending on your nail growth rate. Proper care and gentle removal can help ensure the health of your natural nails while enjoying the aesthetic benefits of builder gel.
Conclusion
Builder gel is a fantastic solution for anyone looking to enhance their nails’ strength, shape, and beauty. With proper application techniques, maintenance, and care, users can enjoy longer-lasting and vibrant nails. So why not try it out? Start by gathering your supplies and exploring the wonderful world of builder gel nail enhancements!
For further reading on nail care, check out our guides on what builder gel is and how to remove gel nail polish to deepen your understanding of these techniques!